

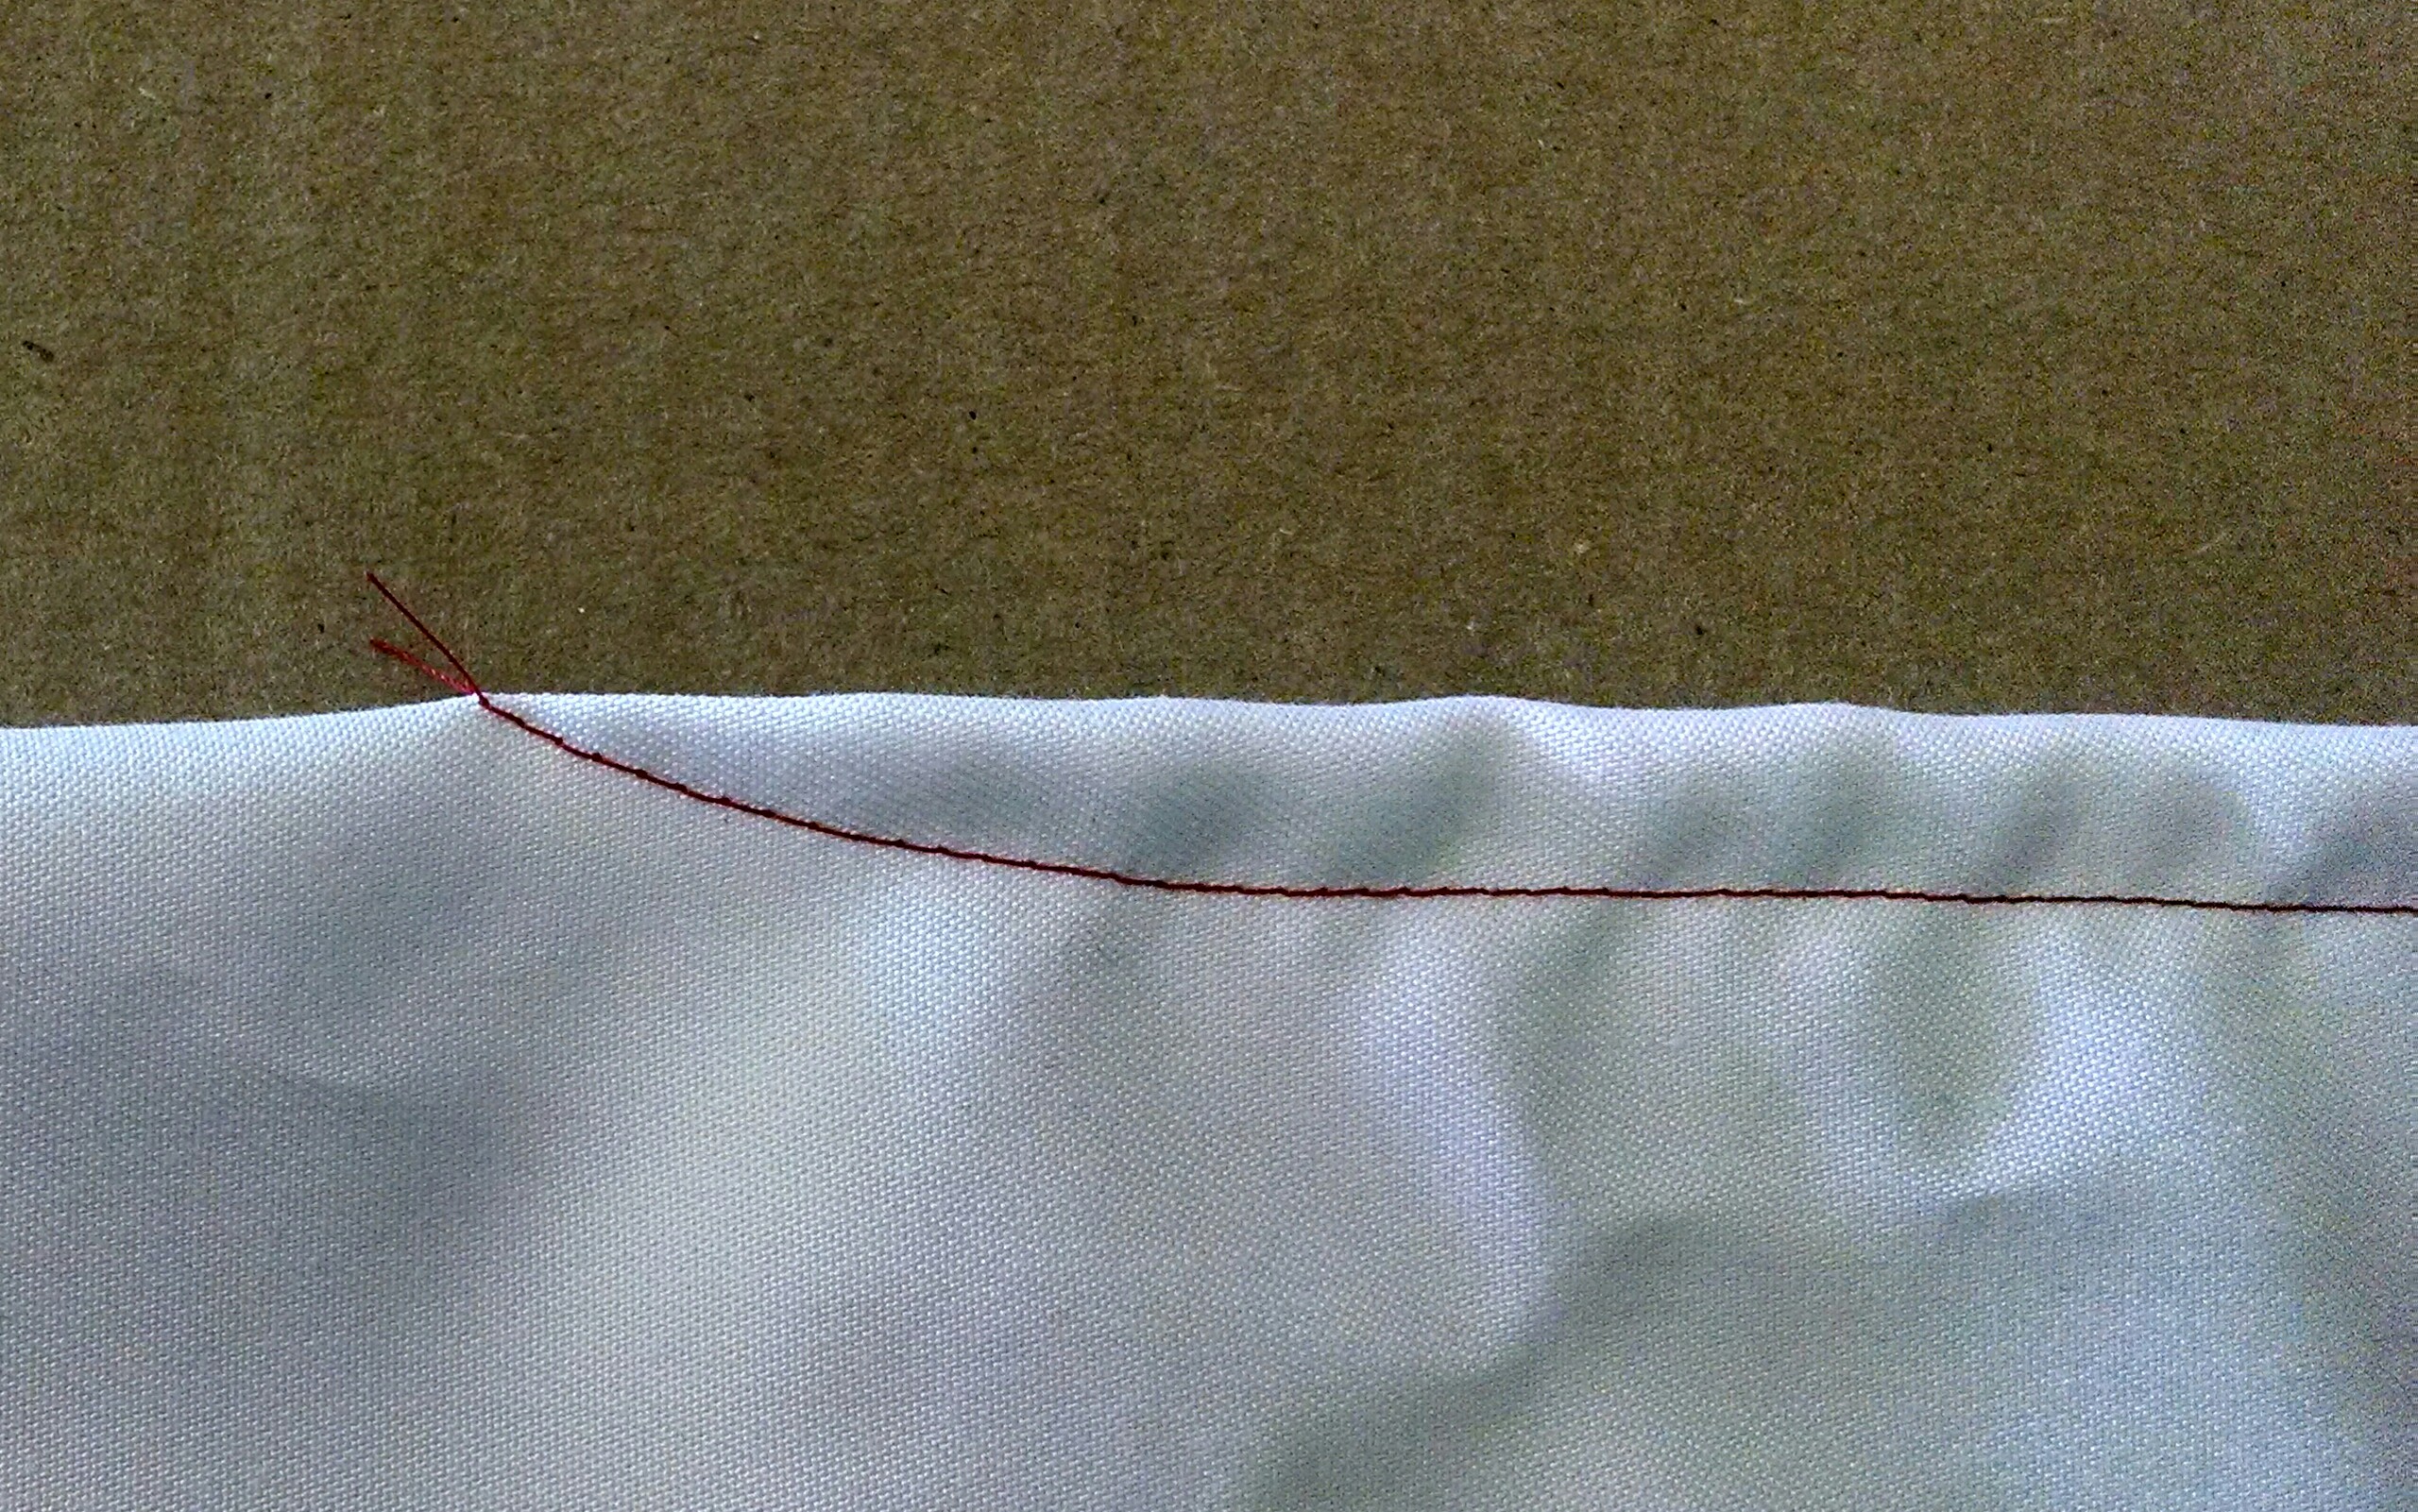
The first test stitch on my new machine. This was the “out of the box” straight stitch setting. And yes, the curve was on purpose. This thing handles very well!
And–if those more experienced with sewing machines will allow this newbie some moments of amazement–check this out…
So, I did some playing around with the stitches. Tried a pre-set, special zigzag:
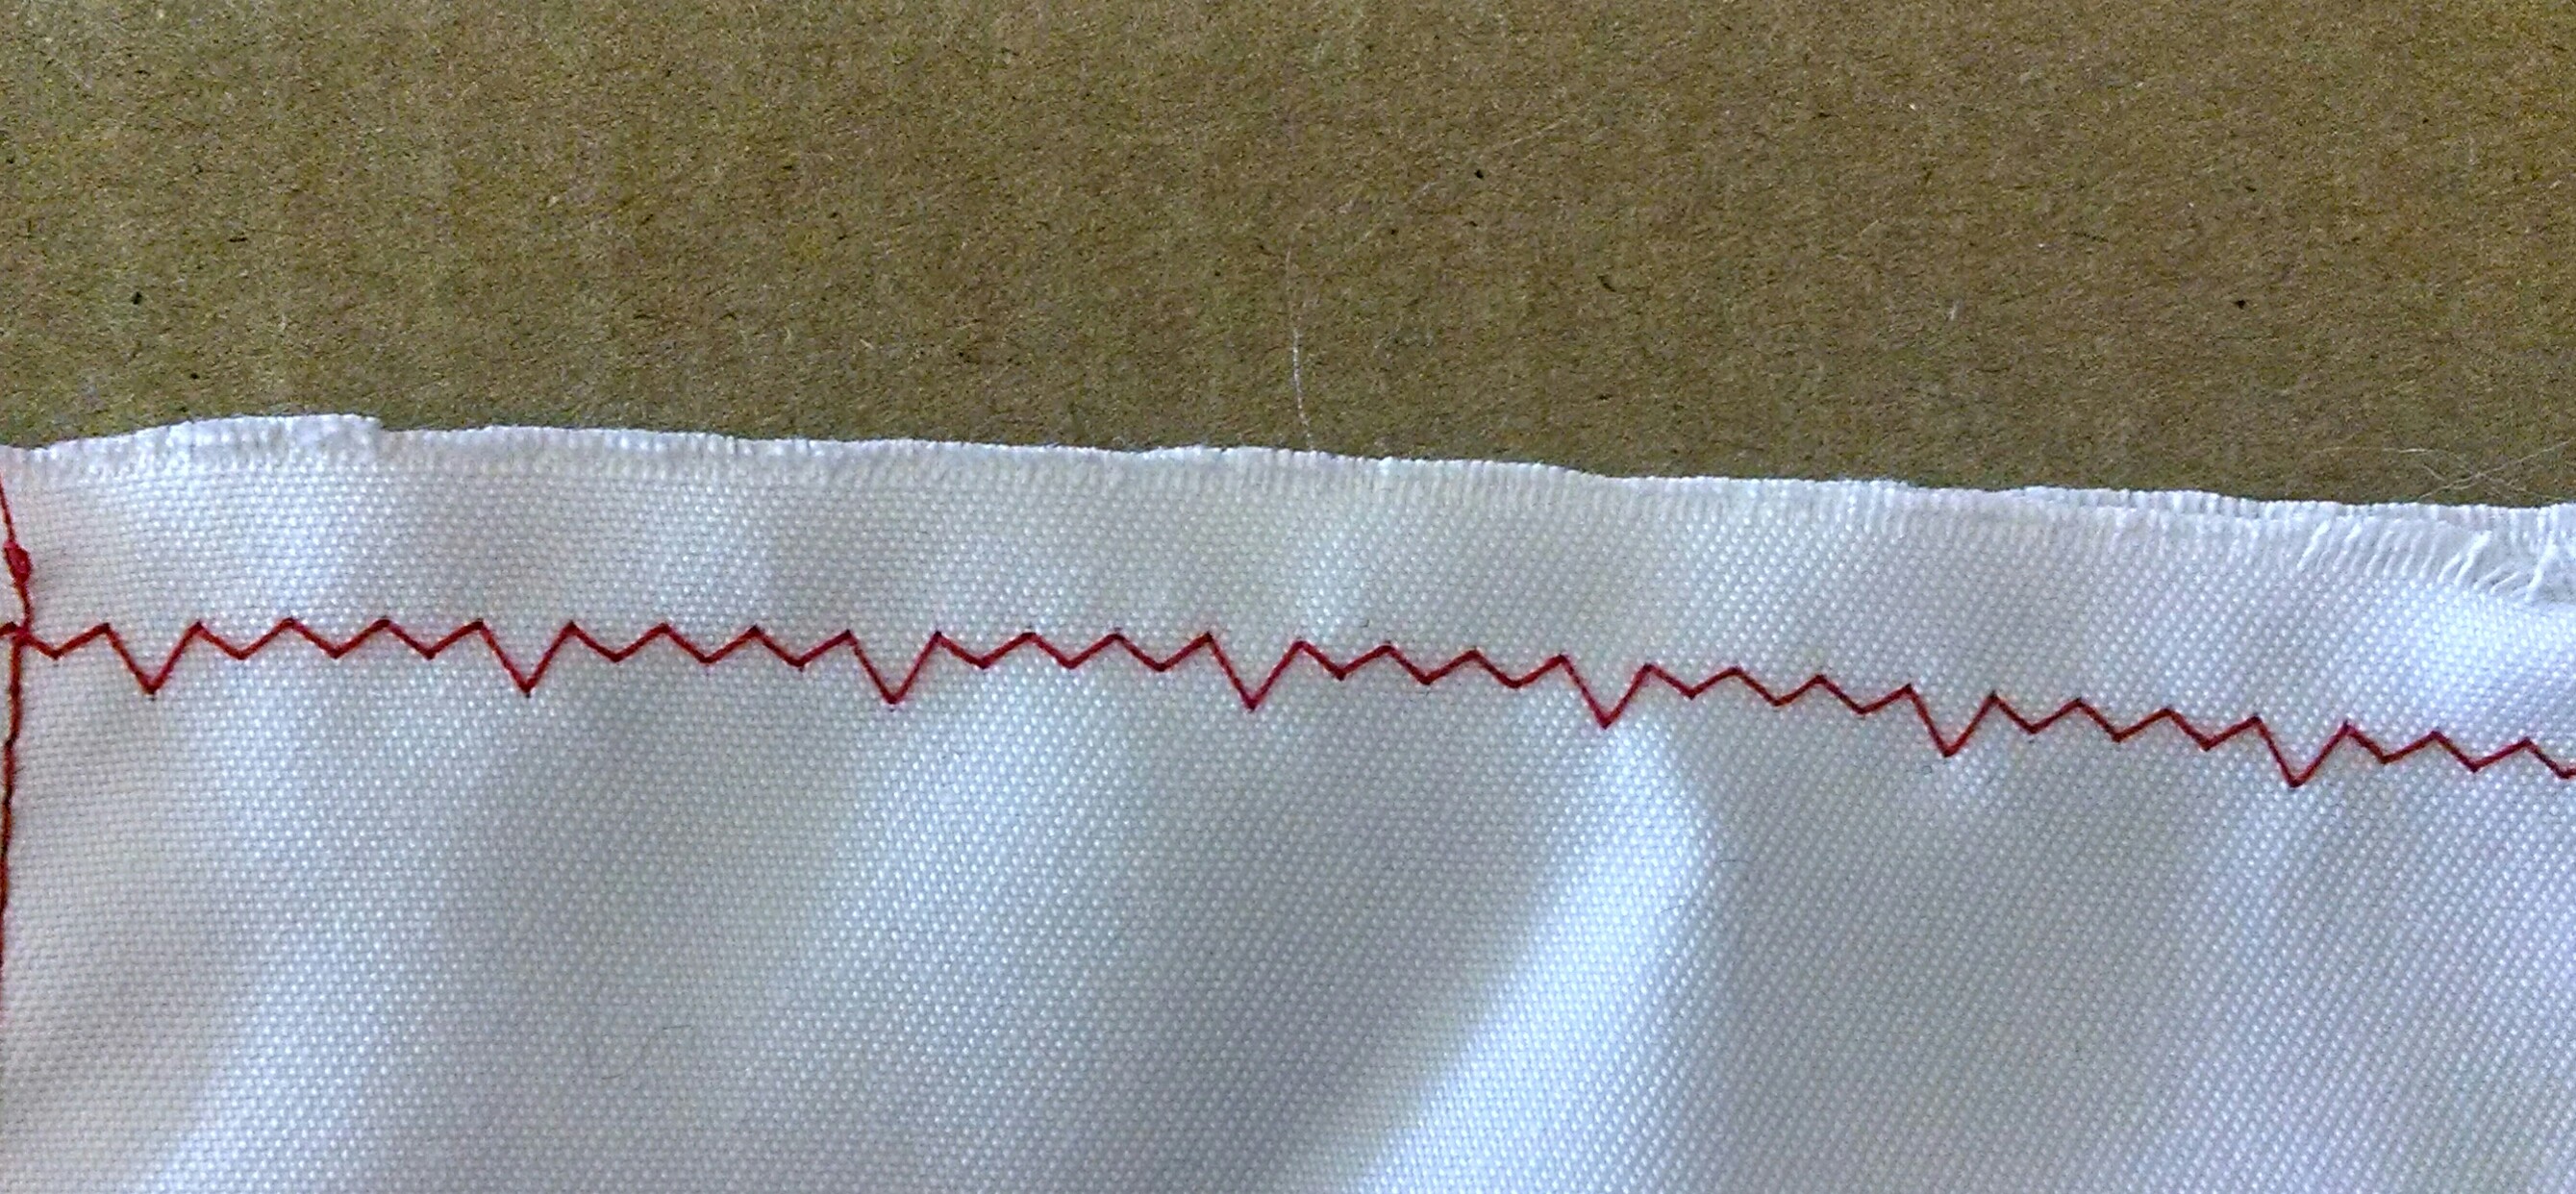
Fun! Like a heart monitor.
Then I played with adjusting the width and length of a standard zigzag:
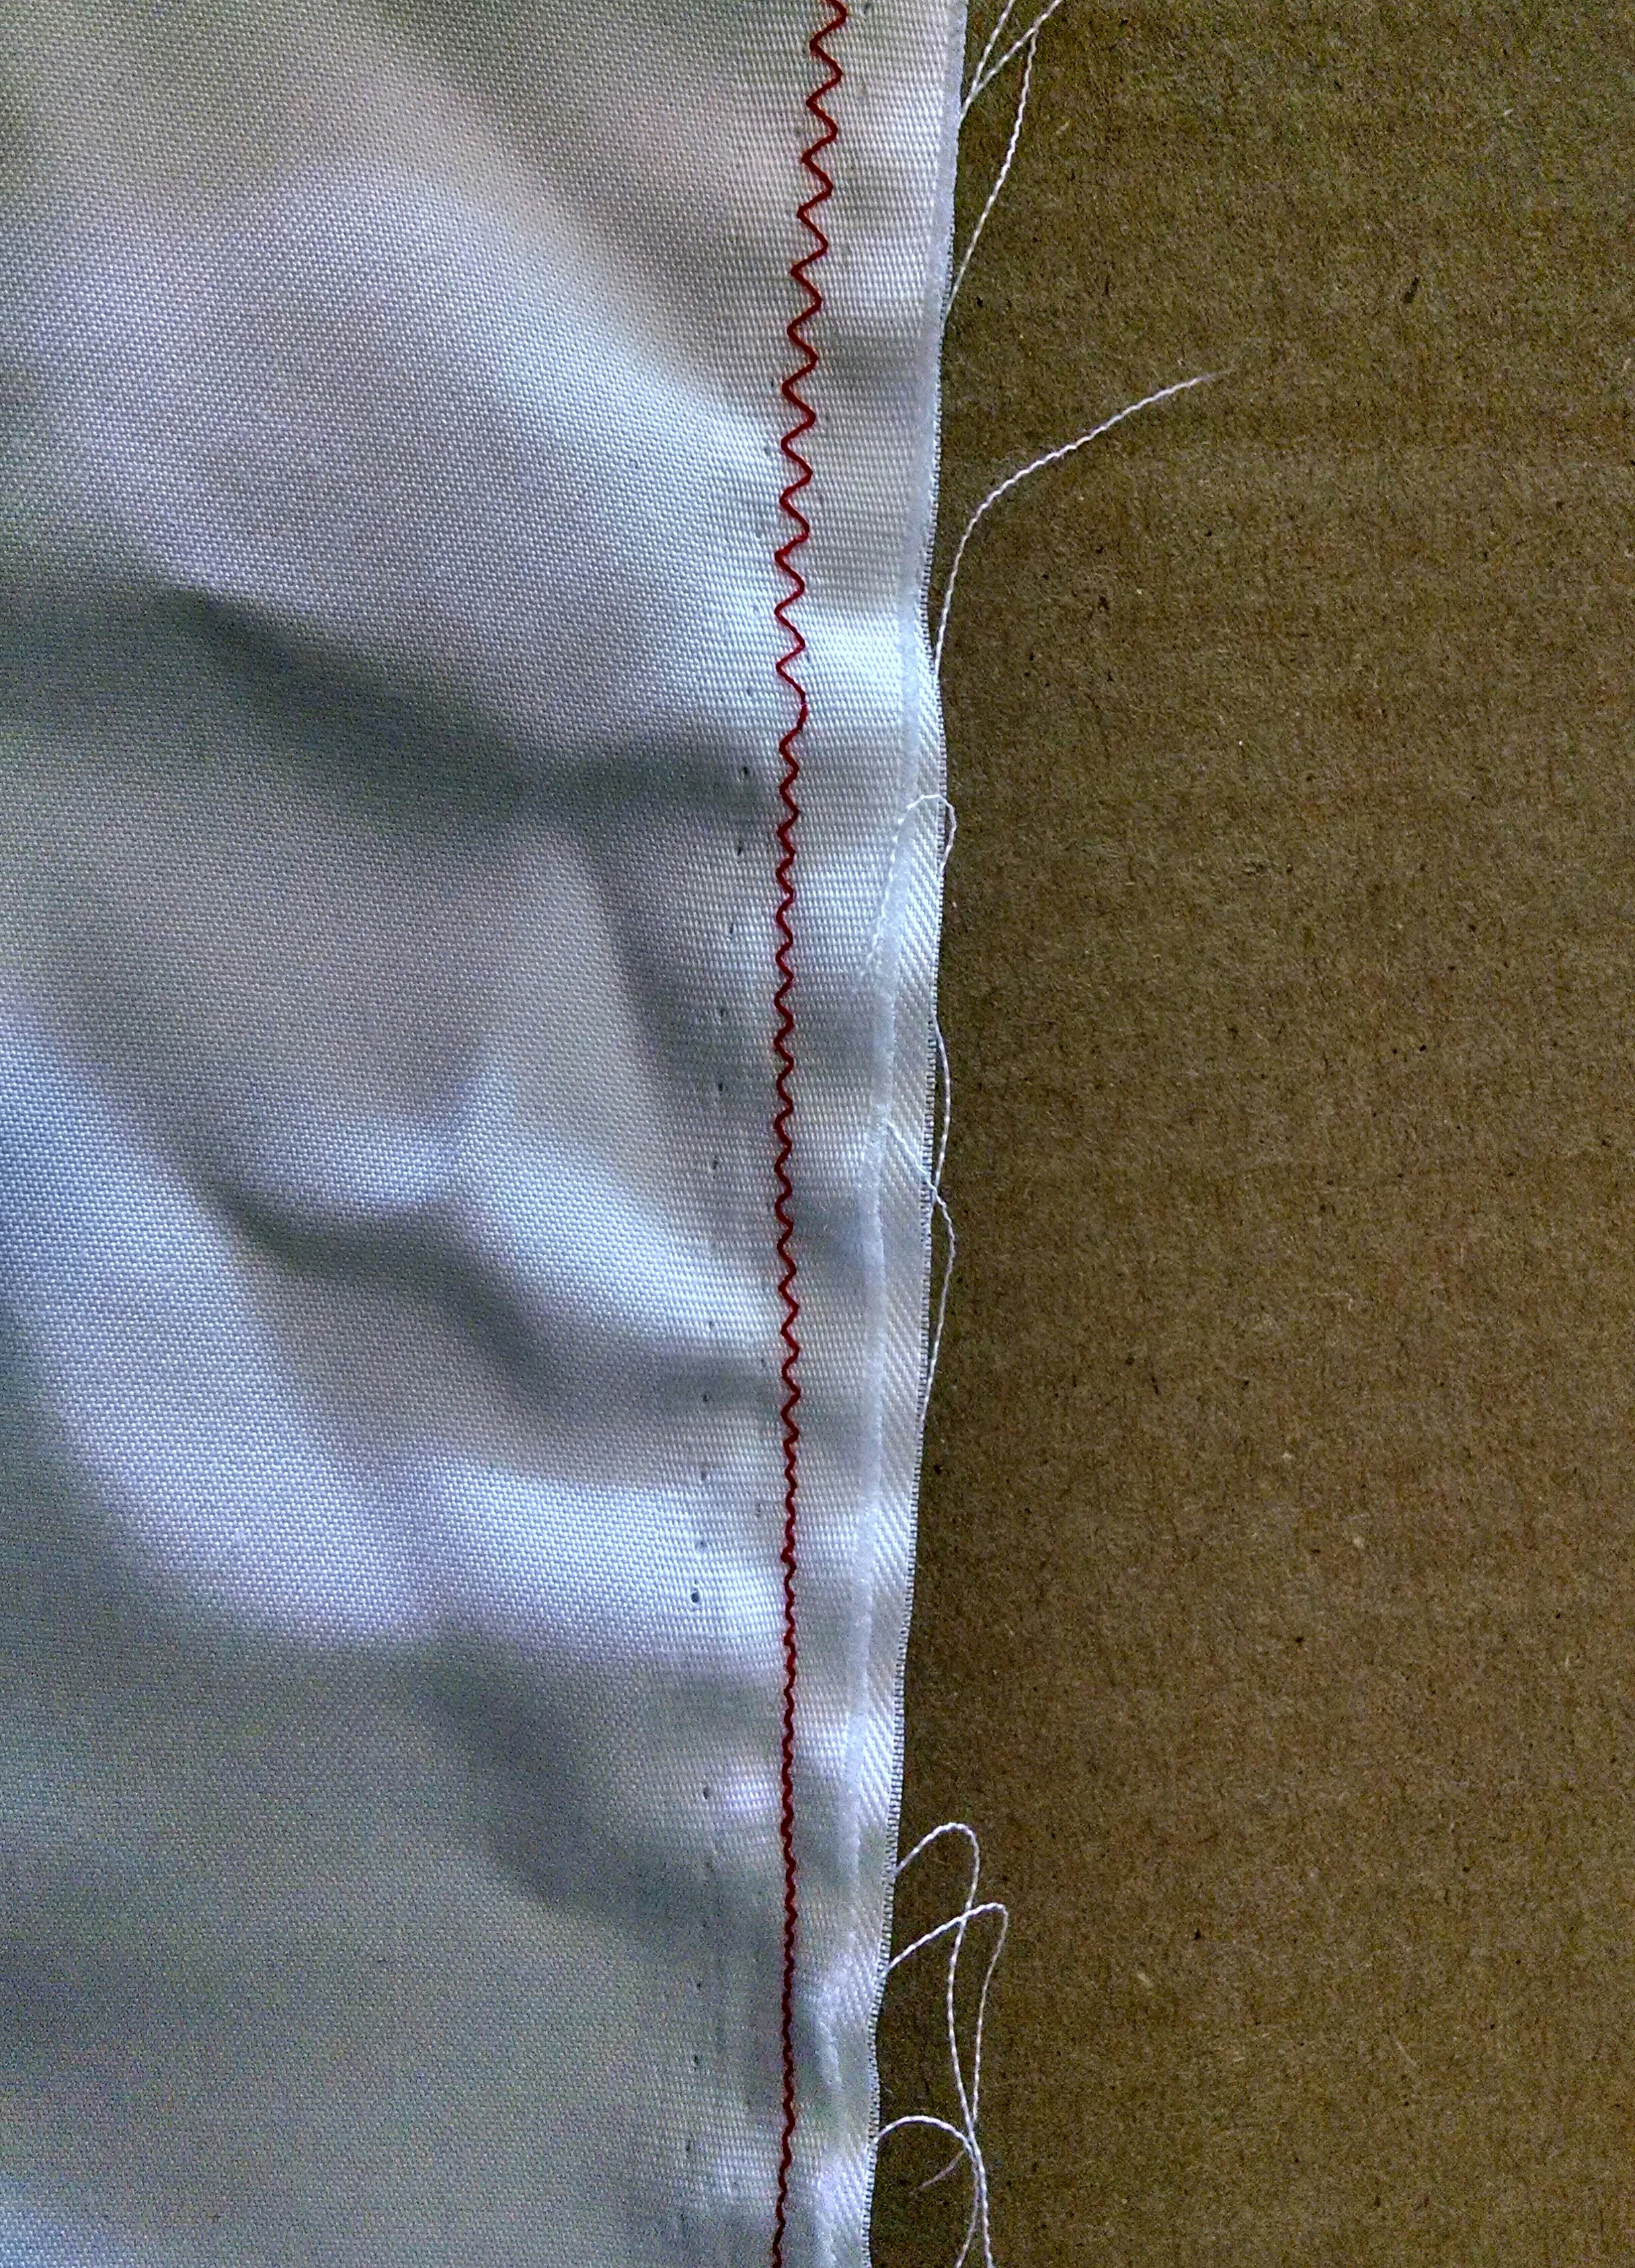
Nice.
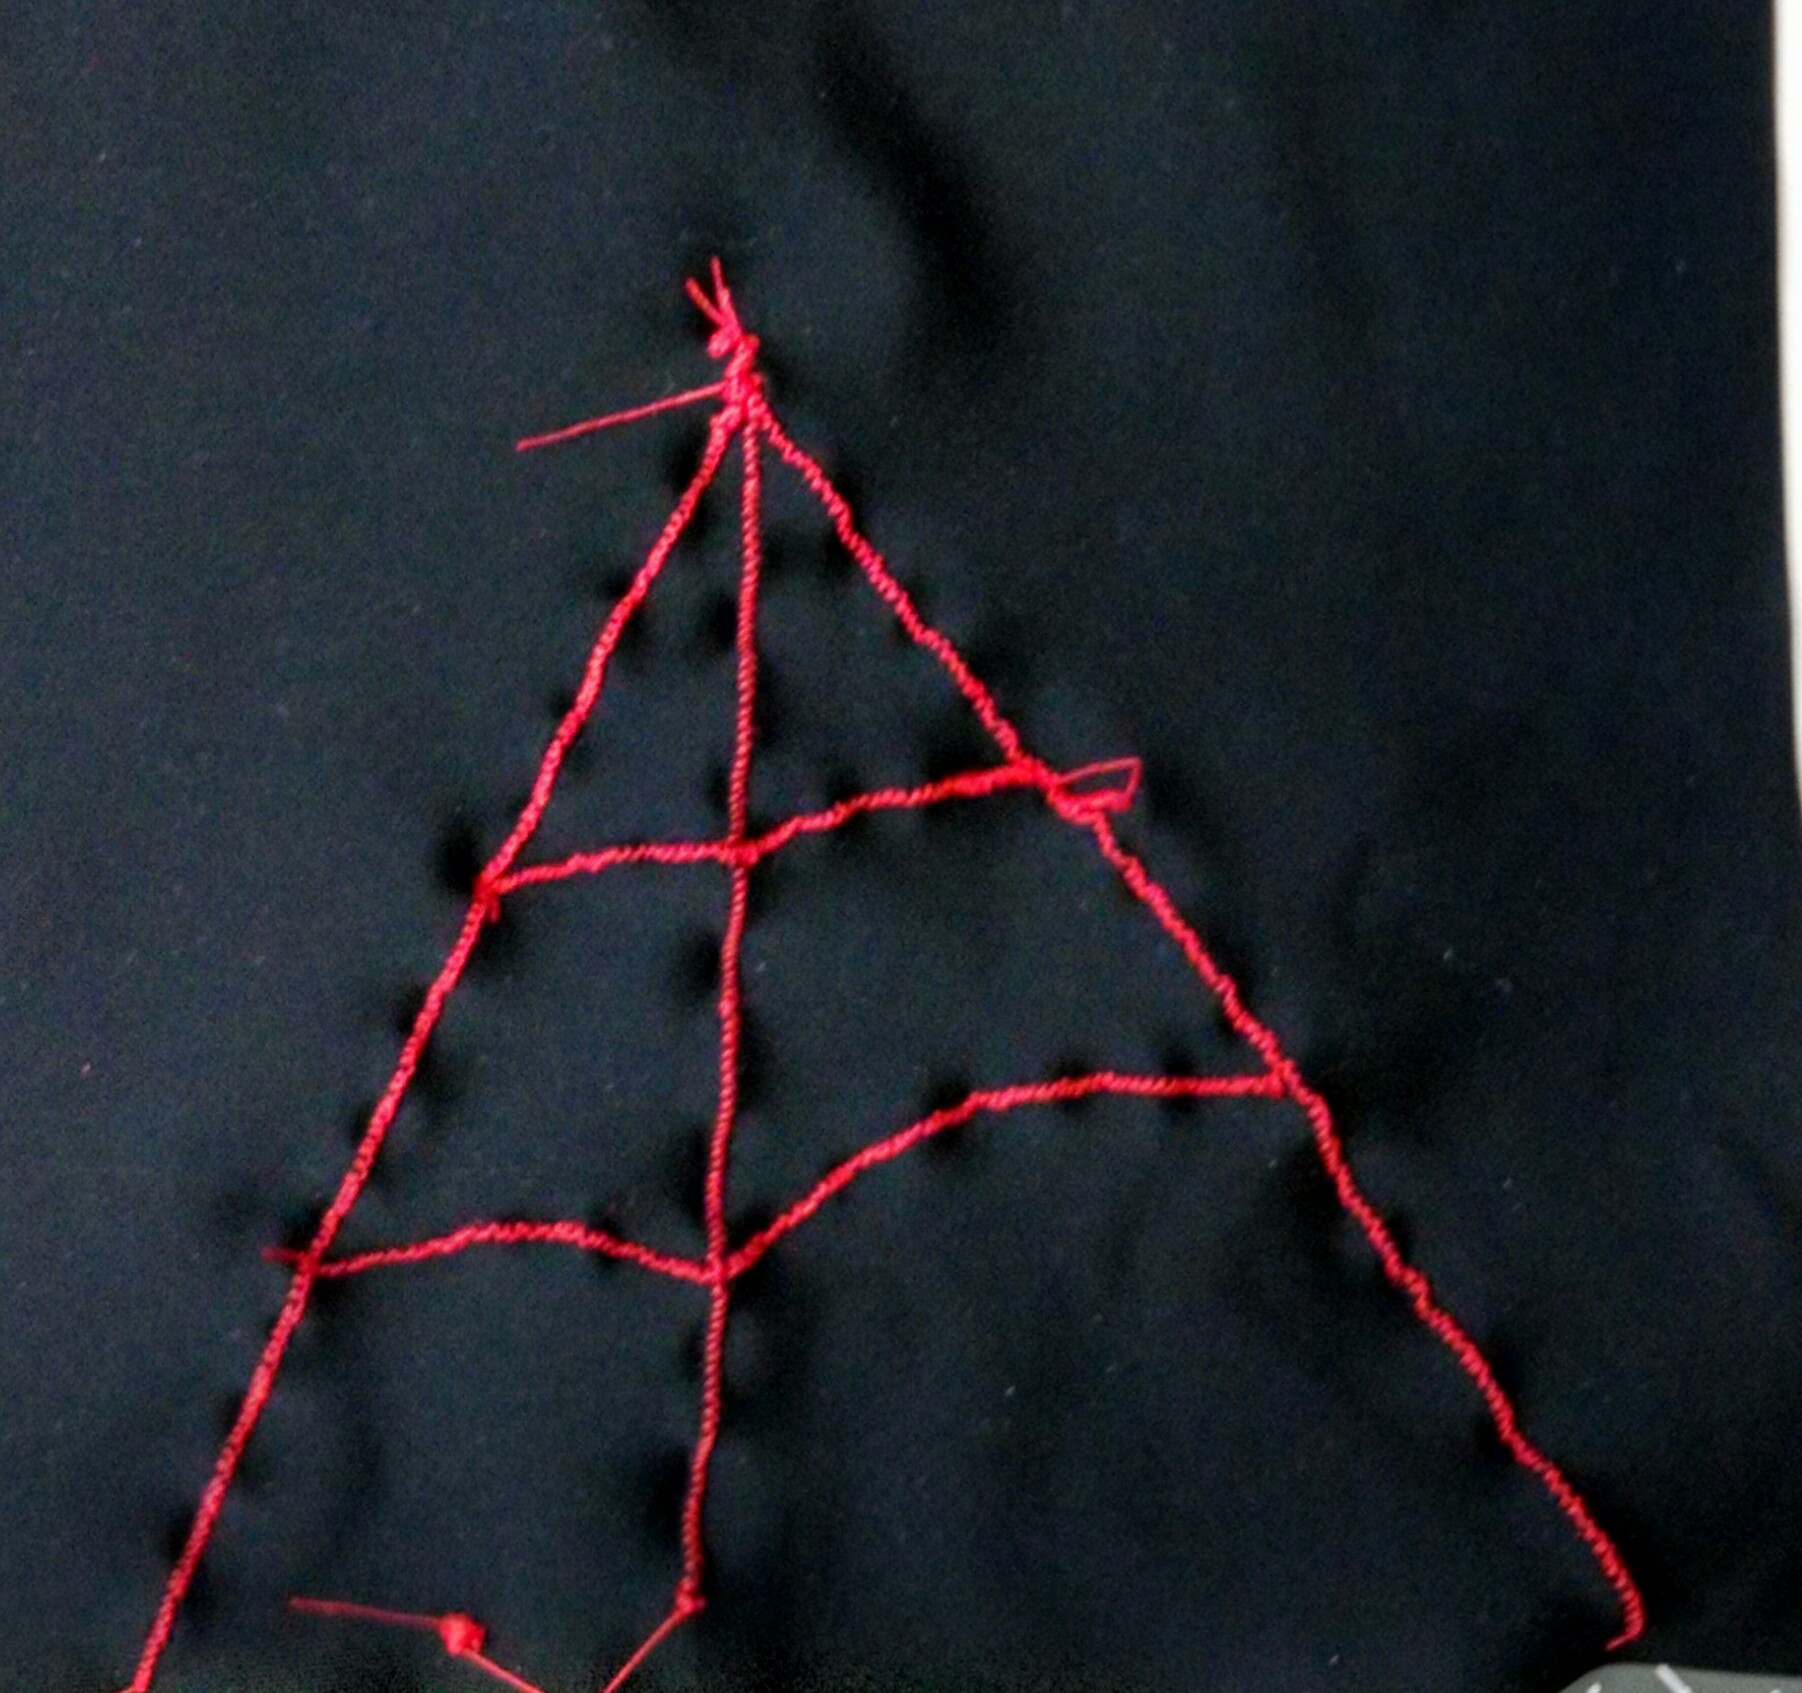
And then I just had to try one of the decorative stitches.
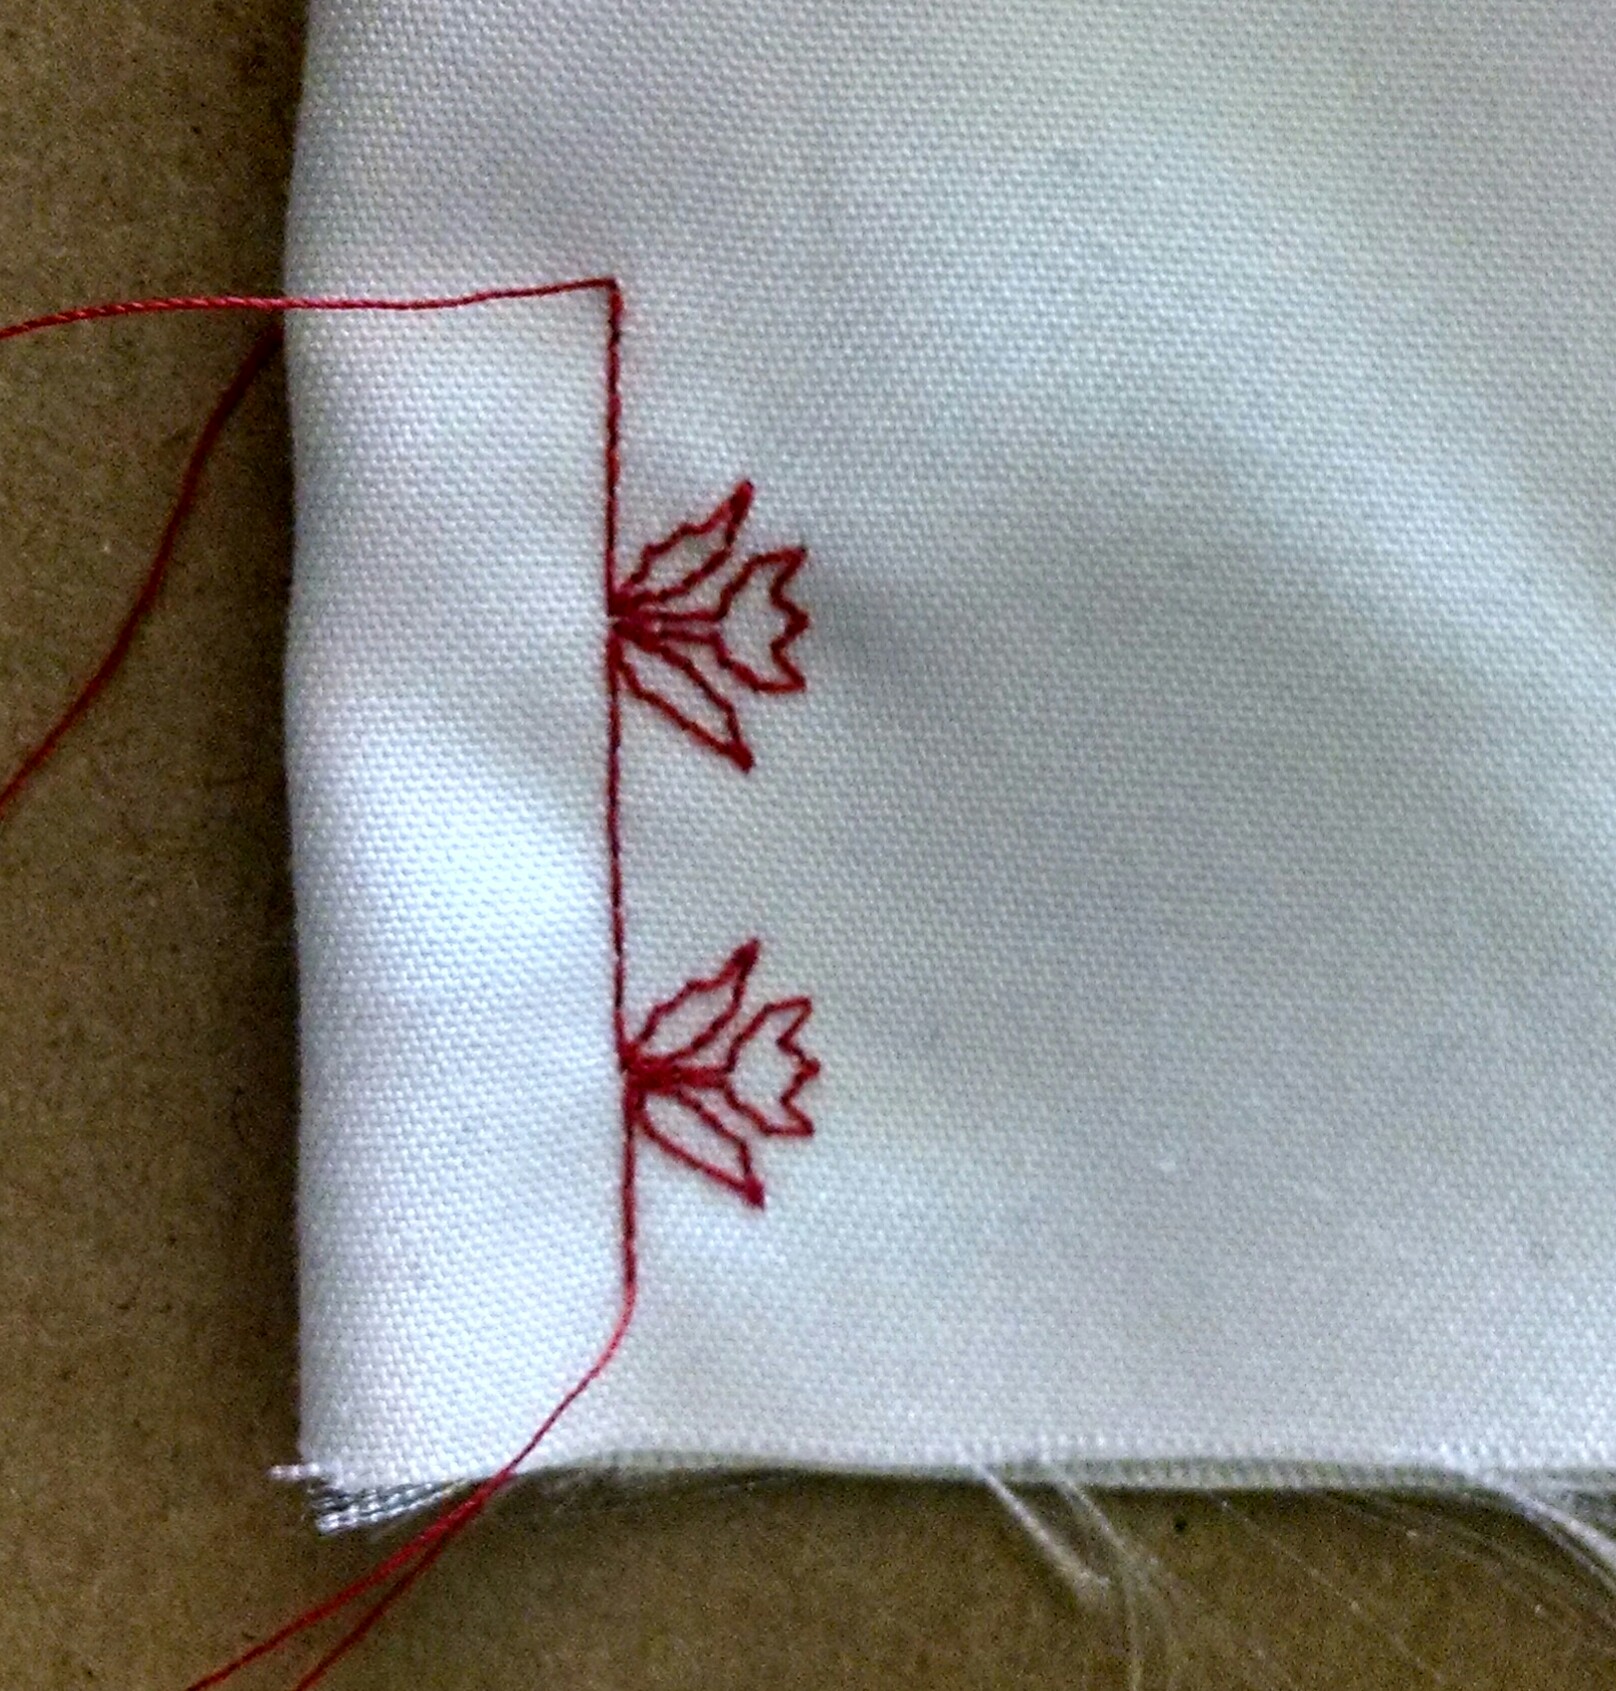
It’s witchcraft!!
Now, I knew the machine could do stuff like this, in theory. I saw the little diagrams on the stitching guide. But actually watching it do it, having the machine basically take the fabric out of my “guiding” hand to start jauntily stitching in complex patterns… Well, let me just say, this was quite a leap from the basic borrowed machine.
We’ll get back to that old girl in an upcoming post…{sniff}
Getting Down to Business
I actually didn’t get the new machine out of the box until after noon on Friday, as I had decided I was first going to cut out every piece of fabric for my second attempt at the black and red Spidey shirt, just to have my least favorite part of the process done.

This time, I used fabric chalk to trace the shapes onto the fabric and then cut them out with my fabric shears. Overall, I think I liked this better, especially for the large pieces. But that method had its frustrations too.
Once I had gotten my feet wet with the new machine’s basic configuration, I attached the walking presser foot and inserted a stretch needle. (As an aside, let me say that the machine did a pretty darn good job sewing the spandex even without these attachments, but I think every advantage helps, especially when you get to the larger, longer pieces that want to get away from you and pull your seams crooked.)
Having determined to start hand basting, I tried some out on scrap fabric first:
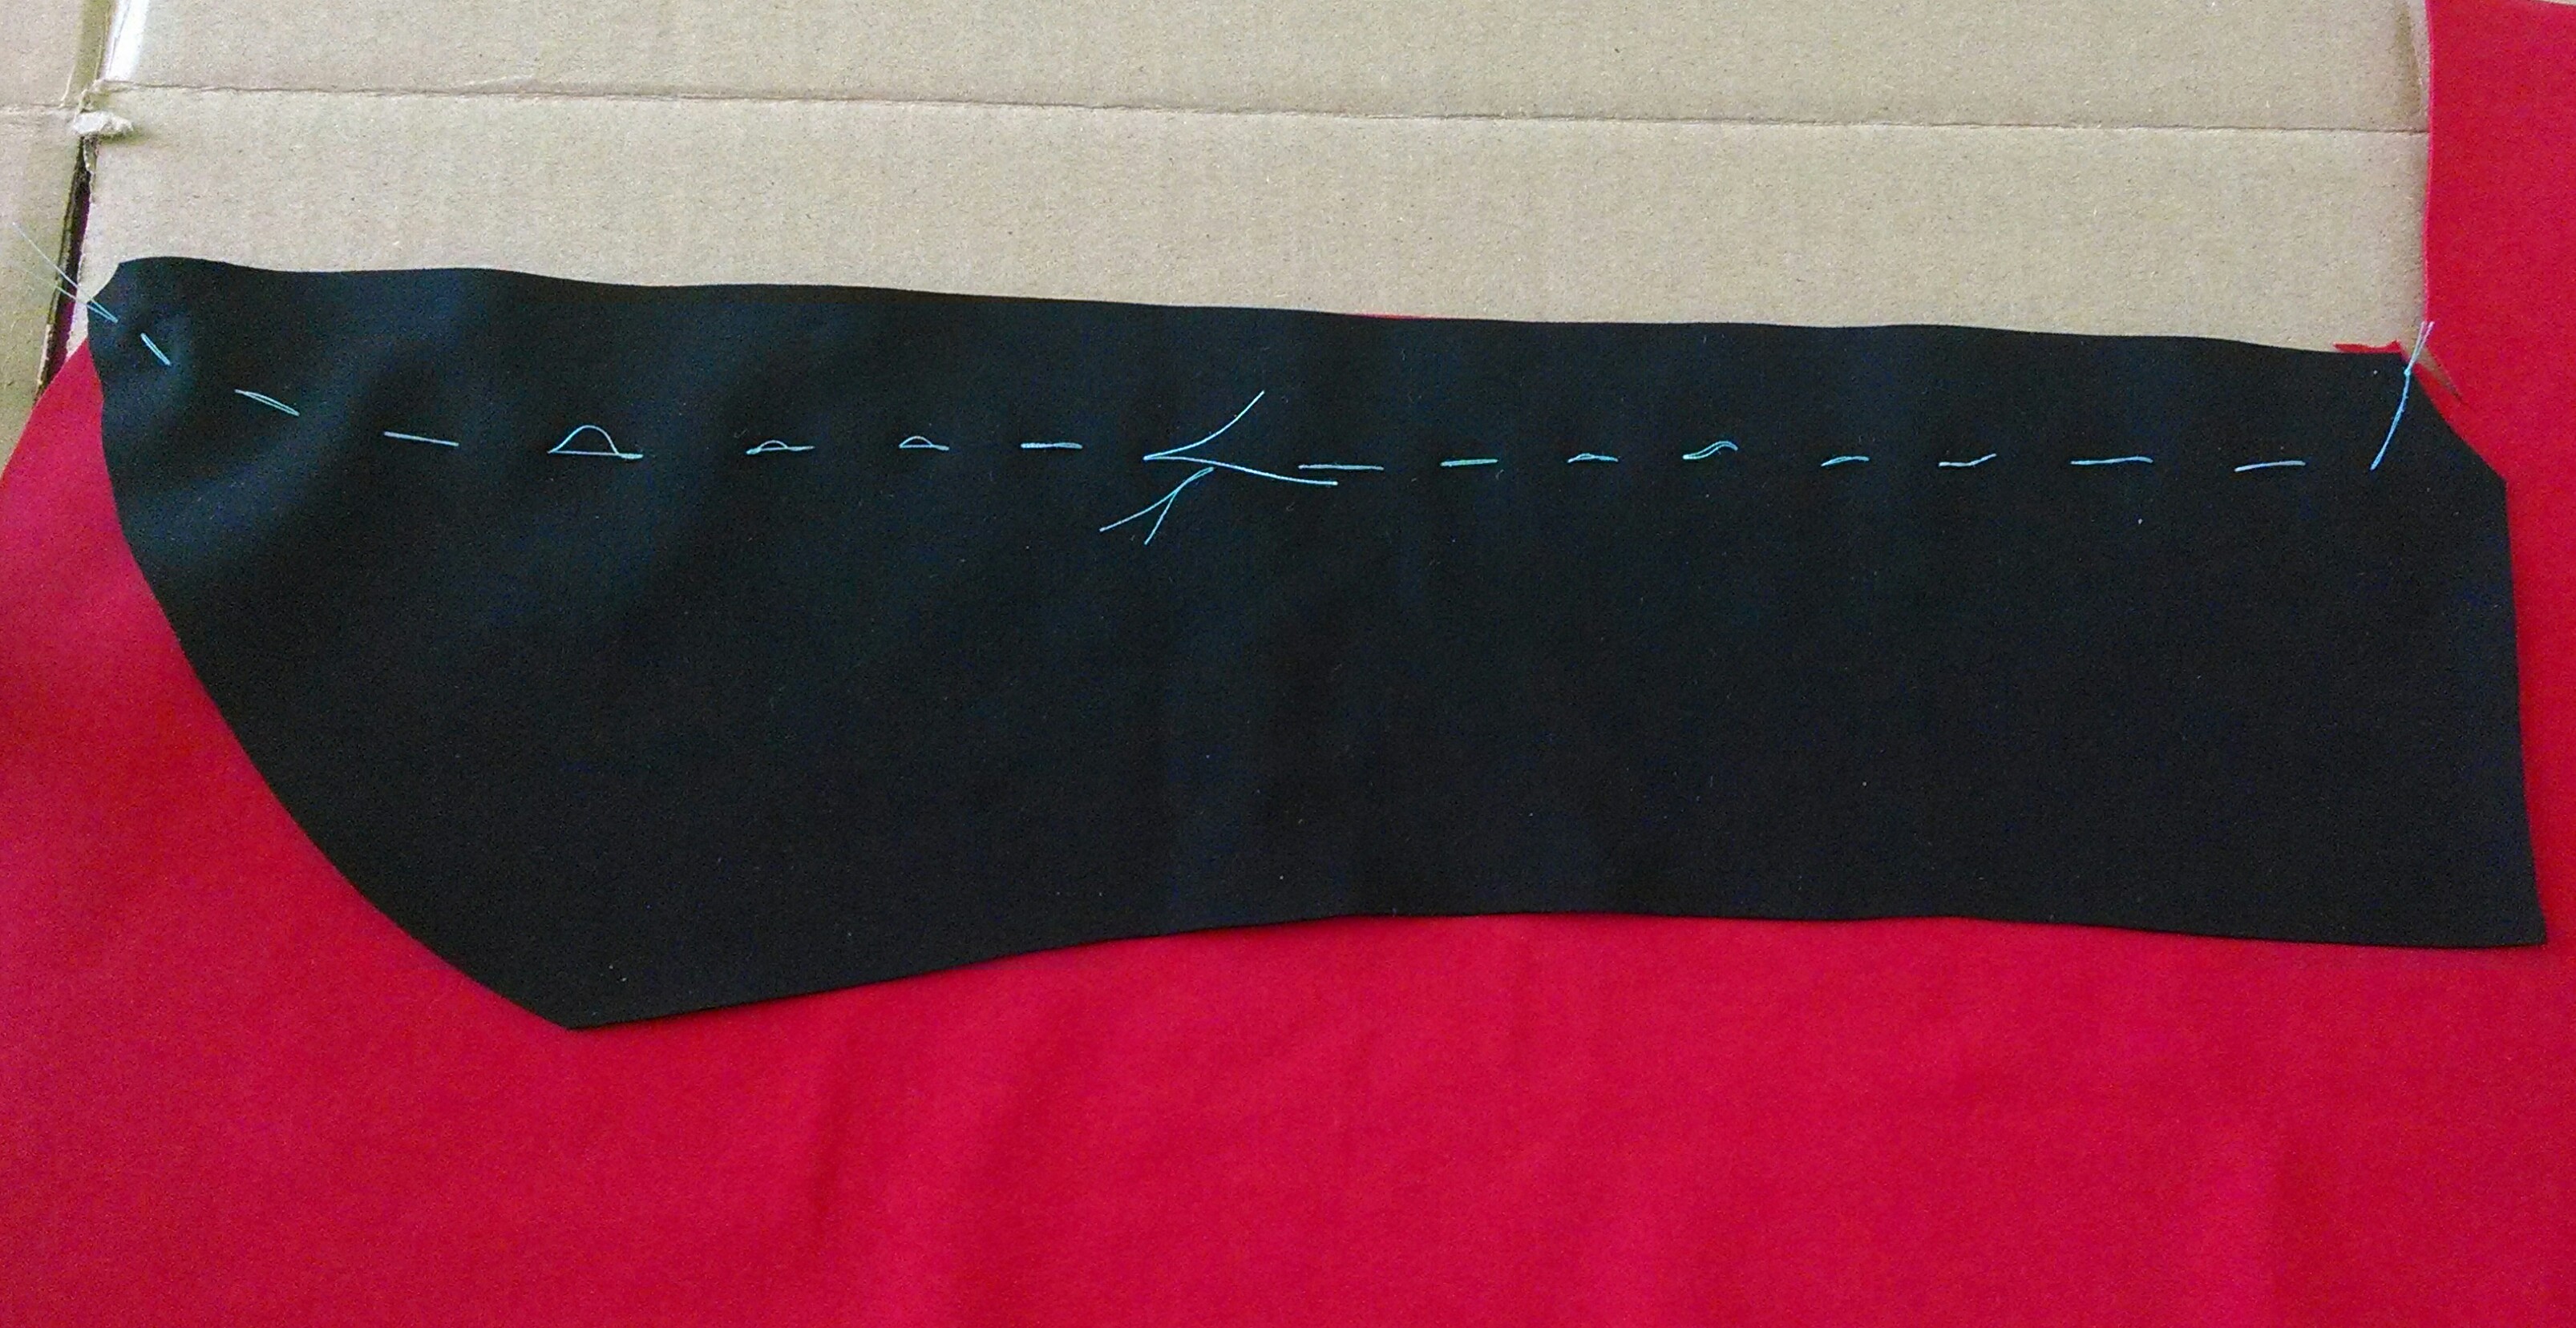
To be honest, I felt not good about it at first, and looked to see if the machine could do a basting stitch. It doesn’t seem to have a setting for that, and even the loosest straight stitch setting did not seem very likely to pull out (which is pretty impressive in its own way, actually).
So I stuck to the hand basting. And now, yeah, I get it. I don’t think I’m good at it yet, but it is worth the effort so far. Thanks again for nudging me in that direction MachineGunMama, and for the video that happened to show that process in action SaiTurtlesNinjaNX!
Anyway, I dug into doing the shirt again, and had some success and some continued frustration. I am getting closer to understanding the 90 degree corners (also in the the video shared by SaiTurtlesNinjaNX), but I got maybe one good corner out of 6! And sewing on extreme curves is something I’m working on. But I have gotten front and back and sleeves done as complete components, have the shoulders sewn together, and hope to get the sleeves attaches, and sleeves and sides closed up this morning and/or tonight (have to work today).

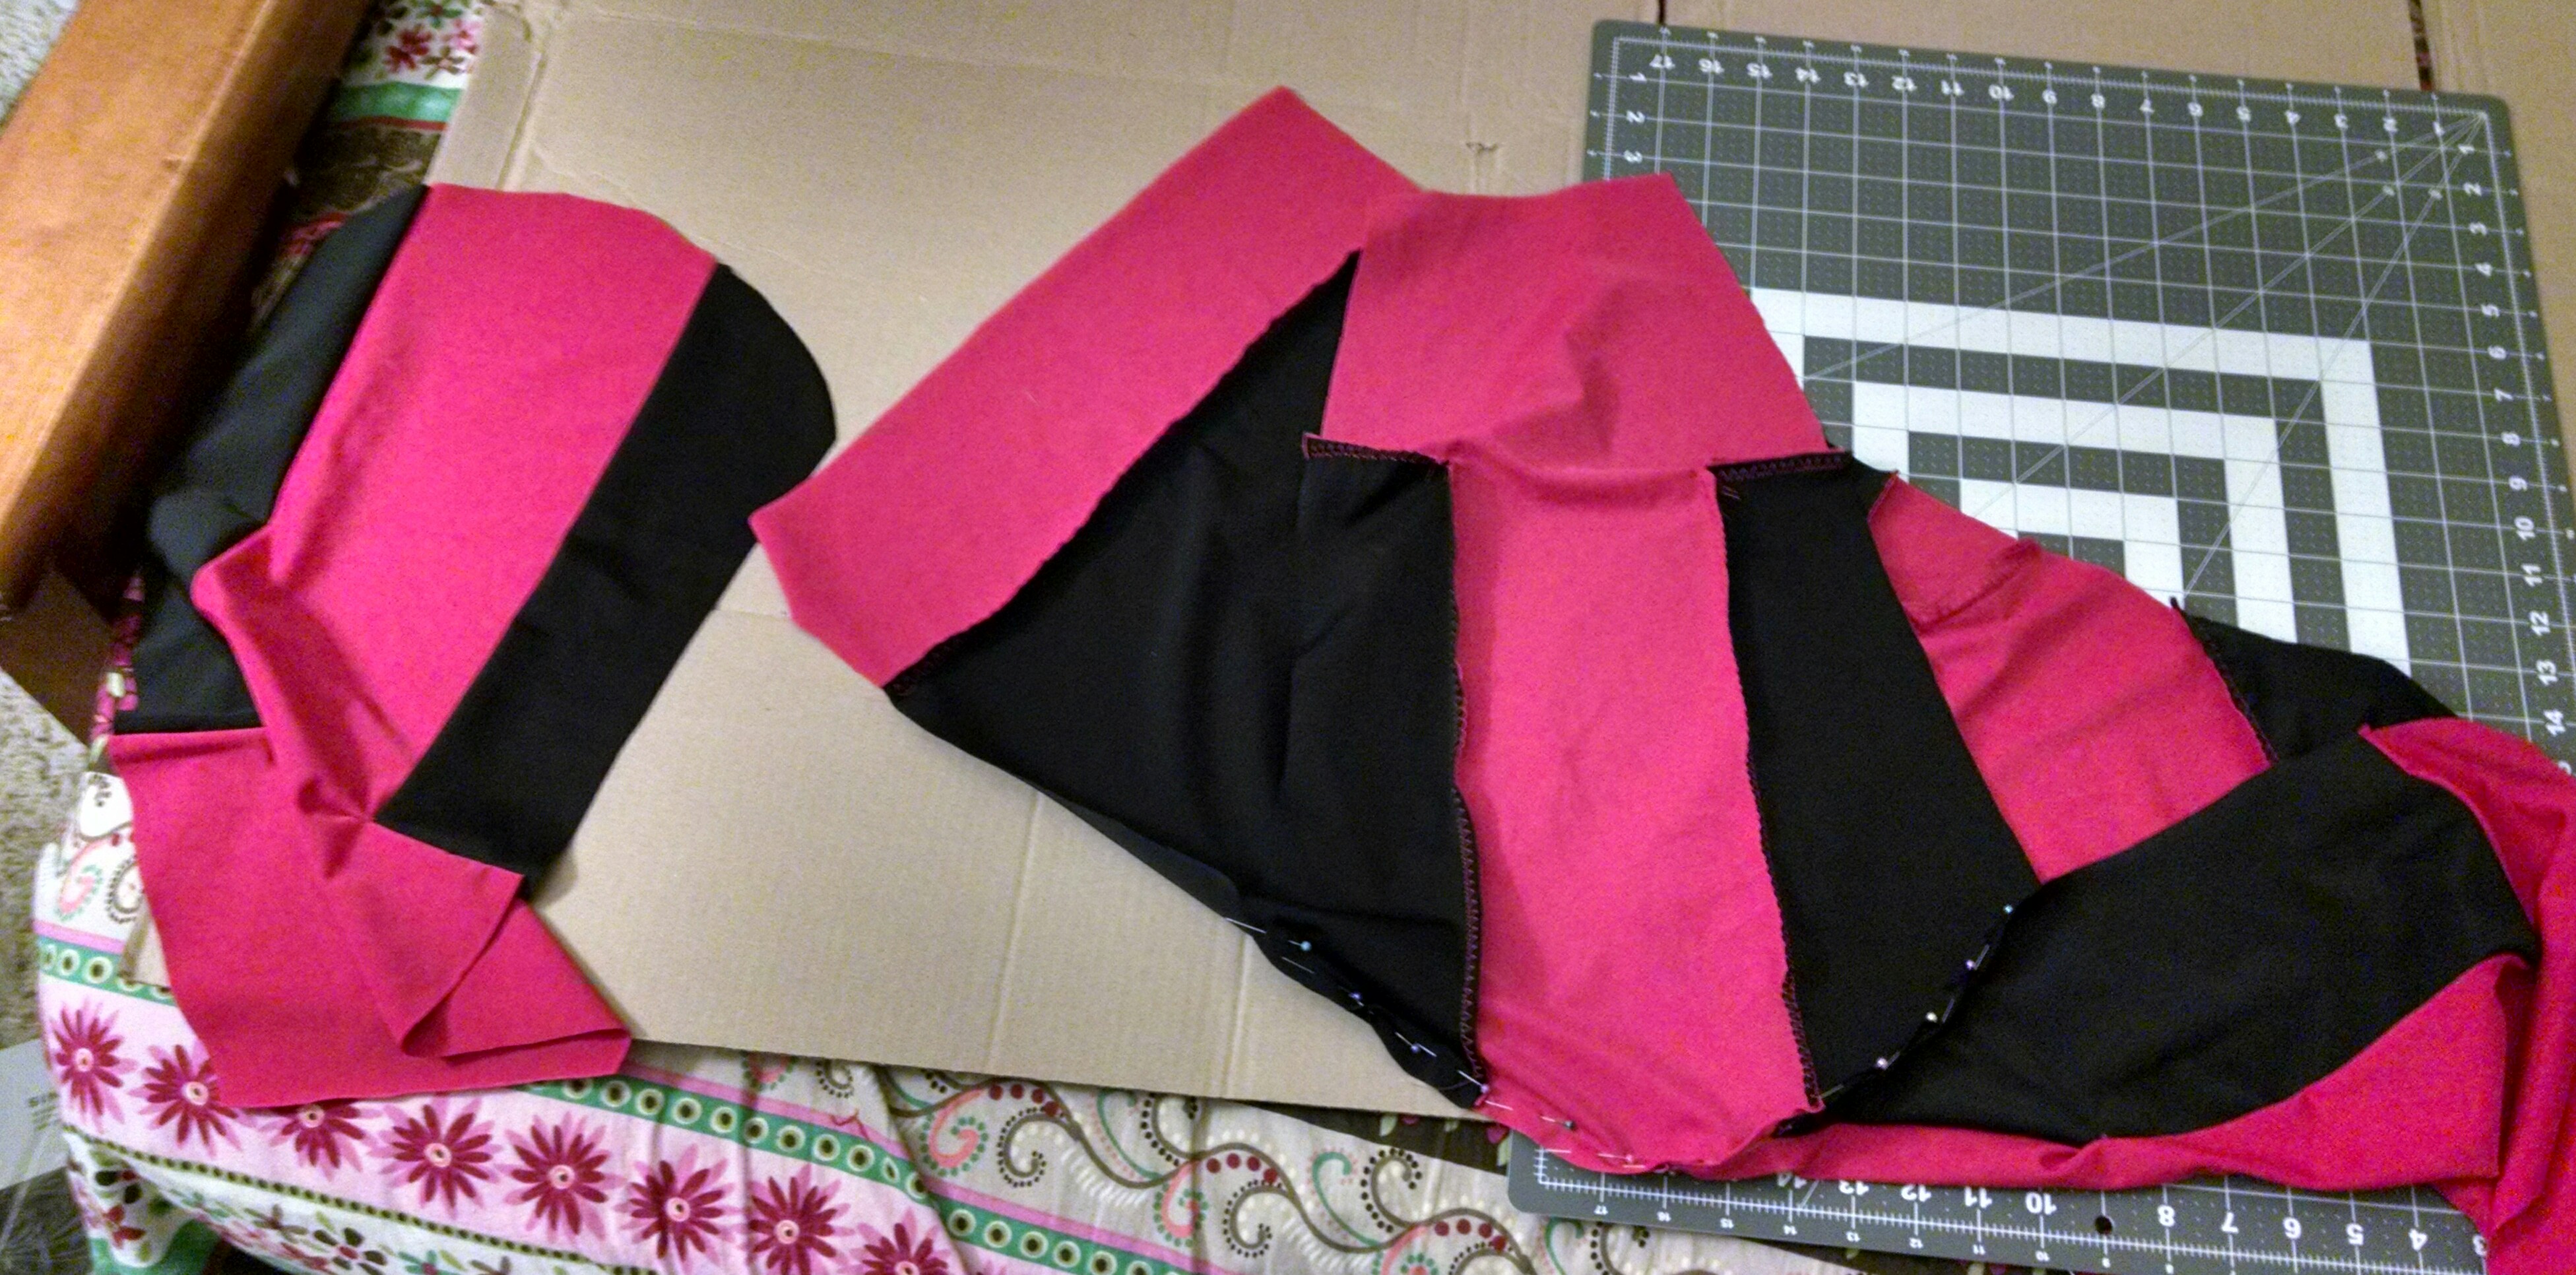
Despite appearances, this is more than a random pile of fabric. Mostly.
I think it will probably turn out mostly wearable, but I think perfecting the DIY shirt should probably be put on hold in favor of working on the mask, gloves, and boots as more specific practice for assembling and sewing the pro printed costume. Even still, this shirt is good practice in general, and I am learning a ton!
And now I will see what I can finish on this shirt before I inevitably have to go to work.
Up Next: Something vaguely resembling a Spidey shirt, maybe? And moving on to other practice tasks (but not until after my girlfriend and I are back from her birthday trip)


.png)


