

I can’t help but start with the most exciting part:
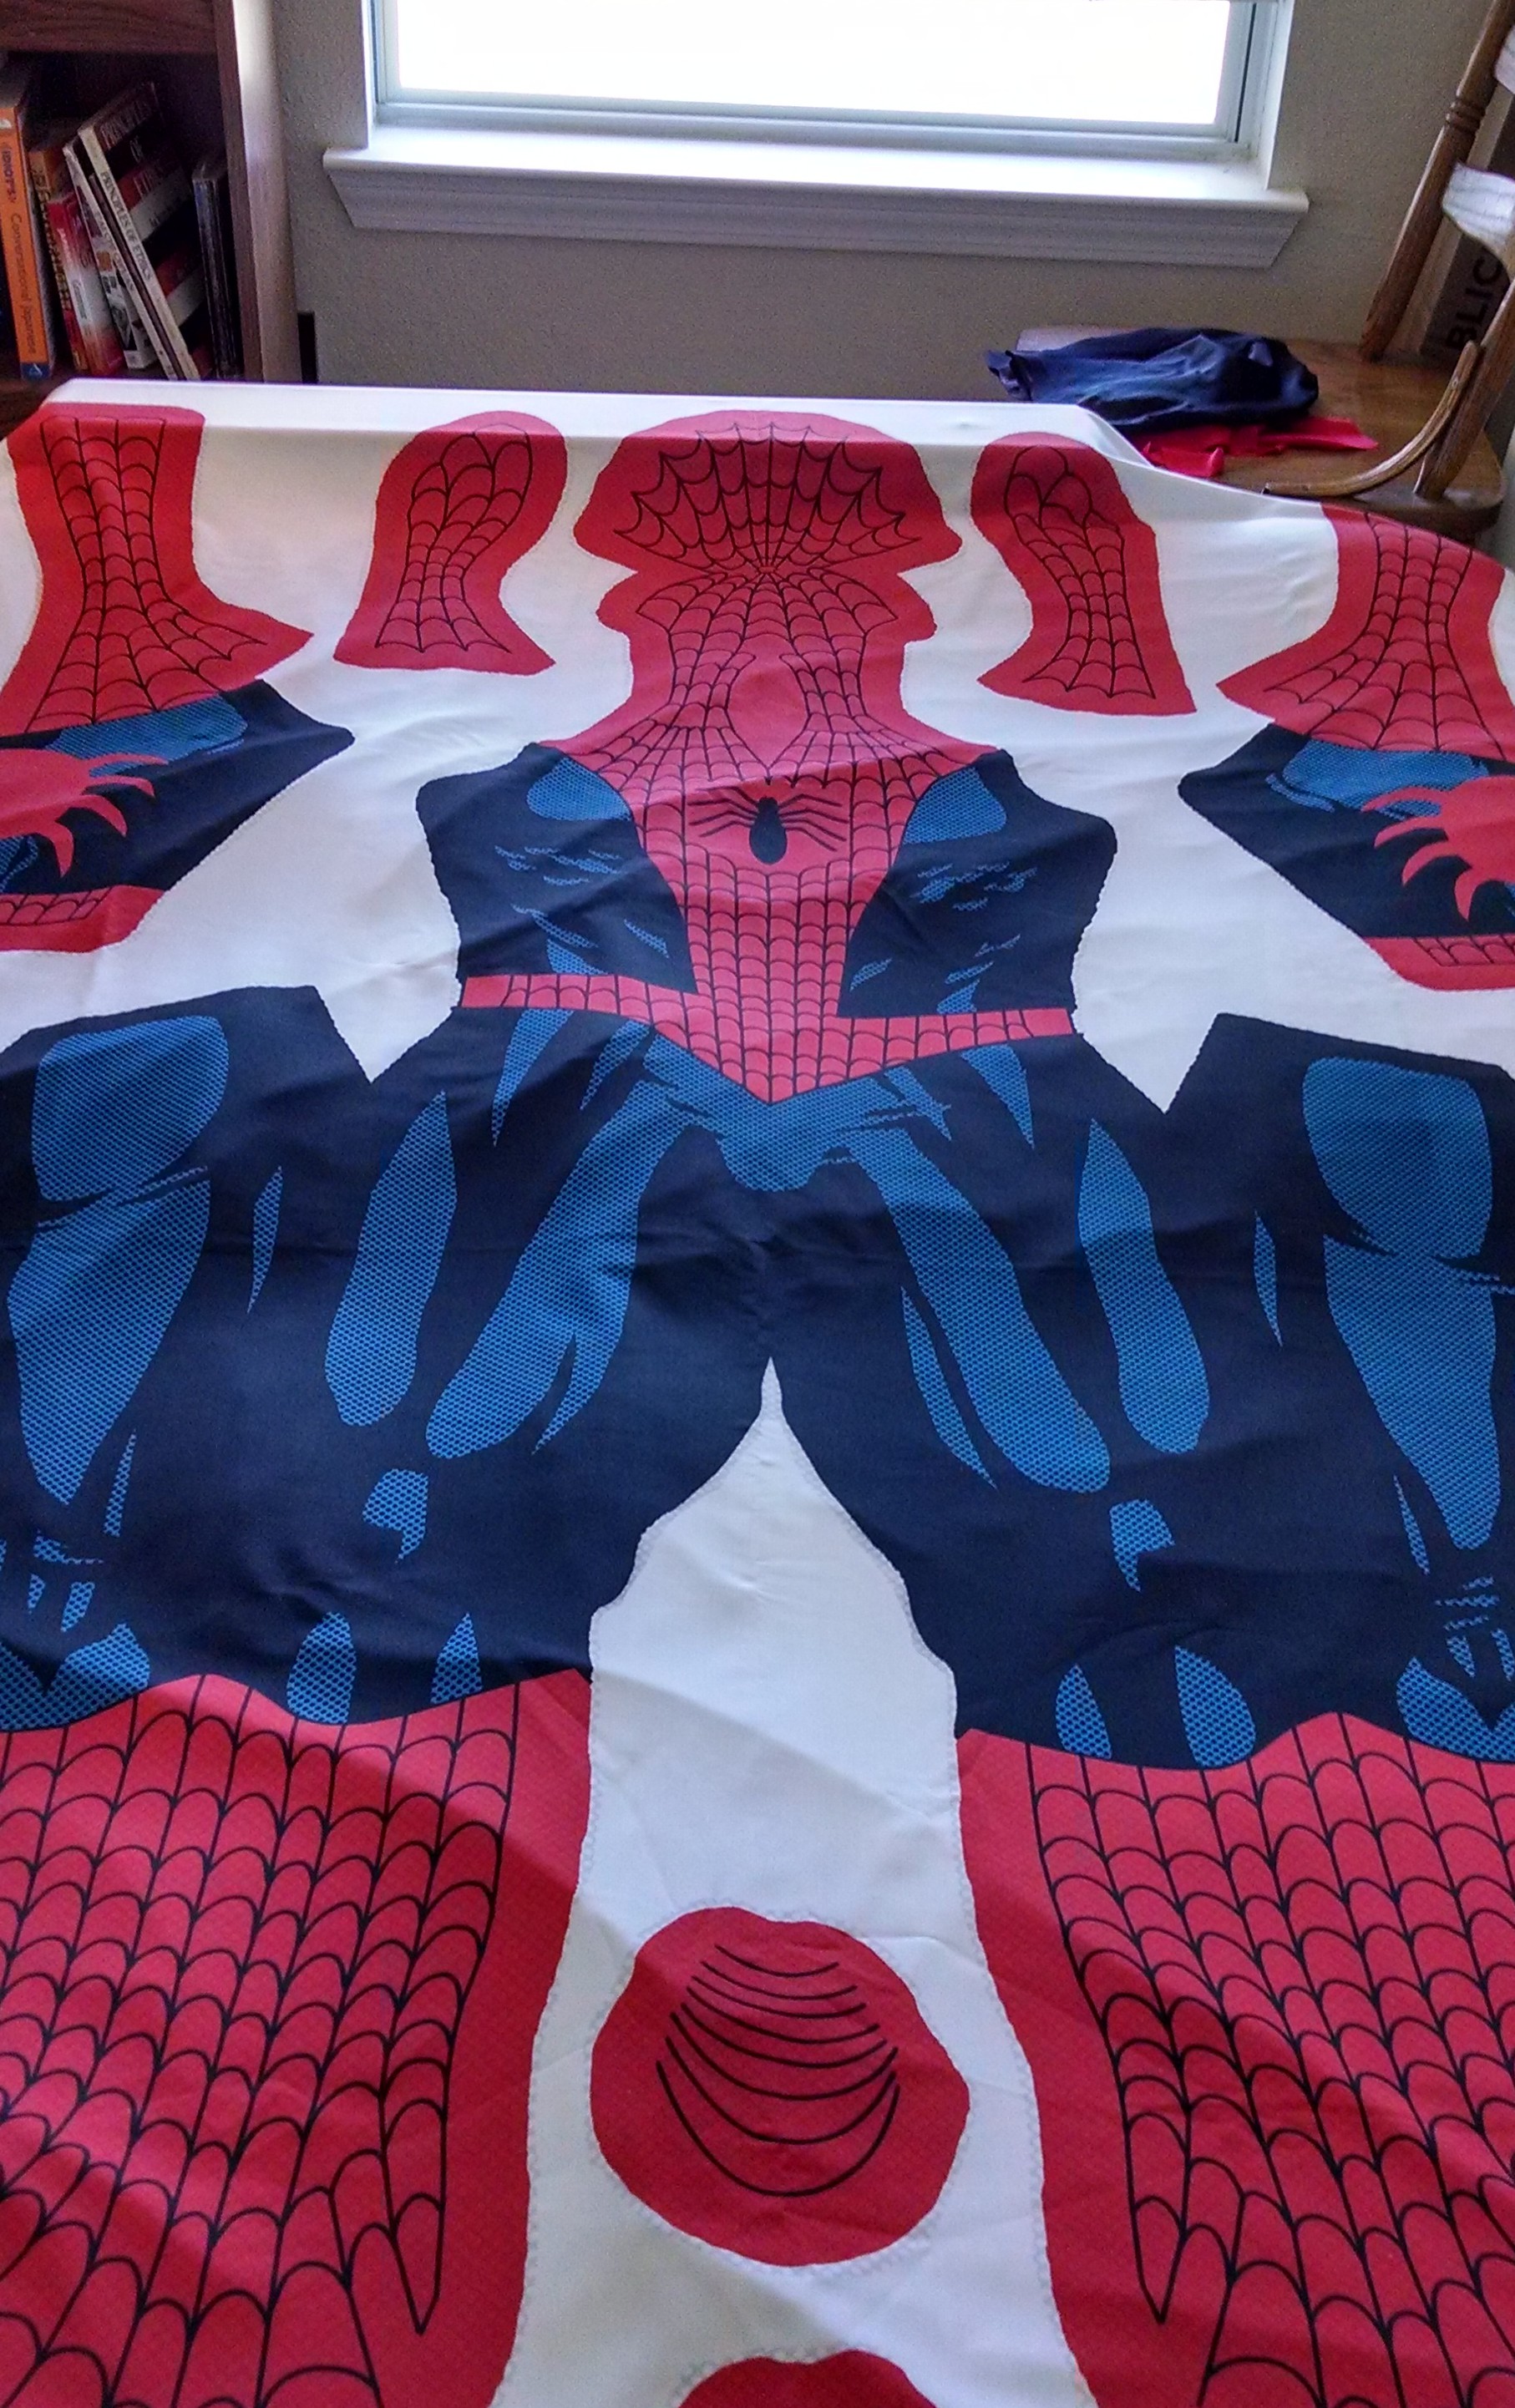
It’s here! I wasn’t expecting it until next week, really, but–there it is. It turned out great! I was pretty confident it would be fine. I had mild concerns about the depth of the black printed on white, but it is really printed exactly like the template image. Thank you Fabric On Demand! (They totally deserve a plug here.)
Of course, as I said before, the only down side of it arriving so soon is that I really don’t want to get started on it before I put in some practice time with specific sewing tasks and skills on the new machine.
Speaking of the new machine…
DELIVERY ESTIMATE Thursday, July 17, 2014 by 8:00pm
Shipped
So, I’ve got the custom fabric and my new supply of red and black fabric, but no machine yet!
But that’s okay. I don’t have time to play with my new toys until tomorrow anyway. 🙂
DIY Costume: A New Old Shirt Pattern
In the course of working on my original DIY costume components, I had started with a fairly basic long-sleeve shirt pattern that I threw together, but then I got it in my head that I didn’t like the sleeve seams, and proceeded to go out of my way to come up with an alternative, with sleeve seams that angled inward toward the collar.
Incidentally, I have since learned that this is called a Raglan Sleeve. It has one of the shortest Wikipedia entries I have ever seen, but then again, the fact that a subset of shirt sleeve has a Wikipedia entry at all is a sign that we truly live in an Information Age. I guess.
Anyway… I have made two shirts using that pattern now–the original black one, and the experiment in using the red and black fabric–and in both cases adding the higher collar was a pain in the butt, to the extent that in the first case it almost ruined the shirt and in the second case it did end up ruining the shirt (but that shirt had other issues).
But even the successful addition of the add-on high collar adds a seam in a very undesirable place for what should be as streamlined a costume as possible.
So, long story short (too late?) I have decided to revert back to the traditional sleeve seam pattern, which allows a high collar that is not a separate piece. I made some tweaks to the way the sleeves attach, but otherwise it is much like the original pattern I used.
You’ll also see that I made patterns for the separate pieces that will be black in contrast to the red of the main components. I have yet to cut out the portions of the main component that will be comprised of black. I want to duplicate those portions in case I want to use them for single color tunics in the future.

The main torso red part is folded in half on the left, the front and back black portion half-patterns in the middle, and the sleeve red and black portions on the right.
So, that’s the shirt. With this pattern, I will end up with a nice shirt and not have to add on a high collar. I would like to try my hand at properly doing collars on more traditional long sleeve shirts (i.e. not spandex costume shirts) down the road, but that’s for later.
Today, I hope to print out the modified mask pattern as well, and–when I get the chance–go ahead and cut out the fabric for shirt, mask, gloves, and boots all at once, so I can then focus on hand-basting and sewing it all together.
I am considering making glove and boot patterns based on the costume template as well. The more practice I get with assembling and sewing seams like those on the costume, the better!
And just so it doesn’t feel left out of the picture-sharing…my new stock of red and black spandex:
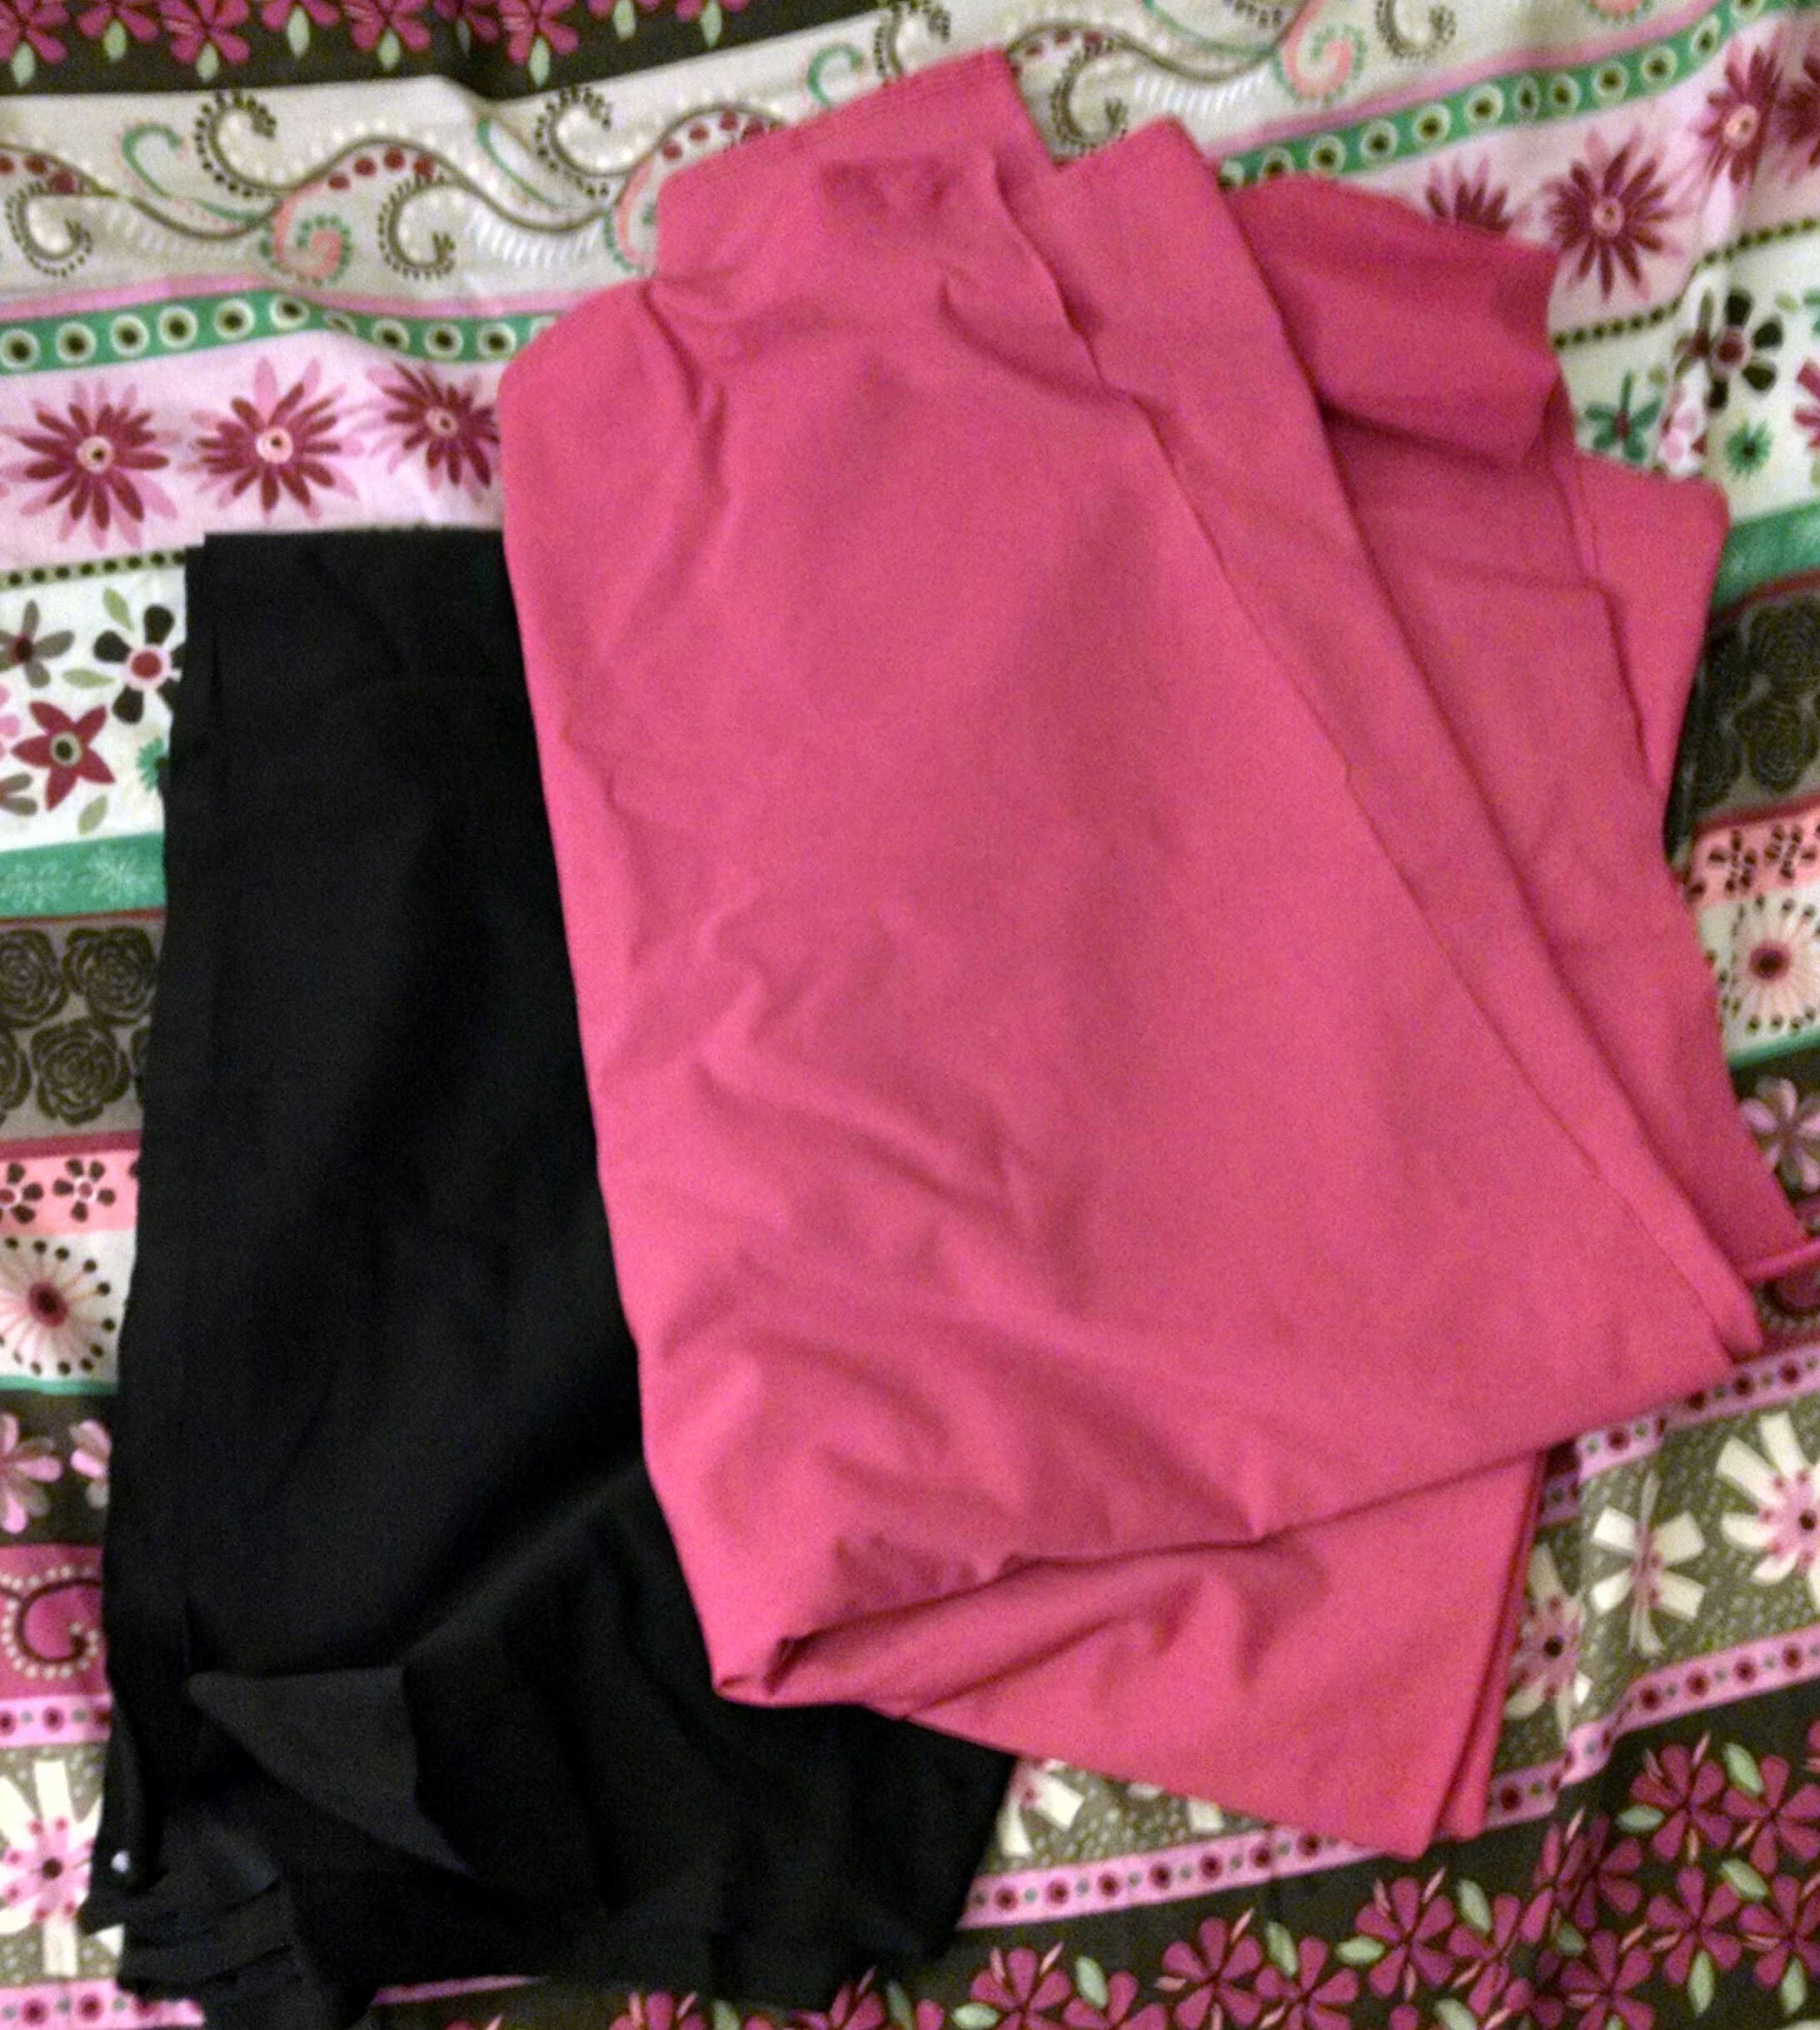
Yep. That is fabric all right…
Now, just need to get a sewing machine up in here and we’re in business!
Up Next: Is it time to actually do some sewing yet?
