

So, there comes a time when careful planning and preparation must give way to action. Whether it be in matters of love or war or–well–Spider-Man costume making.
I got some pointers about ink on dark fabric from an artist who has done some screen printing. I had wondered whether doing multiple coats was an option, and this artist verified that yes, there is a precedent for that. You just have to “register” the screen with the fabric, which basically means clamping the two together so that the coats get laid down in the exact same place. That way you can lay down a coat of ink, let that dry a bit, and then lay down another one, etc.
I did some experimenting along these lines by laying another coat over the existing test prints on my test shirt. These coats are not lined up, as they are done at completely separate times without “registering,” but they illustrate how much difference a second coat makes:
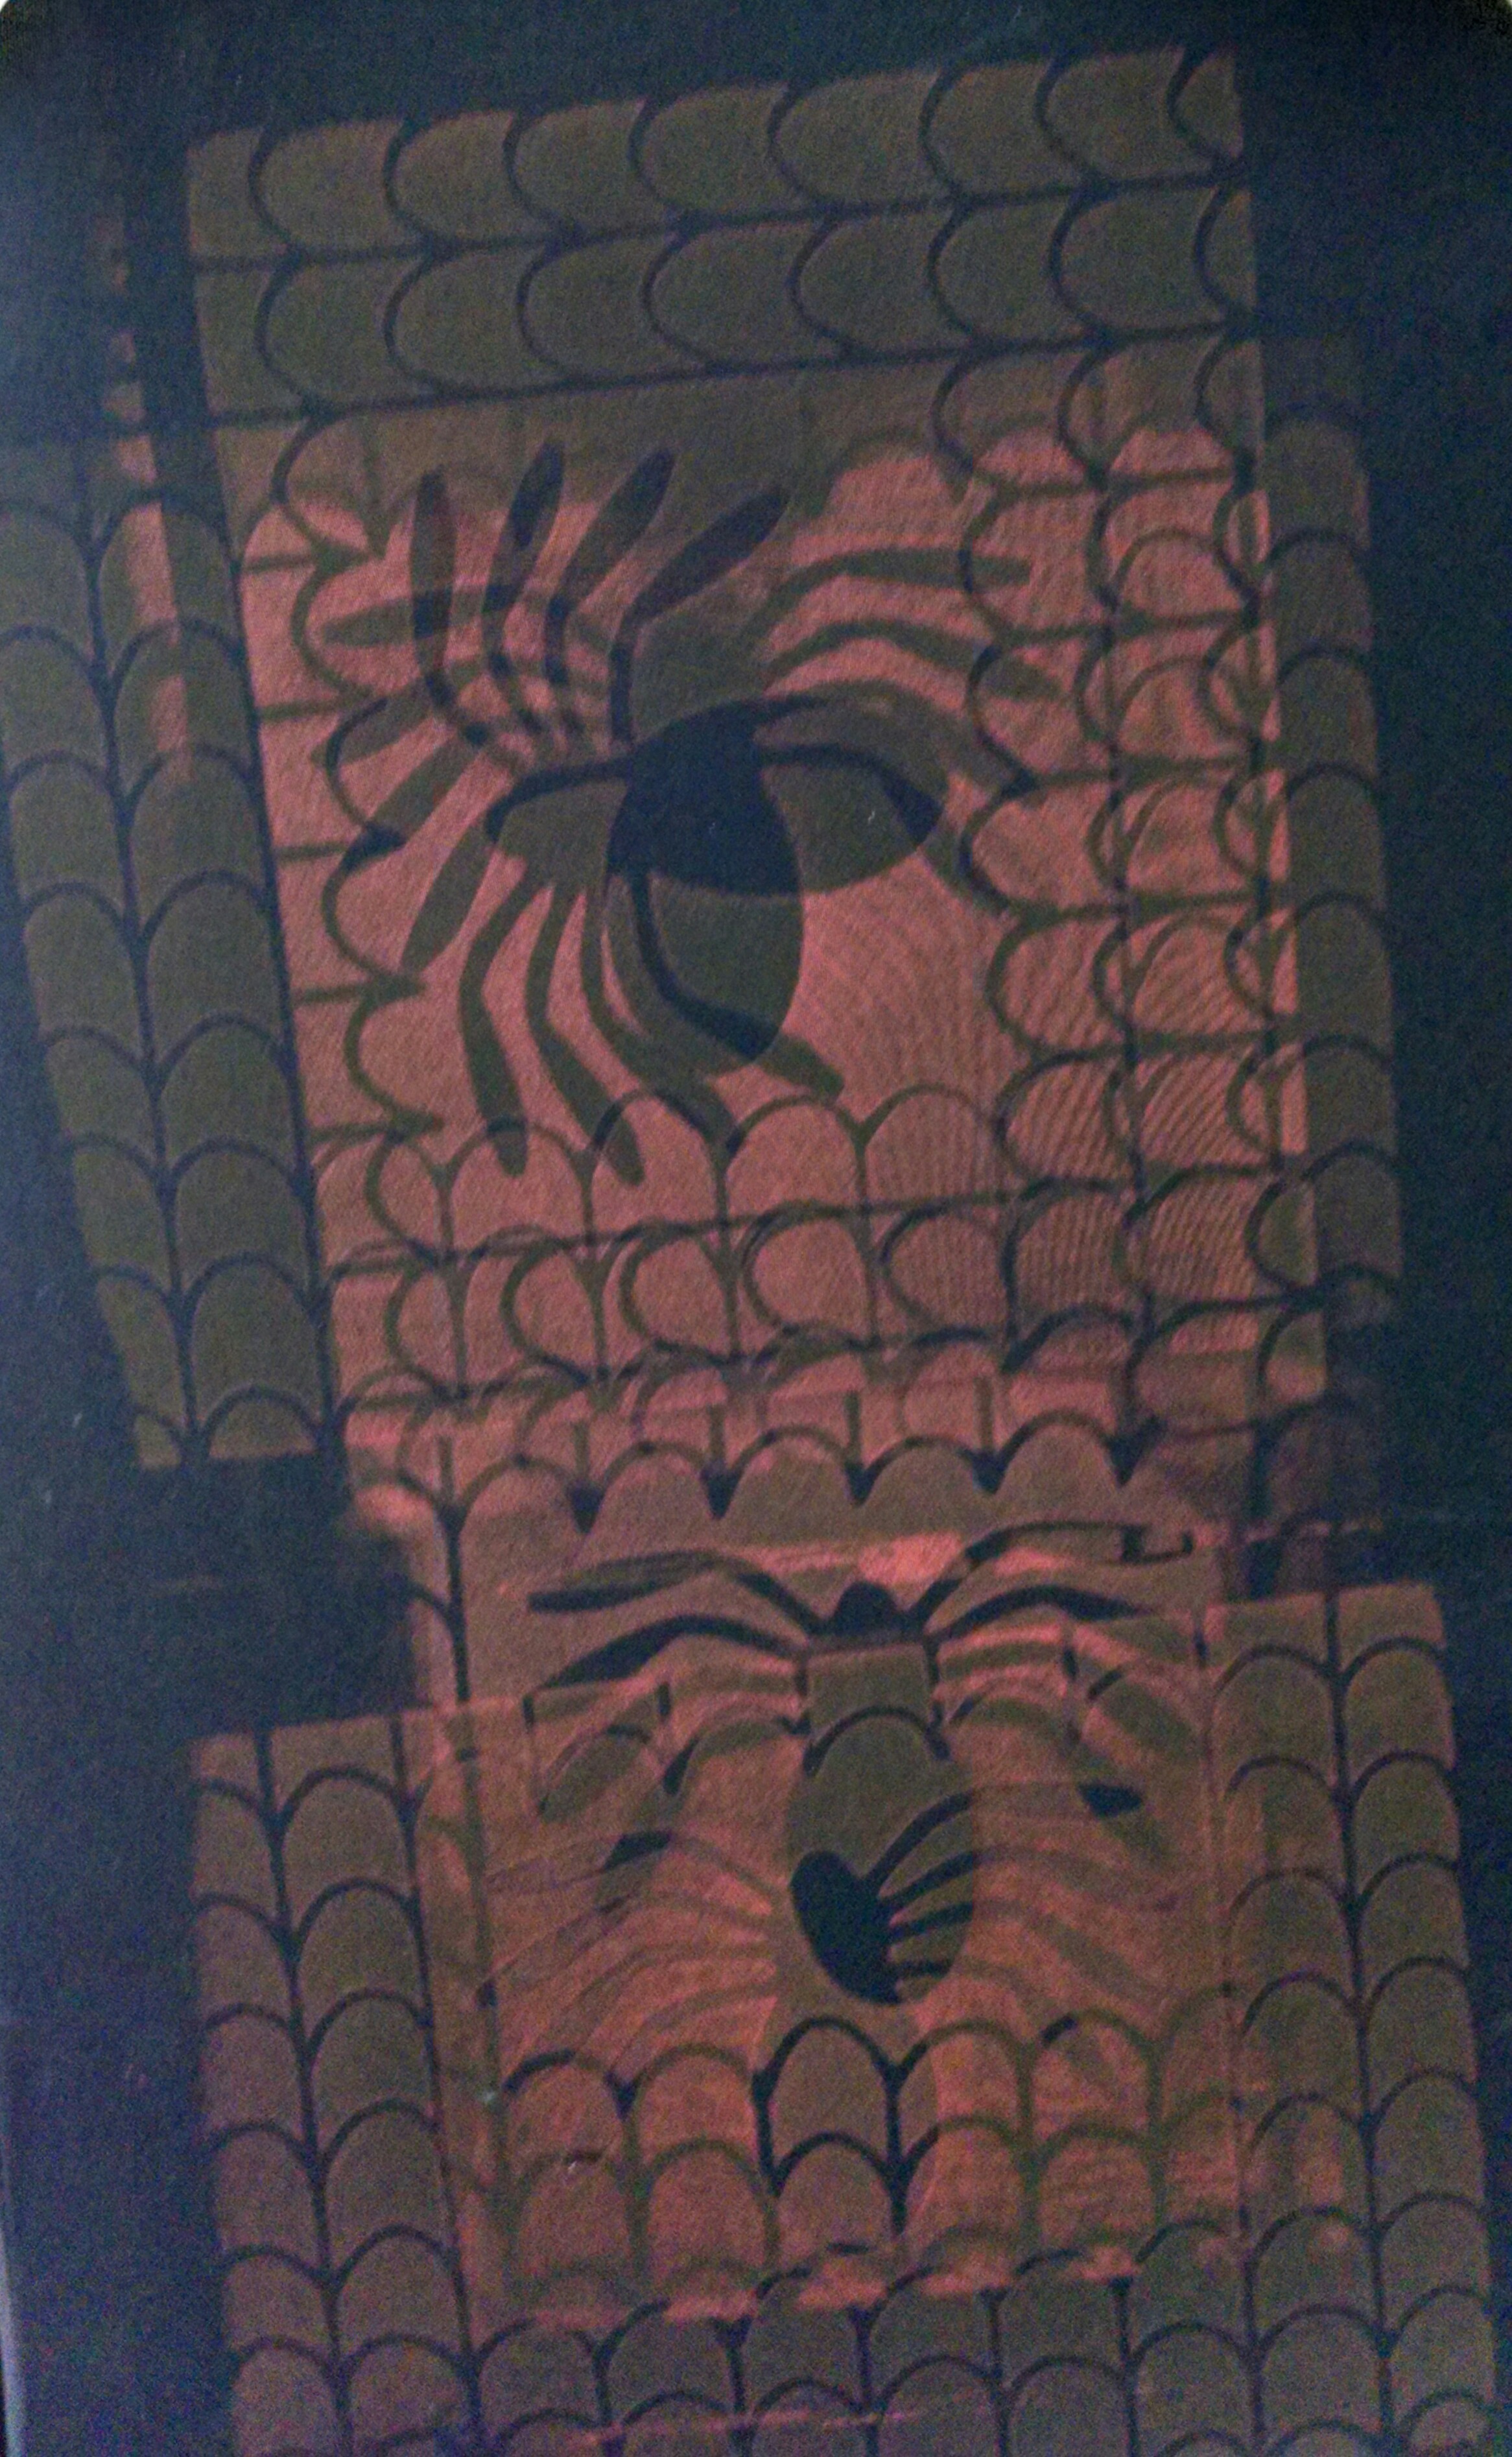
You can compare the overlapped portions in the middle with the non-overlapped (underlapped? No,that doesn’t make sense…) around the sides. On the bottom, I had even played around with adding ink and doing another swipe immediately after the first, but that made a negligible difference and also seemed to create more unevenness of coverage.
Anyway, that’s encouraging. I think three–maybe four–coats will do it. I will add another layer to this test later on to see if three will do. I’d like to avoid getting a layer of ink so thick that it will restrict stretch and be prone to cracking.
I’m okay with the red having sort of a cool blackish and gritty look as long as it is clearly contrasted from the unprinted black fabric.
I also successfully completed attempt #3 for the wide webbing pattern that will end up as the base of the torso front and back. I was *very* happy with the job I did applying the emulsion this time, and think I will do even better on the upcoming screens.

And, while I do feel like I’m on the verge of really starting to screen print the actual costume, there is one rather important aspect to figure out, and that is how to precisely line up the separate sections of printing on the costume*. This will matter most for printing the shirt, especially the connection between the chest emblem pattern and the way its web pattern “frame” interacts with the patterns below and above it.
But if I can figure that out tonight and tomorrow, then I would love to go and get some ink laid down on the costume shirt. And I suppose I just have to be ready to sew a new shirt if it comes down to it! ![]()
*Update: Ha. Once I started mocking it up in Inkscape with shapes and layers and such, I realized it was actually simple. Well, in concept, at least.
The horizontal positioning was easy enough anyway; I just make guide lines on either side of the frame to make sure that the second print matches the first one horizontally.
For the vertical, though, all I have to do is carefully measure the height of the first print and position the first frame that amount below the first, and that will line up the top of the second print with the bottom of the first. That’s for lining up the torso base web pattern with the chest emblem pattern.
For the left and right shoulder web patterns, above the chest emblem, they will be offset horizontally by half the width of the chest emblem pattern. Still, simple concept.
I’m sure someone who’s good at math and such could have figured this out in his or her head, without the need to visualize it, but hey, I’m a picture kind of guy.
