The First Attempt
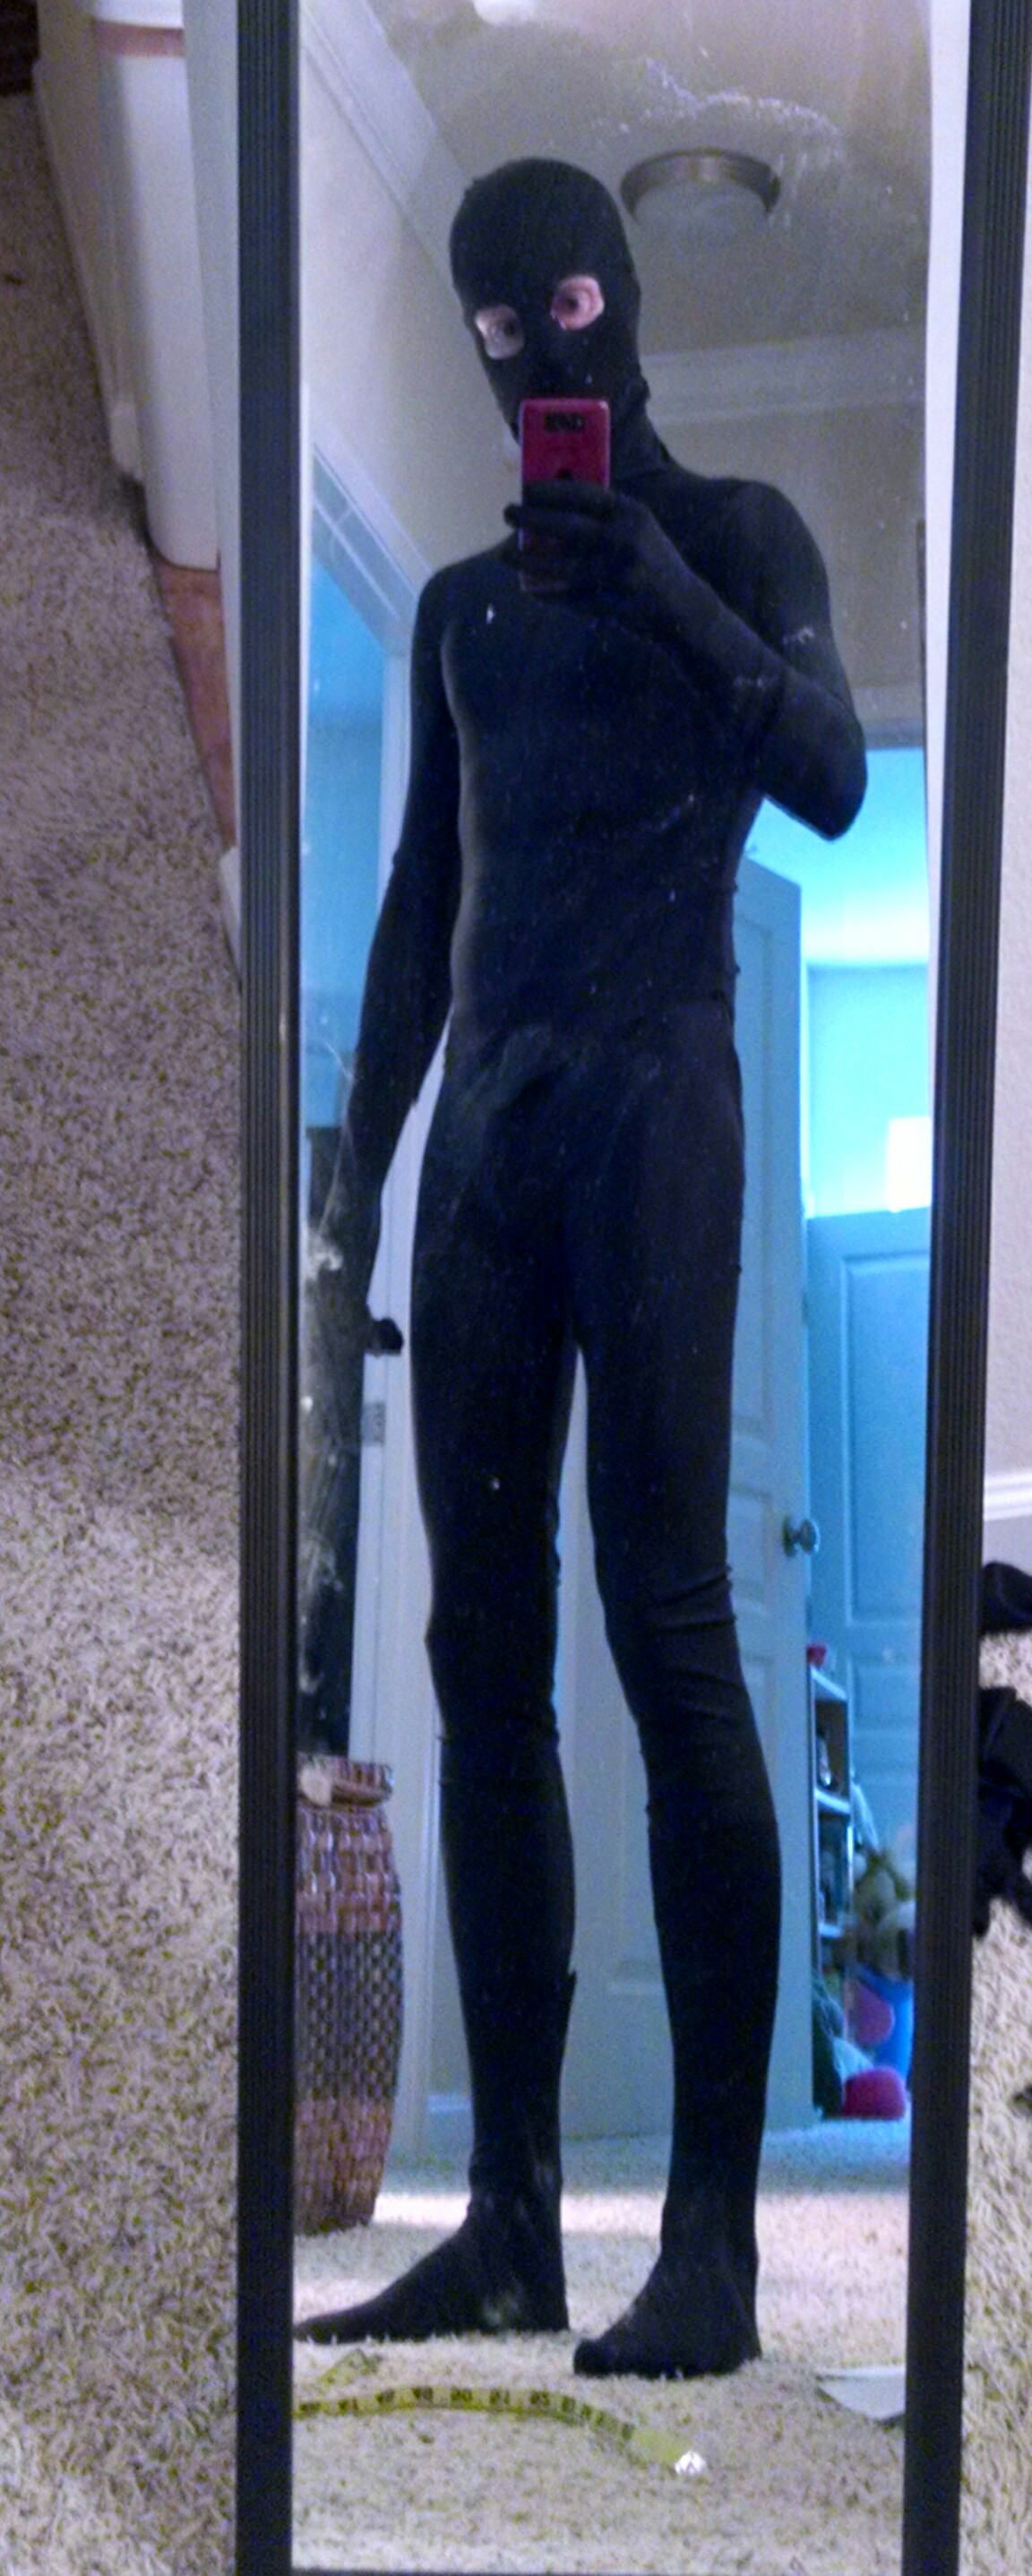
I finally got some time to put in with the sewing machine and spandex. Pictured above is my first attempt at the leggings mentioned in the previous post. I didn’t get around to hemming the ankles because of other issues. The other issues are cropped out of the picture because no one really wants to see that.
These leggings really were actually pretty easy, overall. Now, being inexperienced at sewing with spandex–and sewing in general–I did a fair bit of research and practice first to make sure that I could actually get stitches into the fabric. Here’s what I learned.
Of Stitches and Presser Feet
I’m still using a capable but very basic borrowed sewing machine, and the only real “hardware” tweak I was willing to invest in was a set of stretch needles. I will be able to use those on whatever machine my girlfriend and I end up buying (and yes, we do want to buy one!).
But my research indicates that for sewing spandex I, ideally, need a machine that has settings for a “stretch stitch,” and it might be nice to have an “overlock stitch” as well. Plus, it would ease some stress to have a rolling presser foot and/or a presser foot that basically has its own “feed dogs” (who decided to call them that?). Essentially, this helps fabrics like spandex feed evenly on top and bottom to help avoid bunching and puckering and other such unpleasantness. I could certainly purchase one of those types of presser feet for this machine, but again, I’d rather avoid any further investment in hardware for this machine if I can get away with it. (Then again, that might be nice repayment for my friend who let me borrow it, to return it with “extras.”)
In any case, I discovered that by using a decent zig zag stitch, and by going slow and steady with the sewing, I could stay on the straight and narrow, and avoid puckering and wonky stitch lines for the most part. At least for the main seams, where I had a good stitch allowance.
Sewing near the edges–as was required for sewing in the elastic at the waist–was another matter. I got the job done, but that was an exercise in frustration. I think this is where a smoother feed setup would be really helpful. Or it might just be a matter of practice. But it’s probably a combination of both.
Incidentally, I tried the method of using a layer of tissue as a stabilizer. Maybe I wasn’t doing it right, but I found the added frustration and higher level of preparation outweighed the benefits, especially considering the benefits for me were zero. I am sure there are situations where that practice is invaluable, but it was not a solution for my needs.
In summary, my research and practice yielded the following:
1) Use a stretch needle: I could not lay down a single stitch before I got that needle in the machine!
2) Pin your fabric! Plus, for me, orienting the pins perpendicular to the stitching (where possible) and aiming the pointy parts in toward the main body of fabric made removing them while sewing easiest. I did have to pin parallel to the elastic when it came to that part, though, since the elastic was too narrow for the opposite approach.
3) Tweak settings for a good zig zag stitch: If you don’t have a stretch stitch setting, then play around with getting a decent size zig zag stitch. I think that also made a big difference in puckering and avoiding the machine “eating” the fabric.
4) Slow and Steady: If I tried to go too fast, the top and bottom feed of the fabric was uneven on my borrowed machine, so I had to be sure to keep to a low to moderate speed. I would add here that another item for my sewing machine “wish list” is more fine-tuned foot pedal control.
Also, let me just do a THANK YOU SO MUCH paragraph for the authors/creators of the content at the following links: So Sew Easy Leggings Pattern (of course); How to Sew Lycra without Puckered Seams; Sewing with Stretch Knit Fabric; Sewing Stretch Fabrics without a Serger
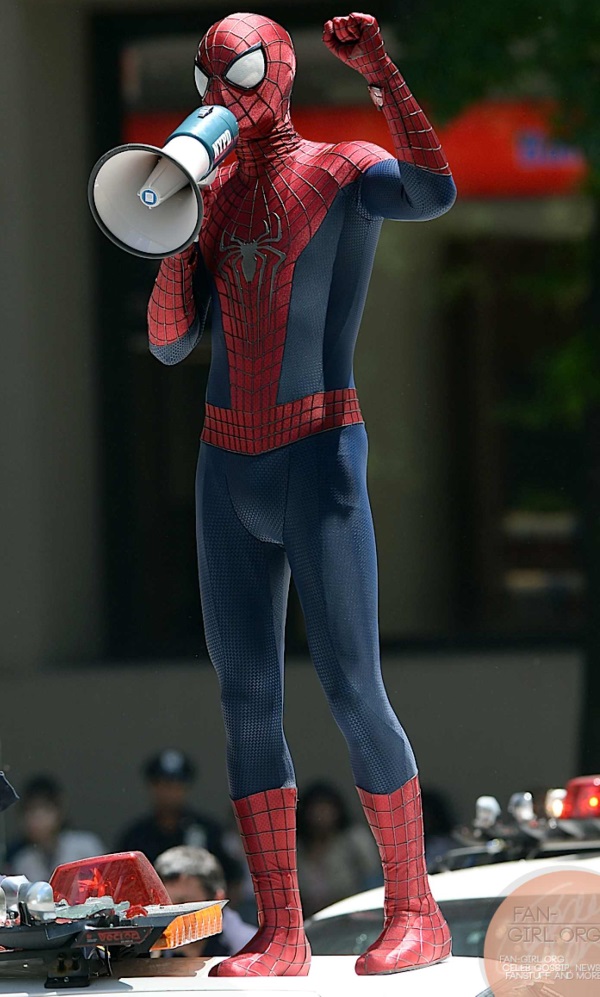
And anyone else I forgot. The Internets can be so helpful! How could Peter Parker have ever made a costume without the Interwebs?
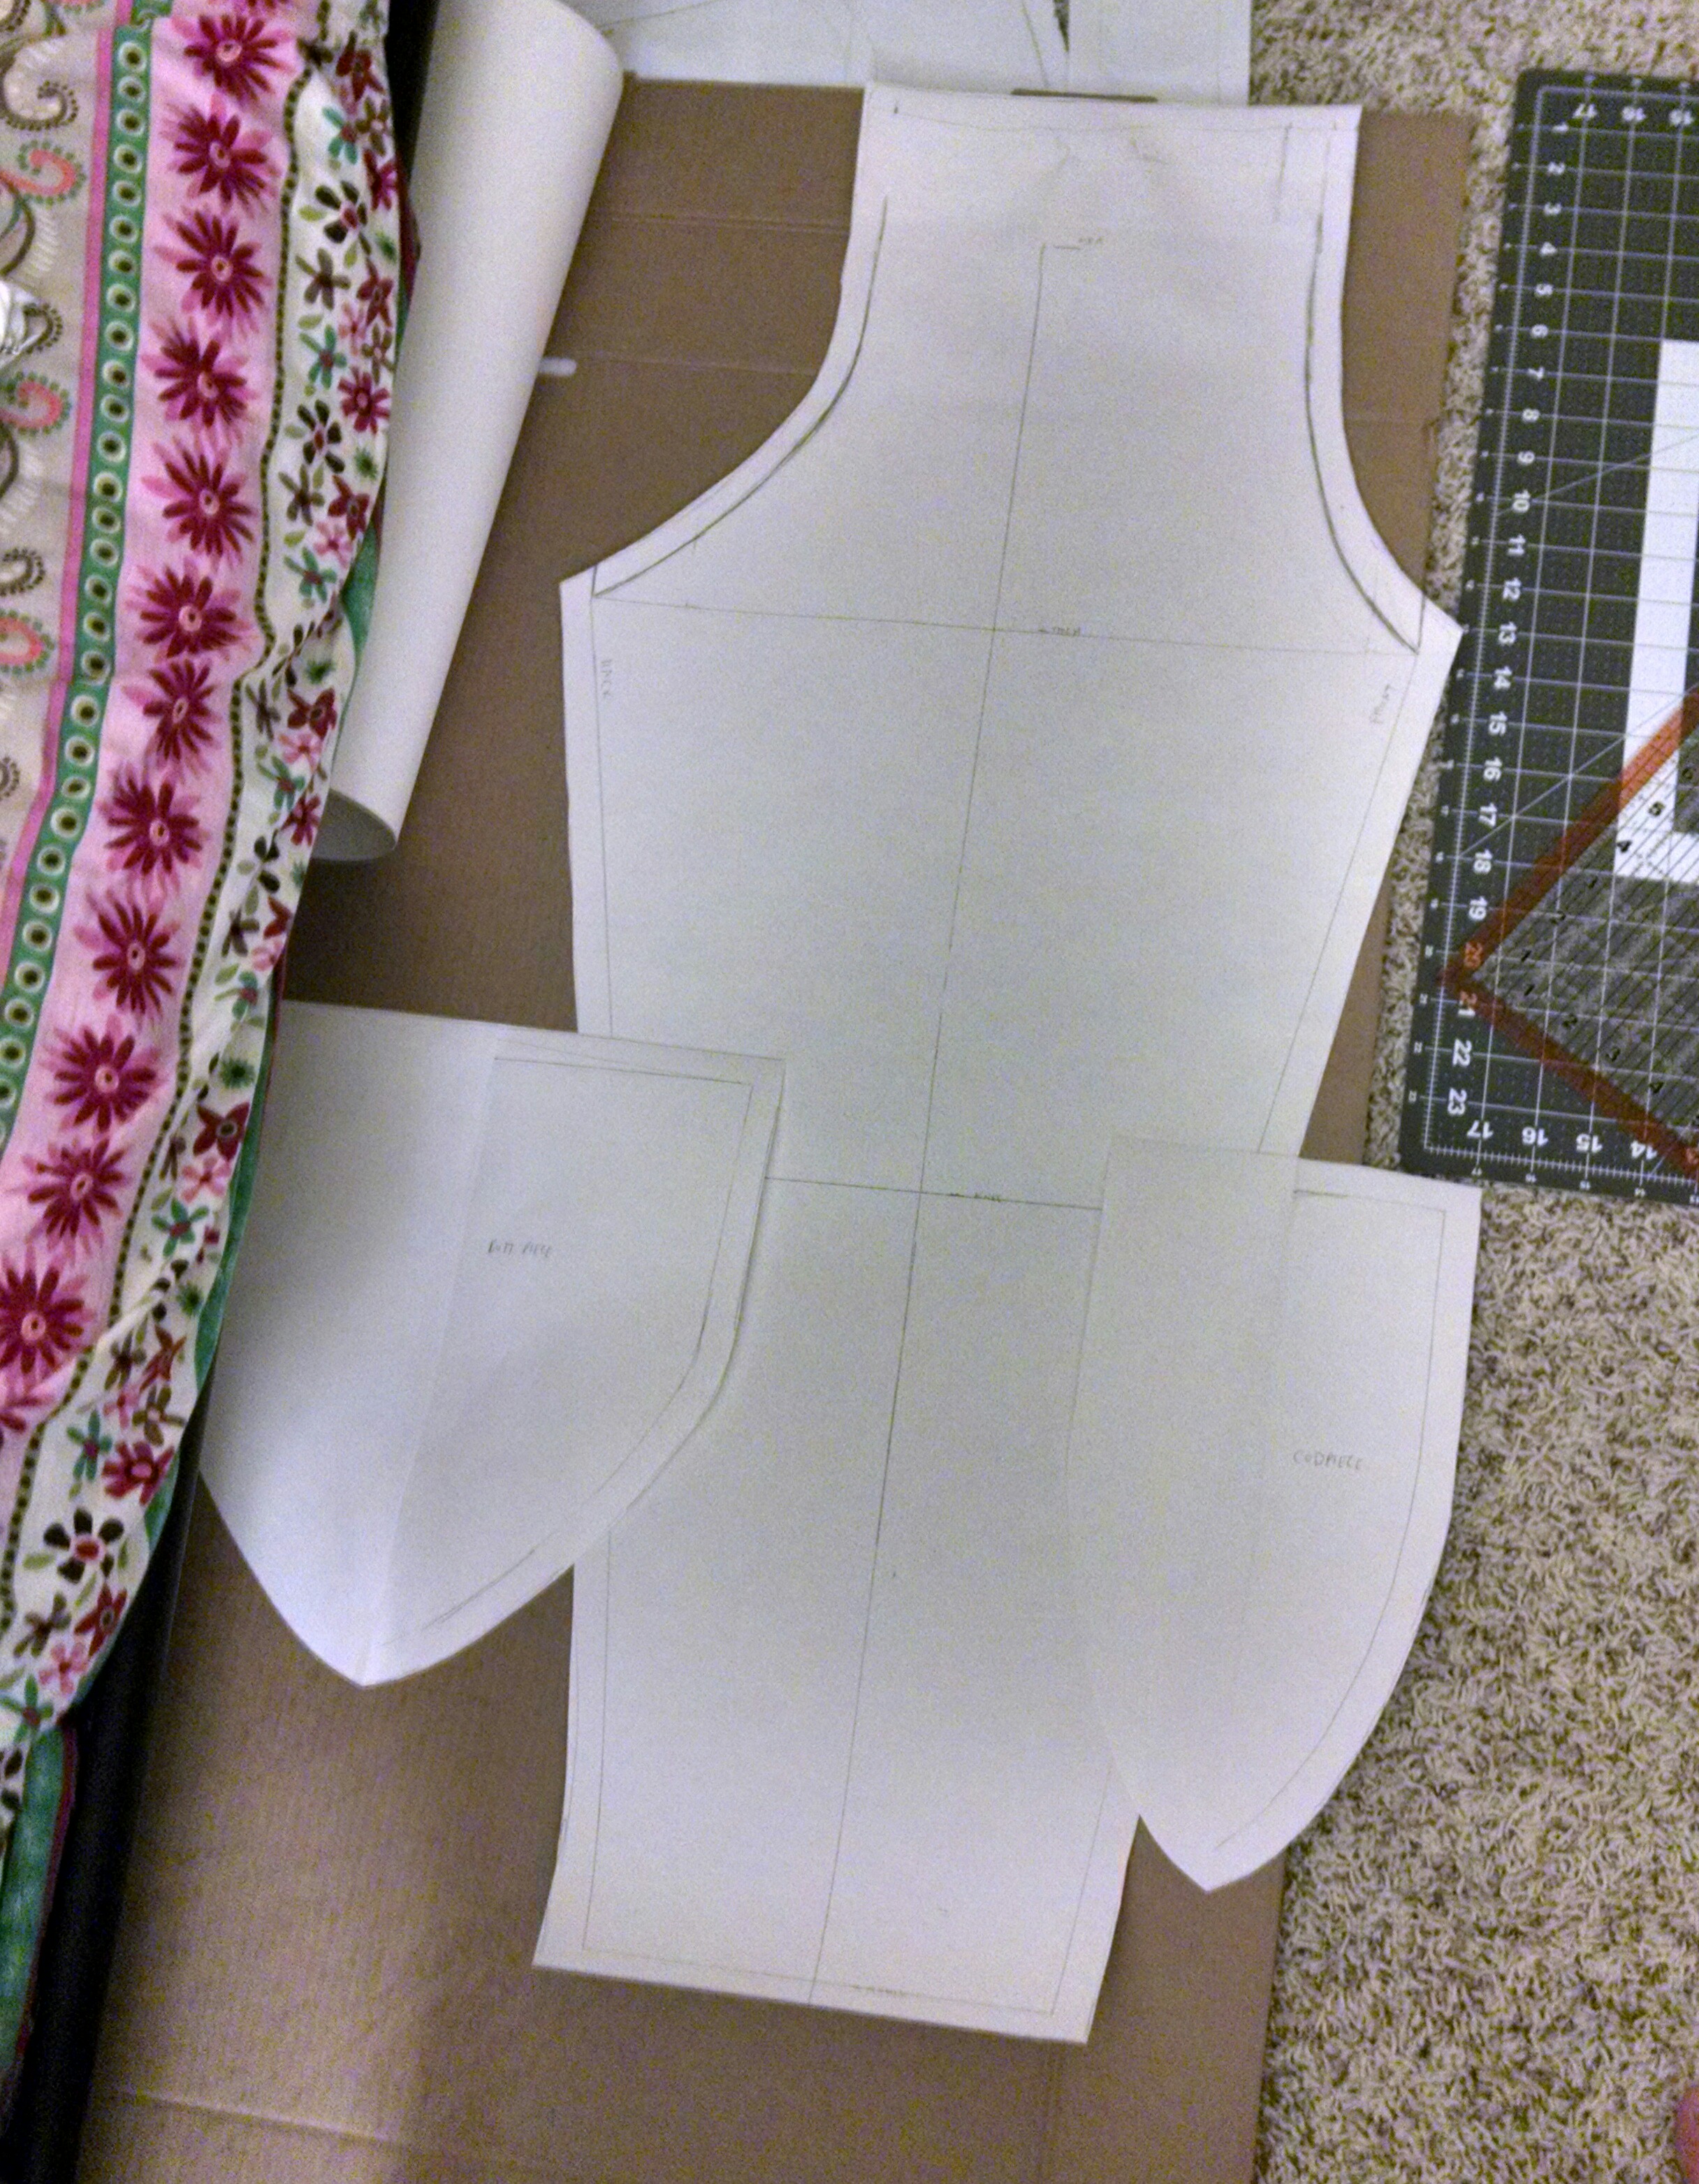
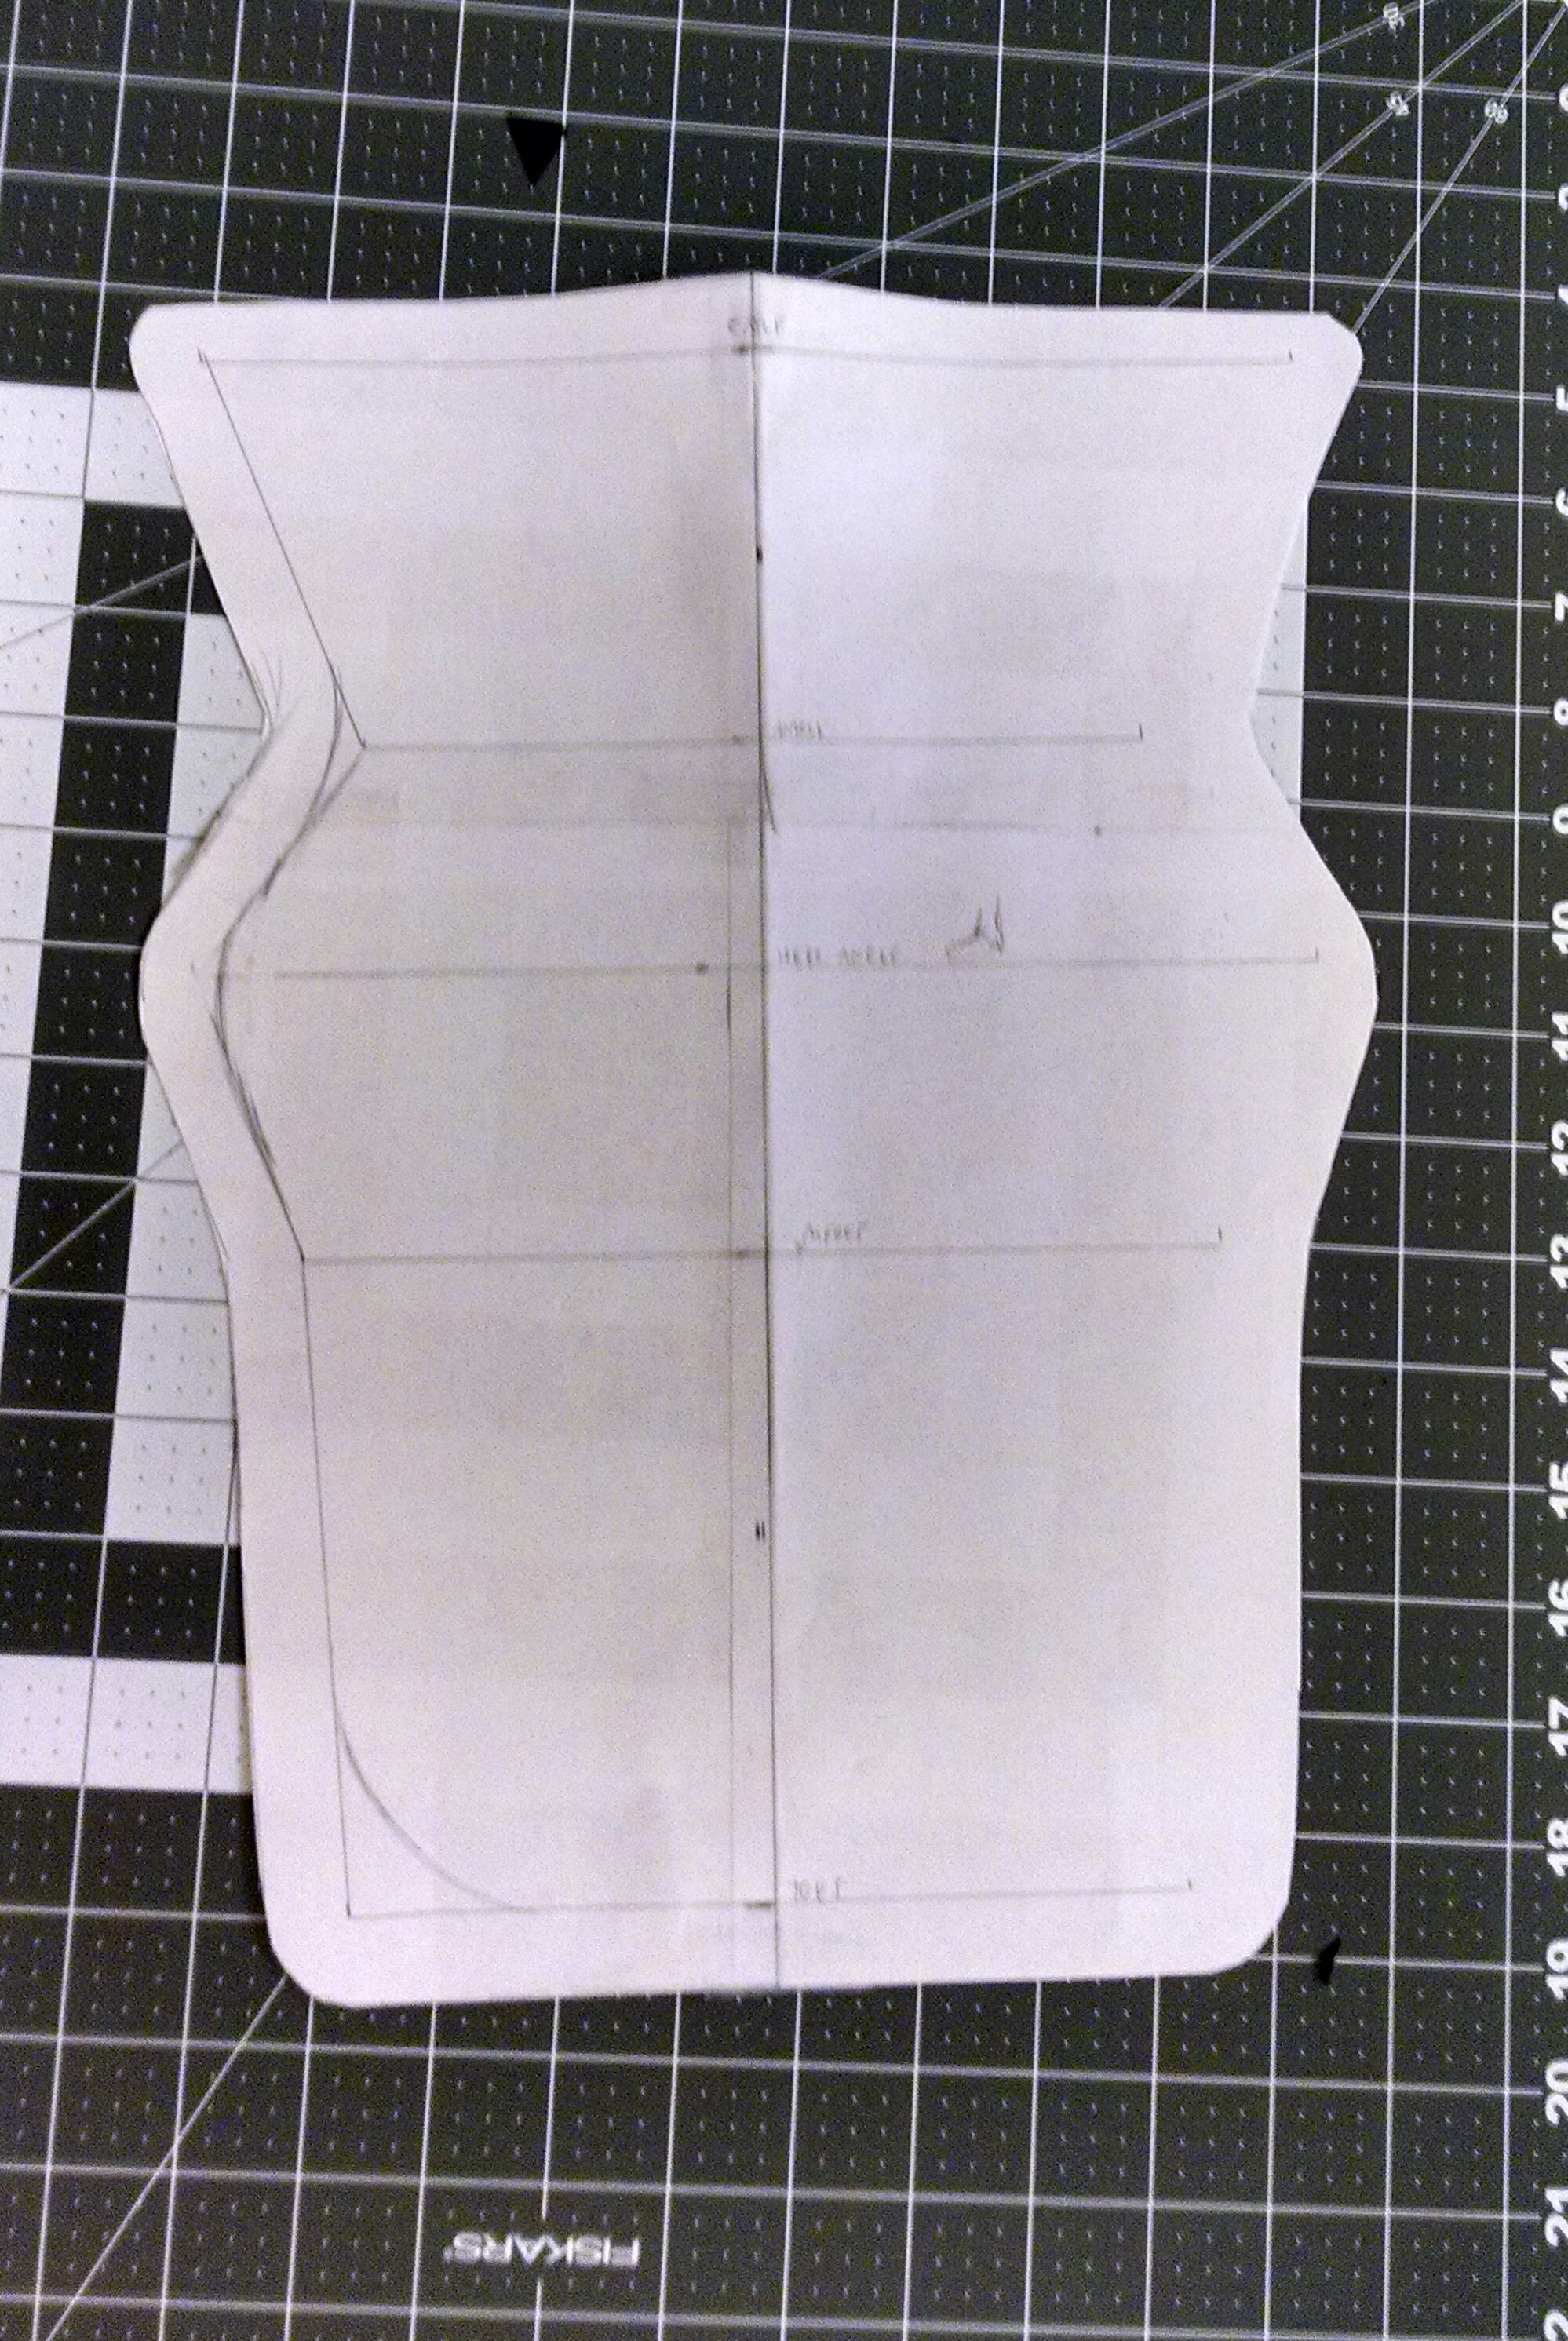
The Leggings
Pair 1:

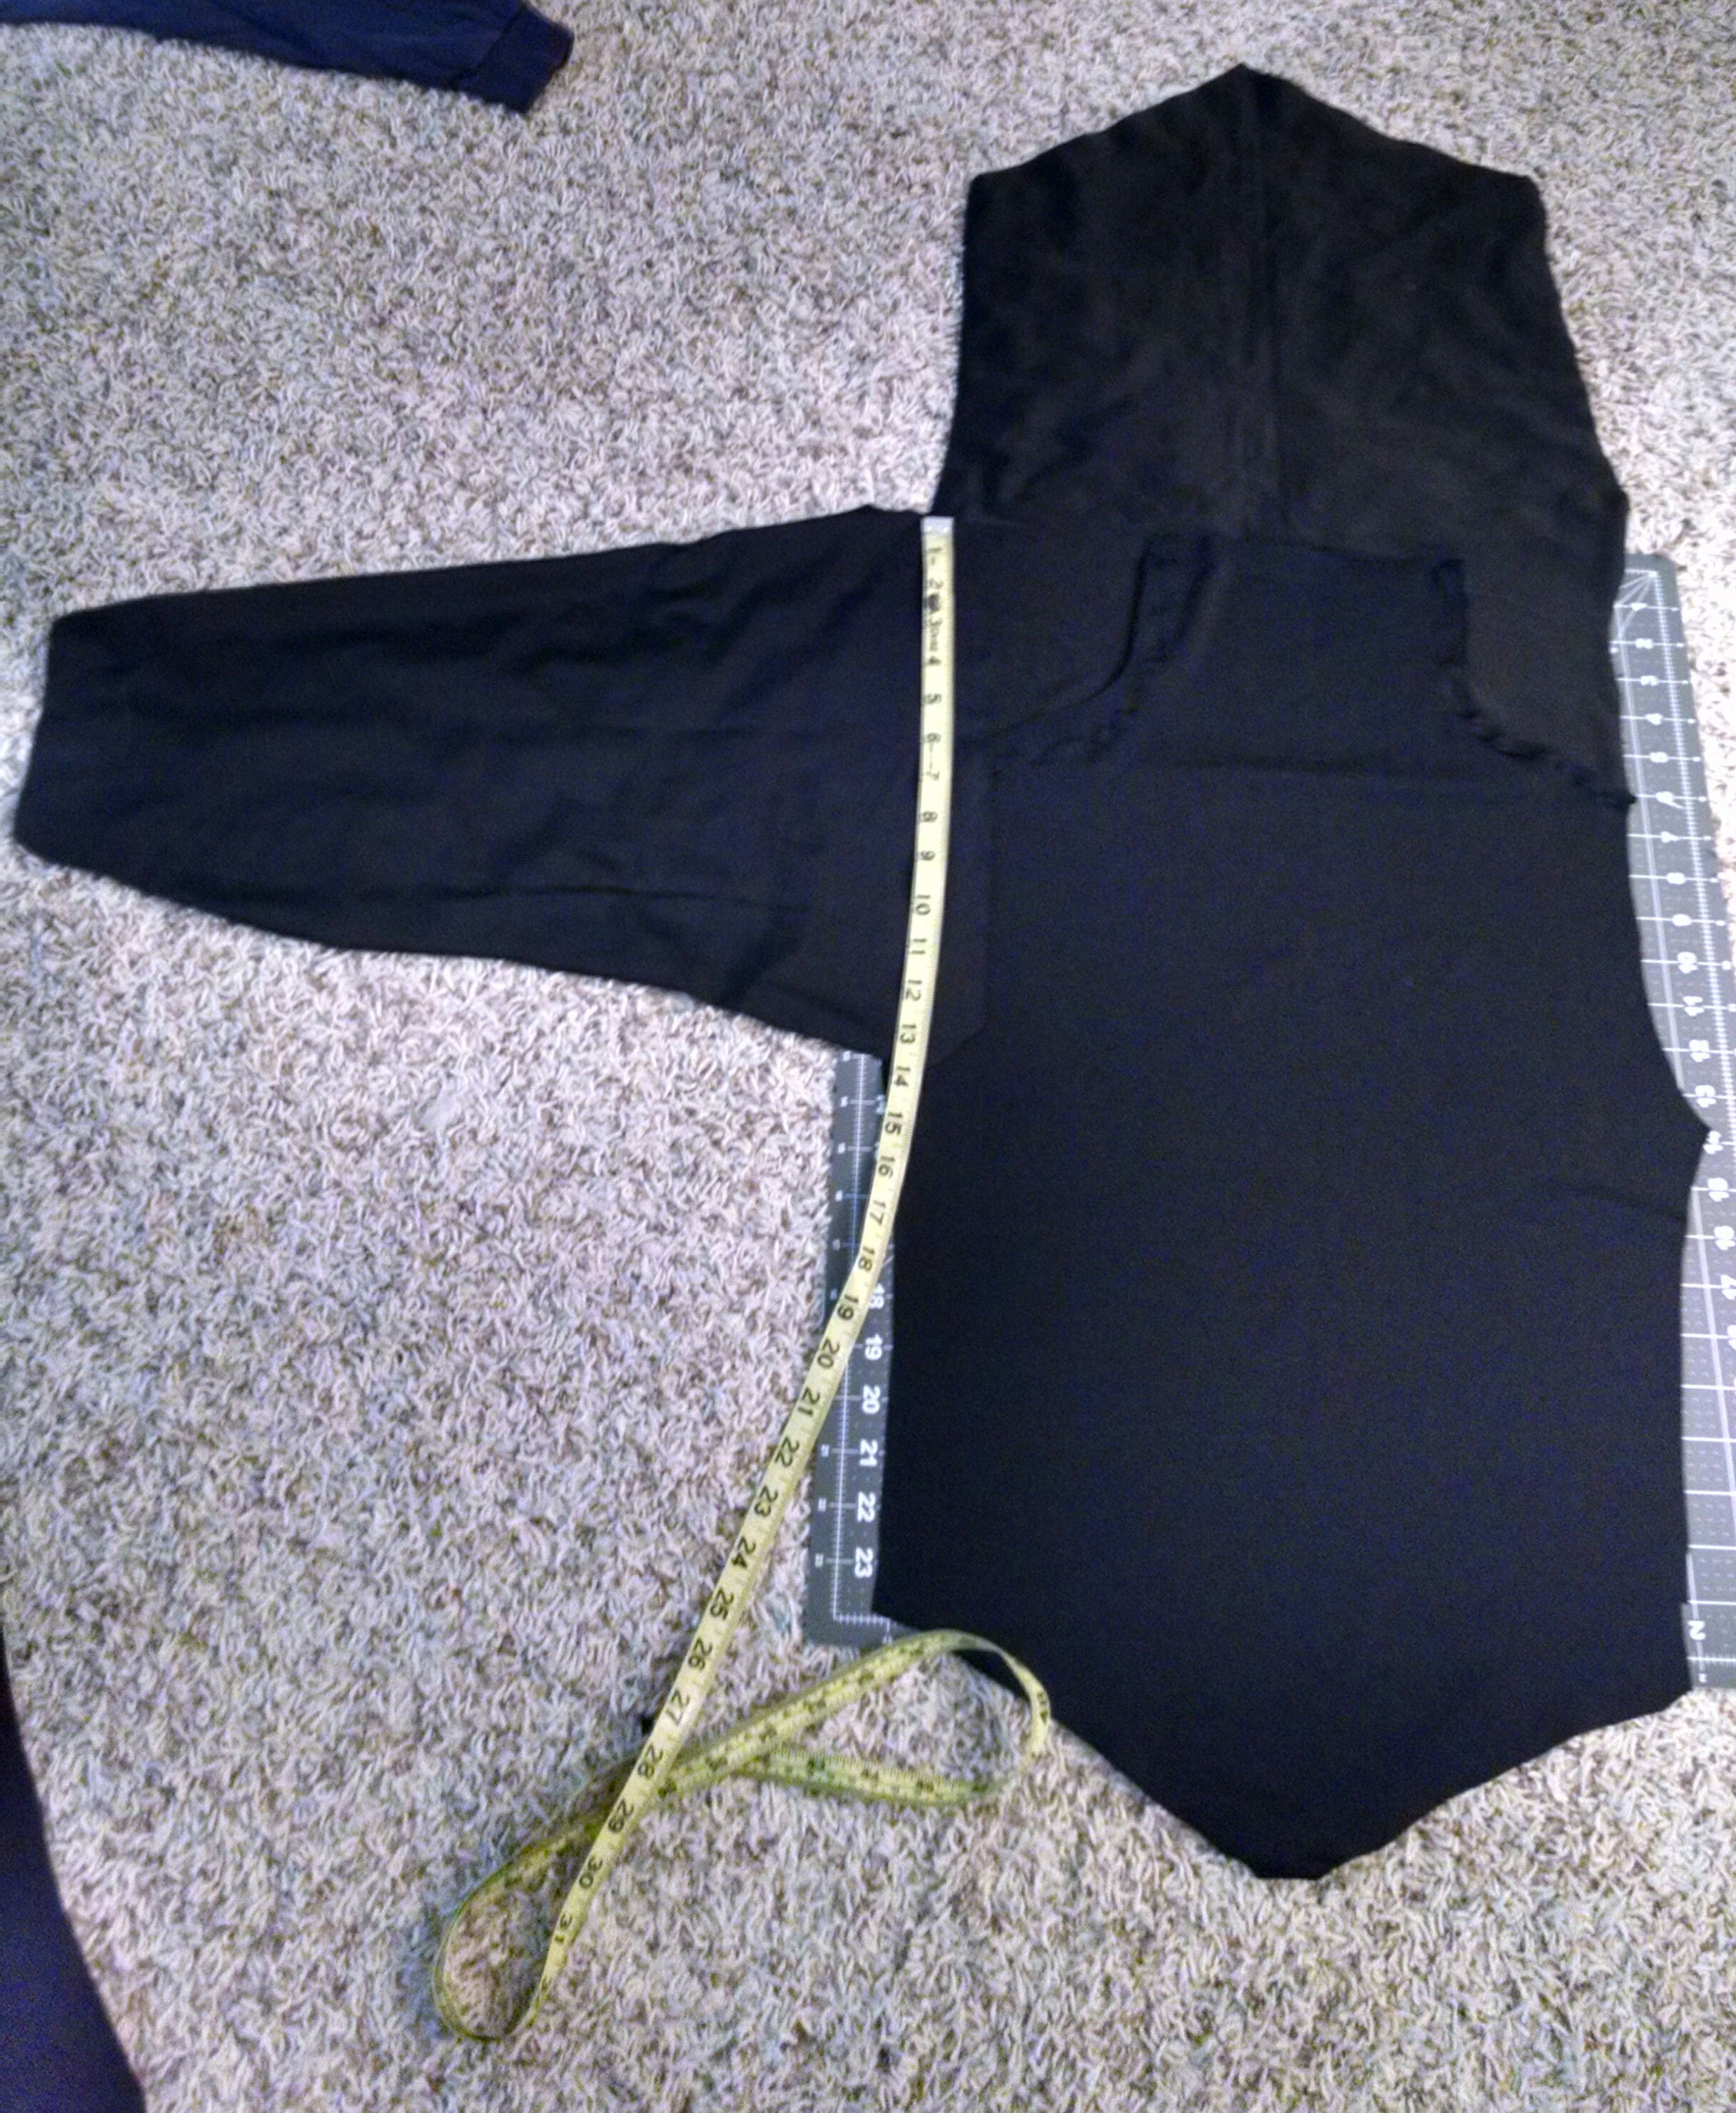
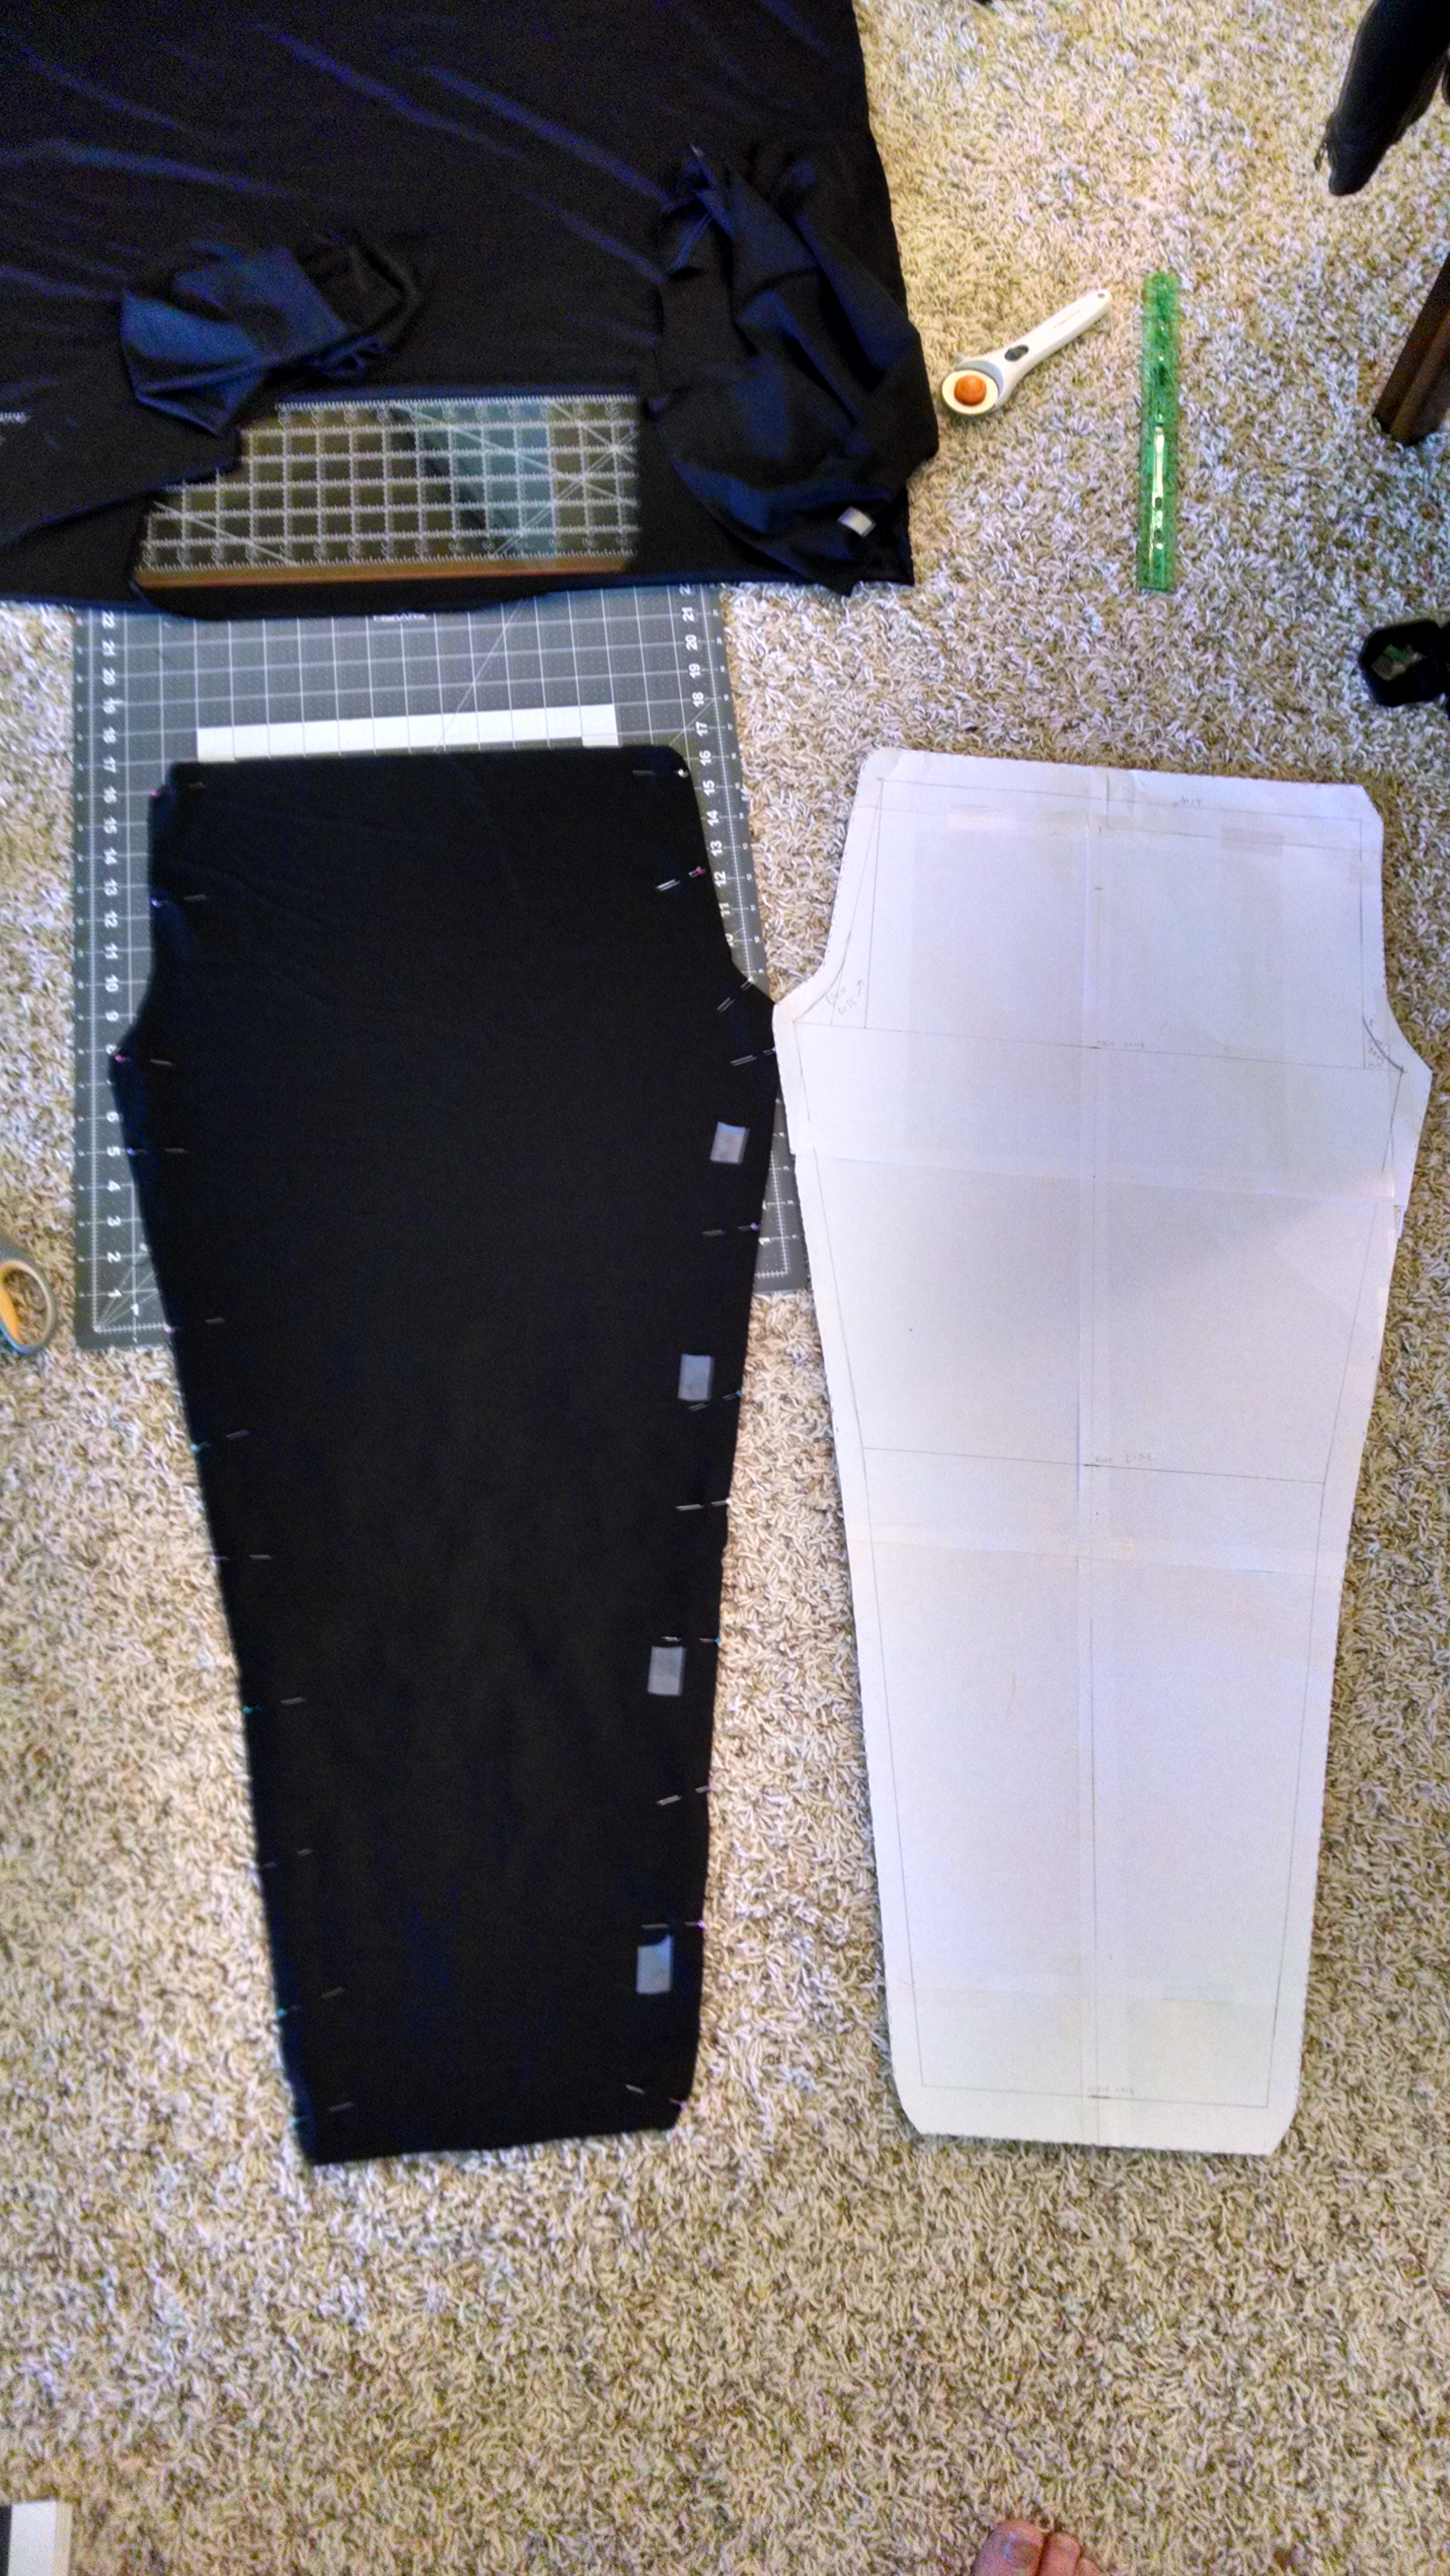
DO NOT PIN THIS PATTERN LIKE THIS! I did it wrong, but then corrected it before sewing.
I was super nervous once I got past the practice phase and actually cut the material for the leggings. But I did it, and then decided to mark the seam allowance with tape. This worked really well for me (and I only sewed through the tape twice, which was still easily peeled away). NOTE that in the above picture I had pinned all the way down one side right off, but this is WRONG. I corrected it before sewing, only pinning the top curves–which translate to the center seams on the top front and back. After sewing those, you then line those seams up, line up the leg edges, pin and sew.
Nervousness aside, it was pretty quick and easy to sew the leggings. But it was at the last couple of seams that I got a bit messed up.
Essentially, all the seams–top front and back, and the inner leg seams–converge at the crotch. At first, I didn’t get them to quite match up. There was some minor bunching and pinching in the fit at the crotch, and there was a barely noticeable–but definitely there–gap at the convergence. So I went back in and sewed some more to try and finish it off. I closed the gap, but produced major bunching at the crotch. Plus, I think I had not been generous enough with the “rise” measurement. I mean, not to get graphic, but when you’re wearing form-fitting leggings, and you’re a guy–well, you know, you need to make some allowances if you want to be able to go out in public. And it’s a matter of comfort.
I made some hilarious attempts to insert a diamond of fabric in a space I cut out of the crotch, so that there was more stretch and less tightness, but that did not go well. So that leads to…
Pair 2:
Yes, I sewed two pairs of leggings in one day (and even managed to go and see the new X-Men movie as well. It was pretty cool, BTW.).
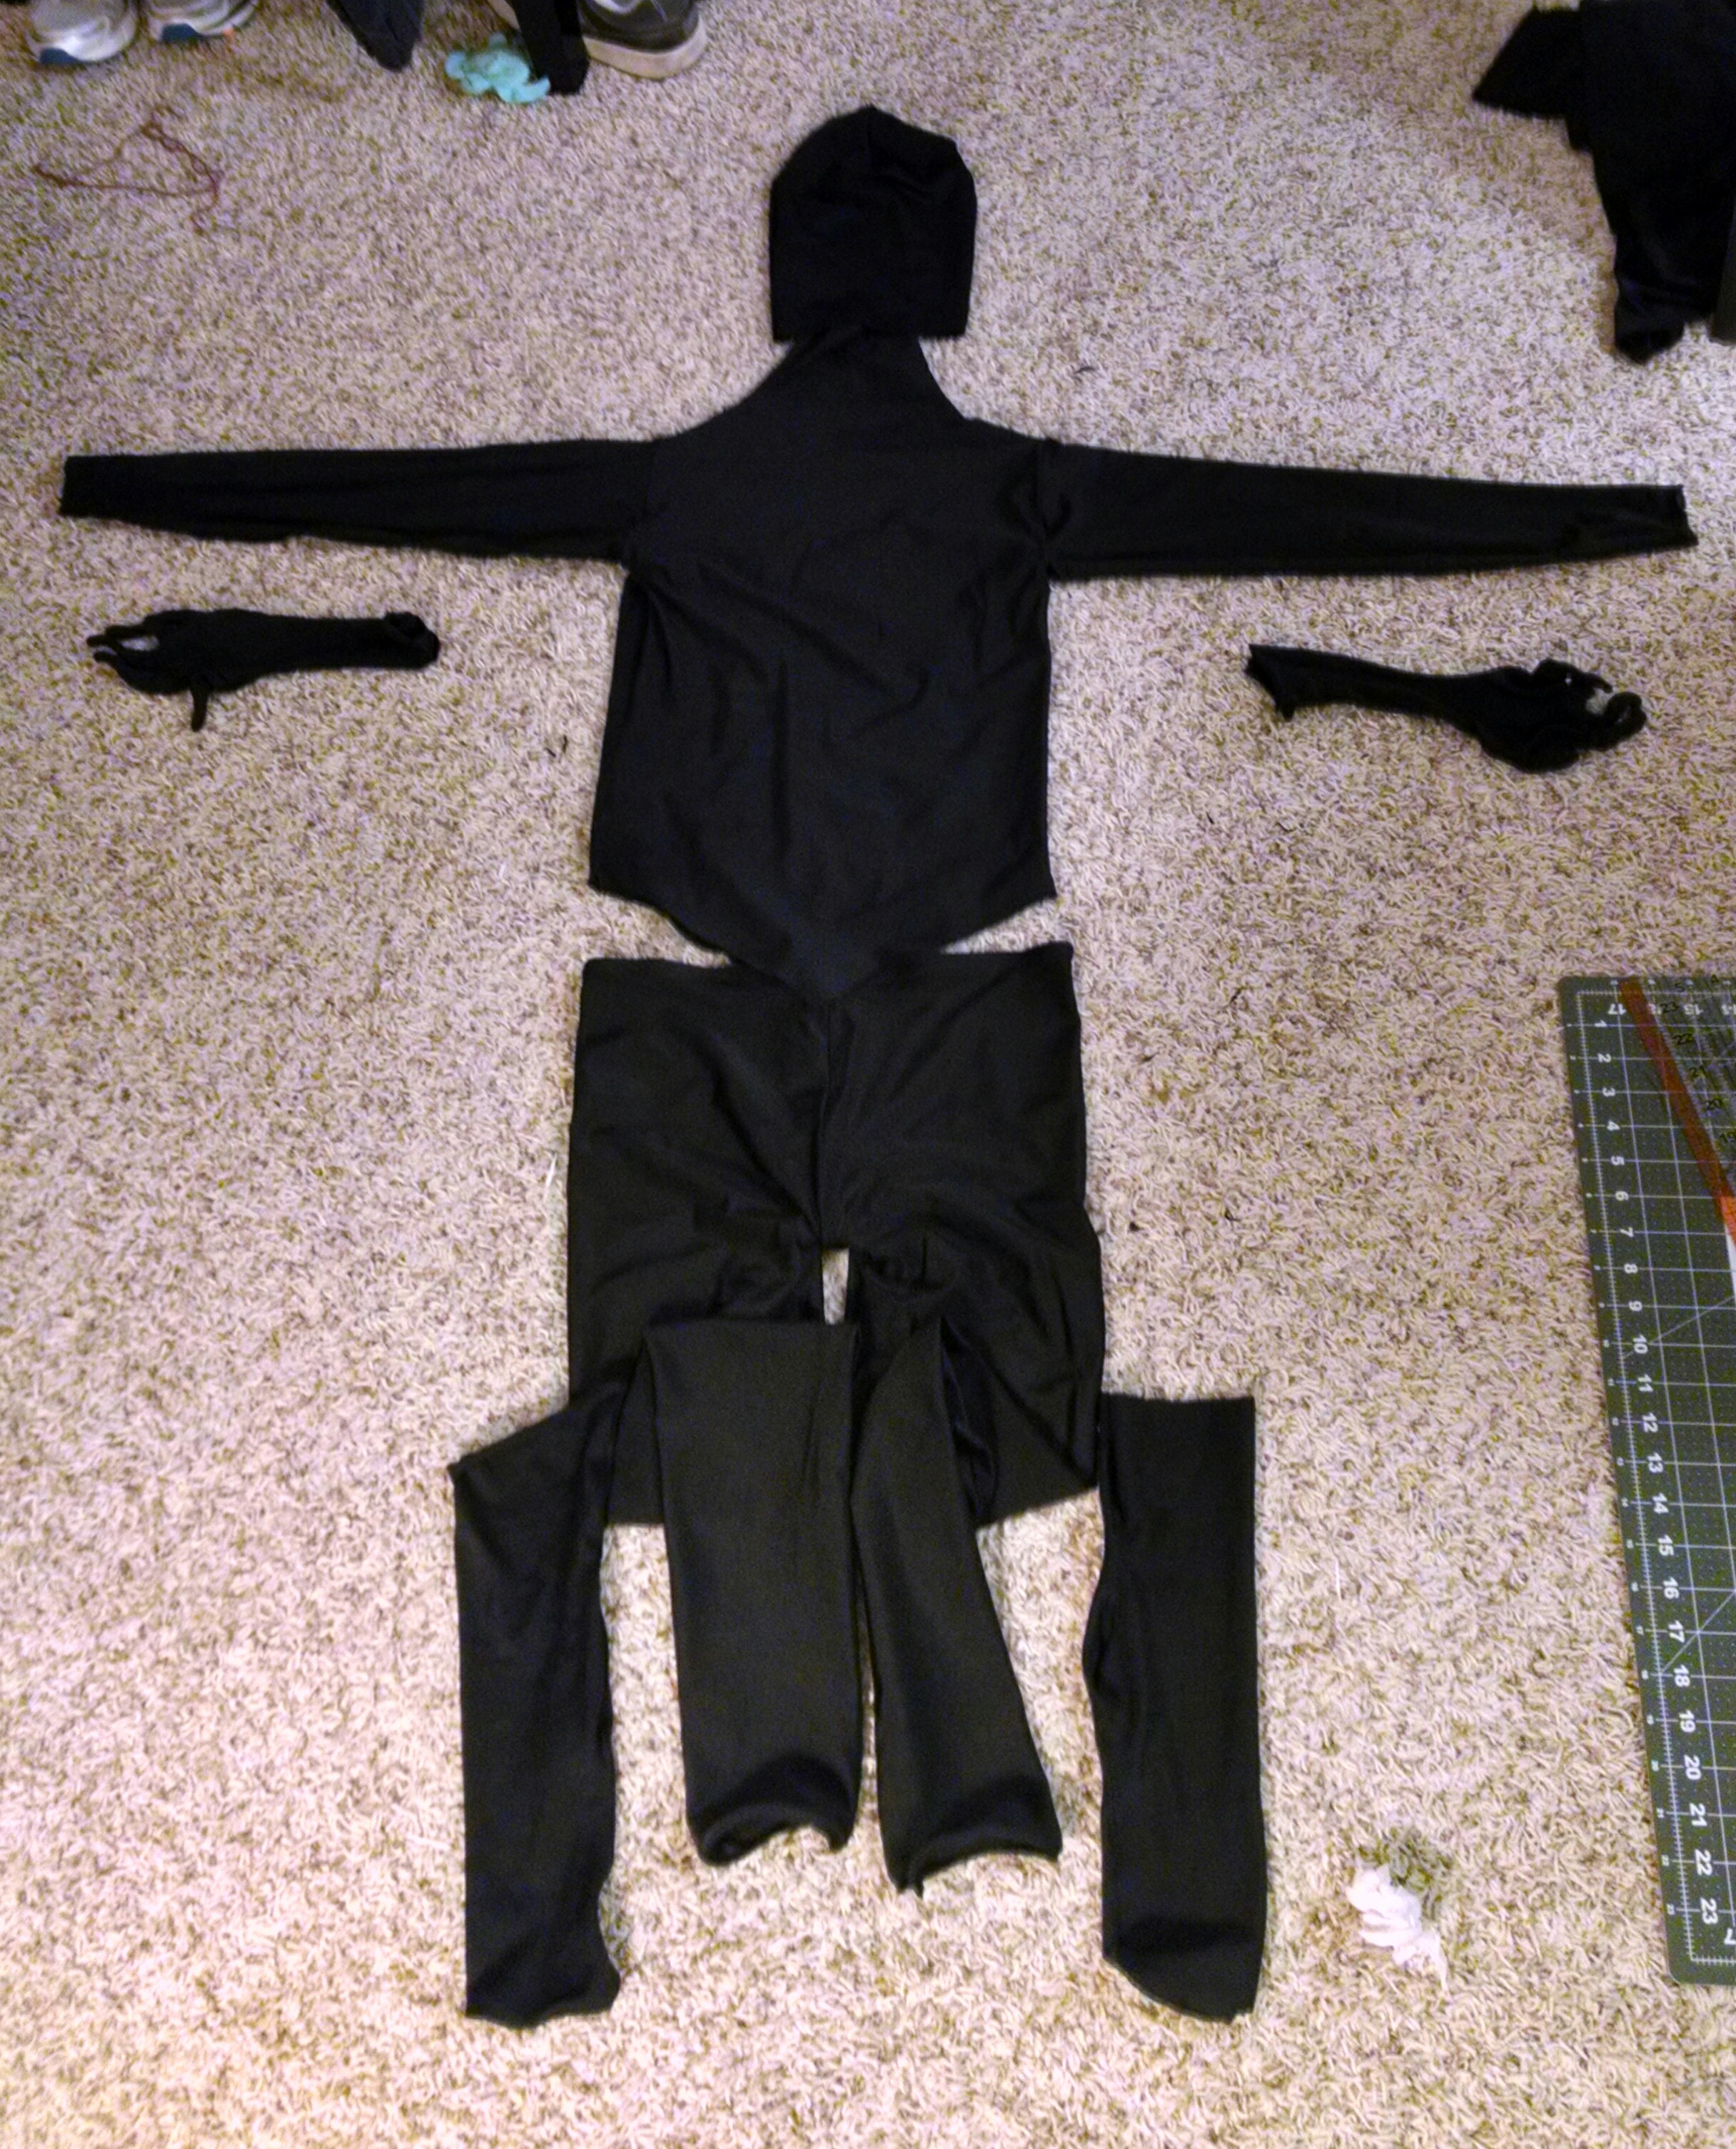
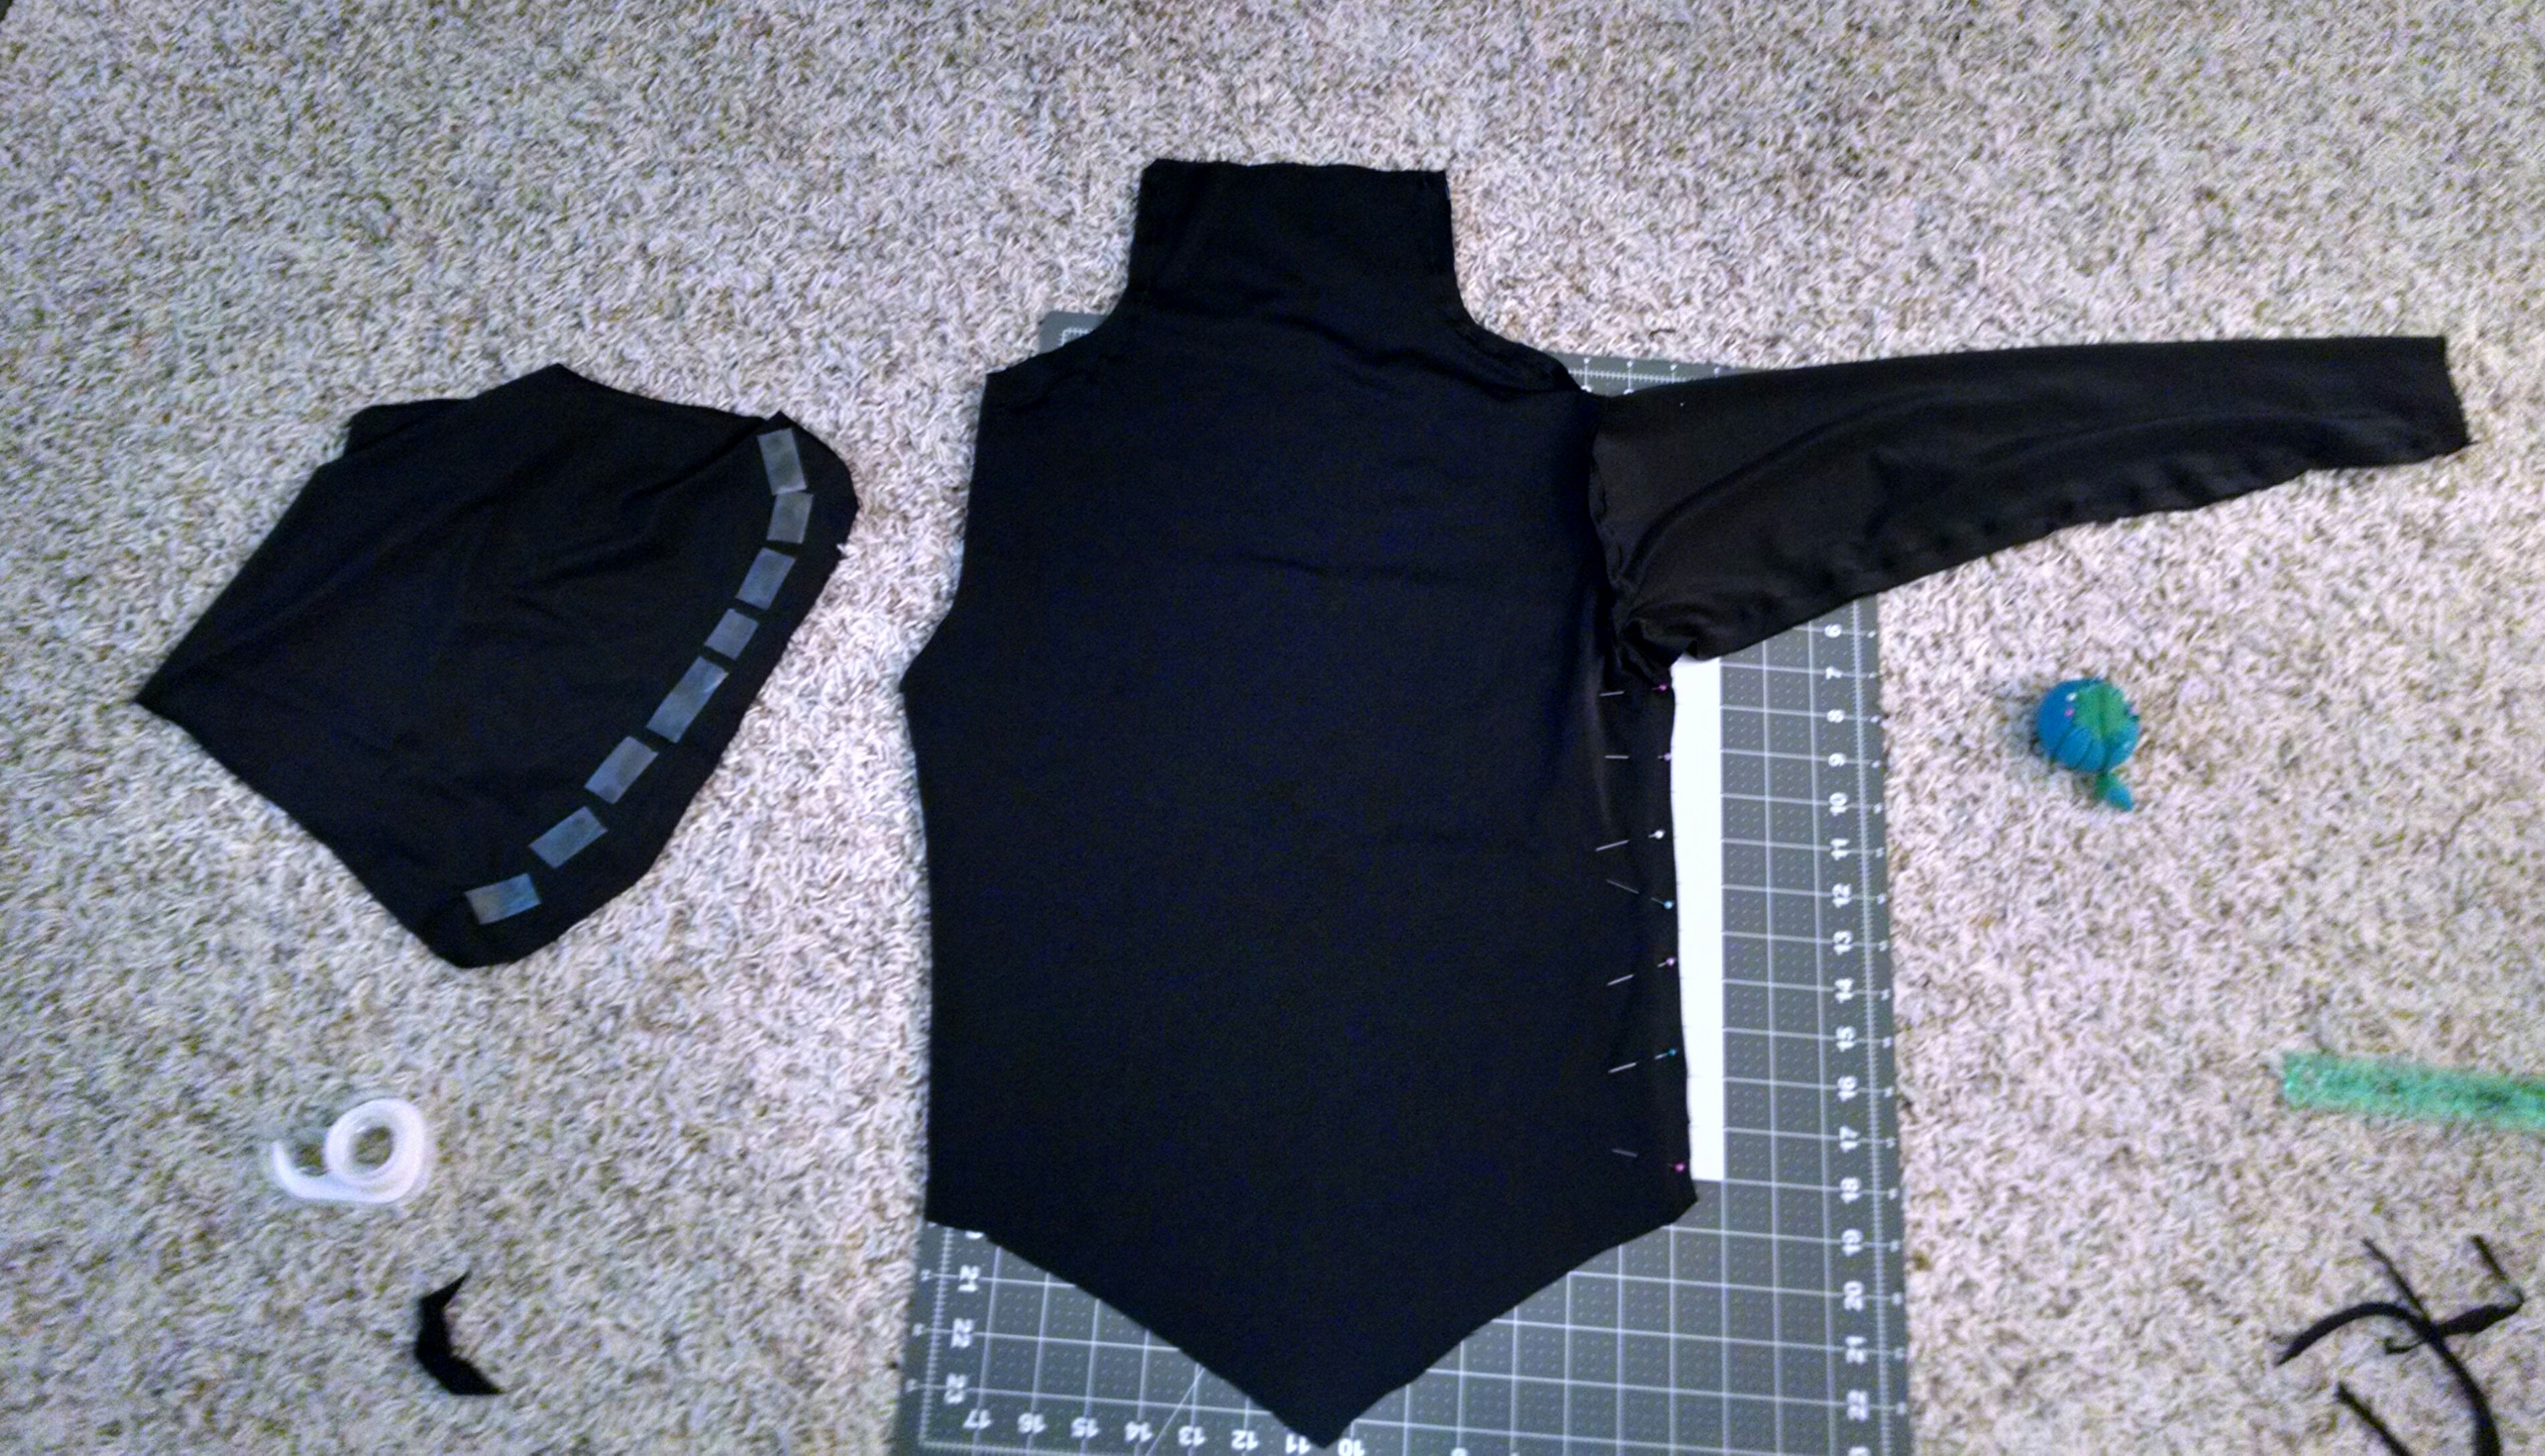
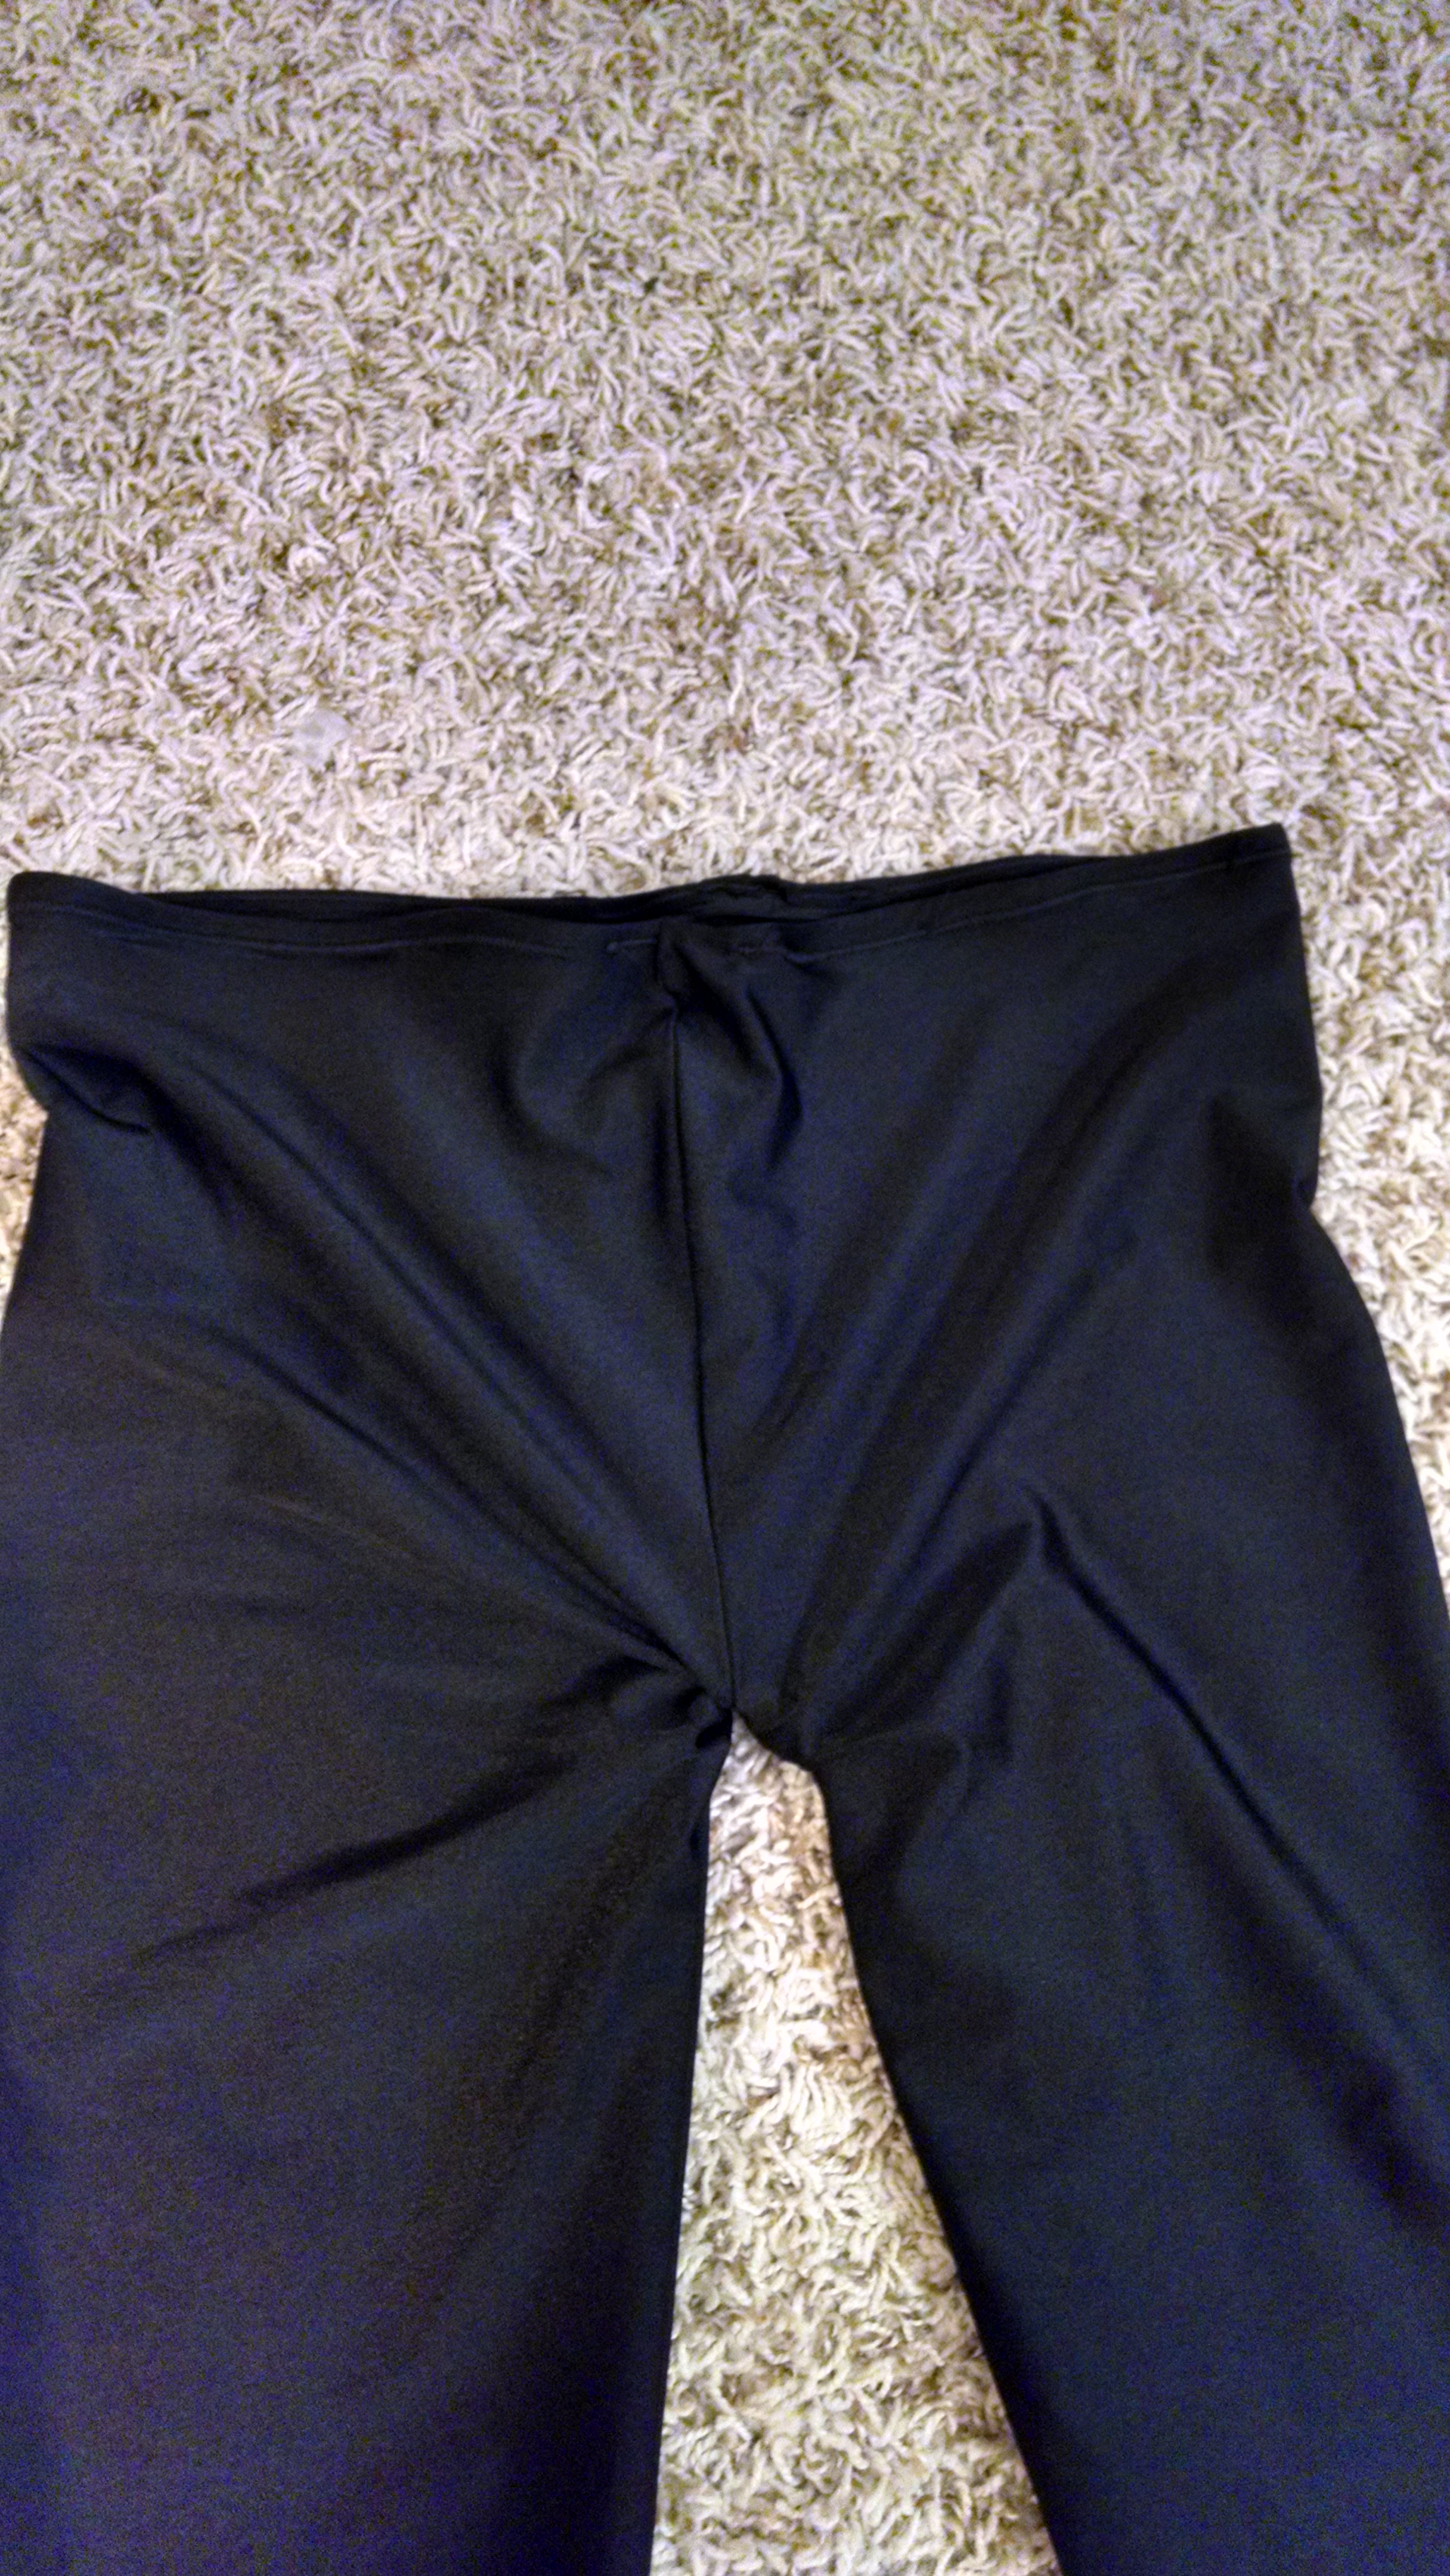
I modified the pattern to add some more drop to the rise, as it were, and proceeded to sew again, this time being careful to make the seams converge. I overdid it a smidge again, but not quite as bad as last time. I think I could’ve added even more to the rise. There was still some bunching and pinching at the crotch, but better than before. I am still not going to give the “full frontal” view until I get some biker shorts or something to wear underneath and “smooth the lines.” But here they are on the floor, showing the bunching, which smooths out some in actual wear:
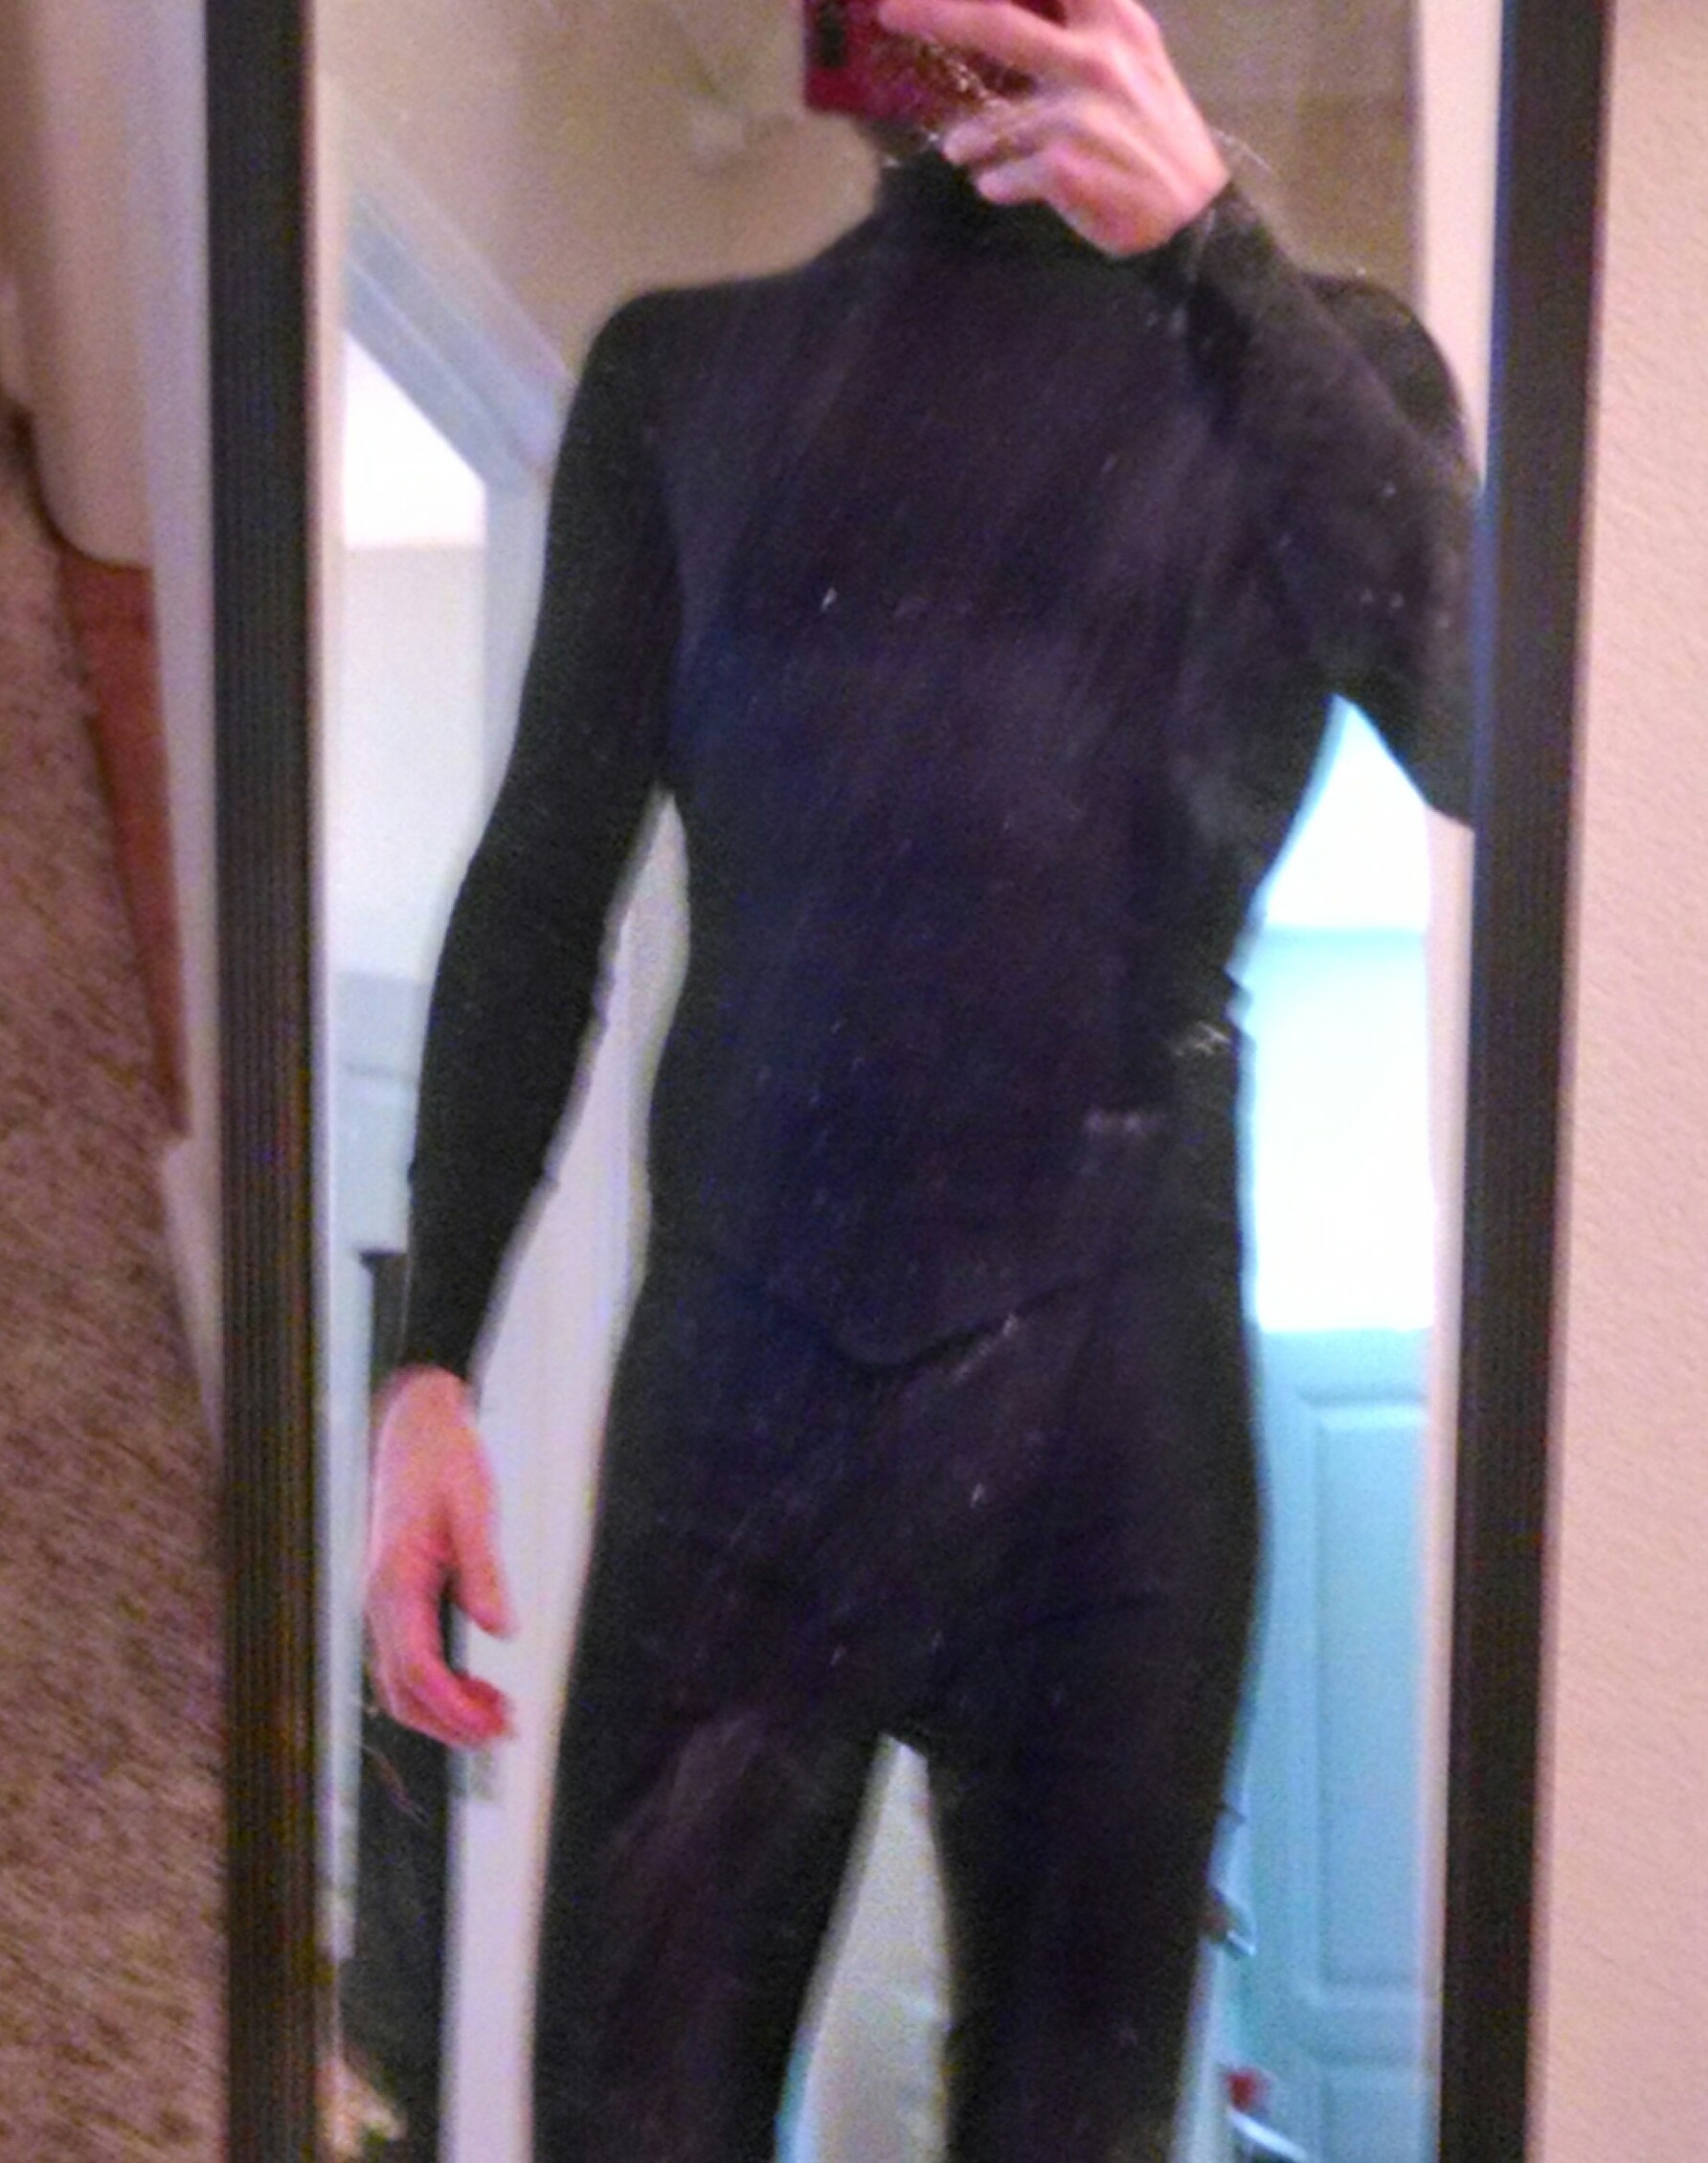
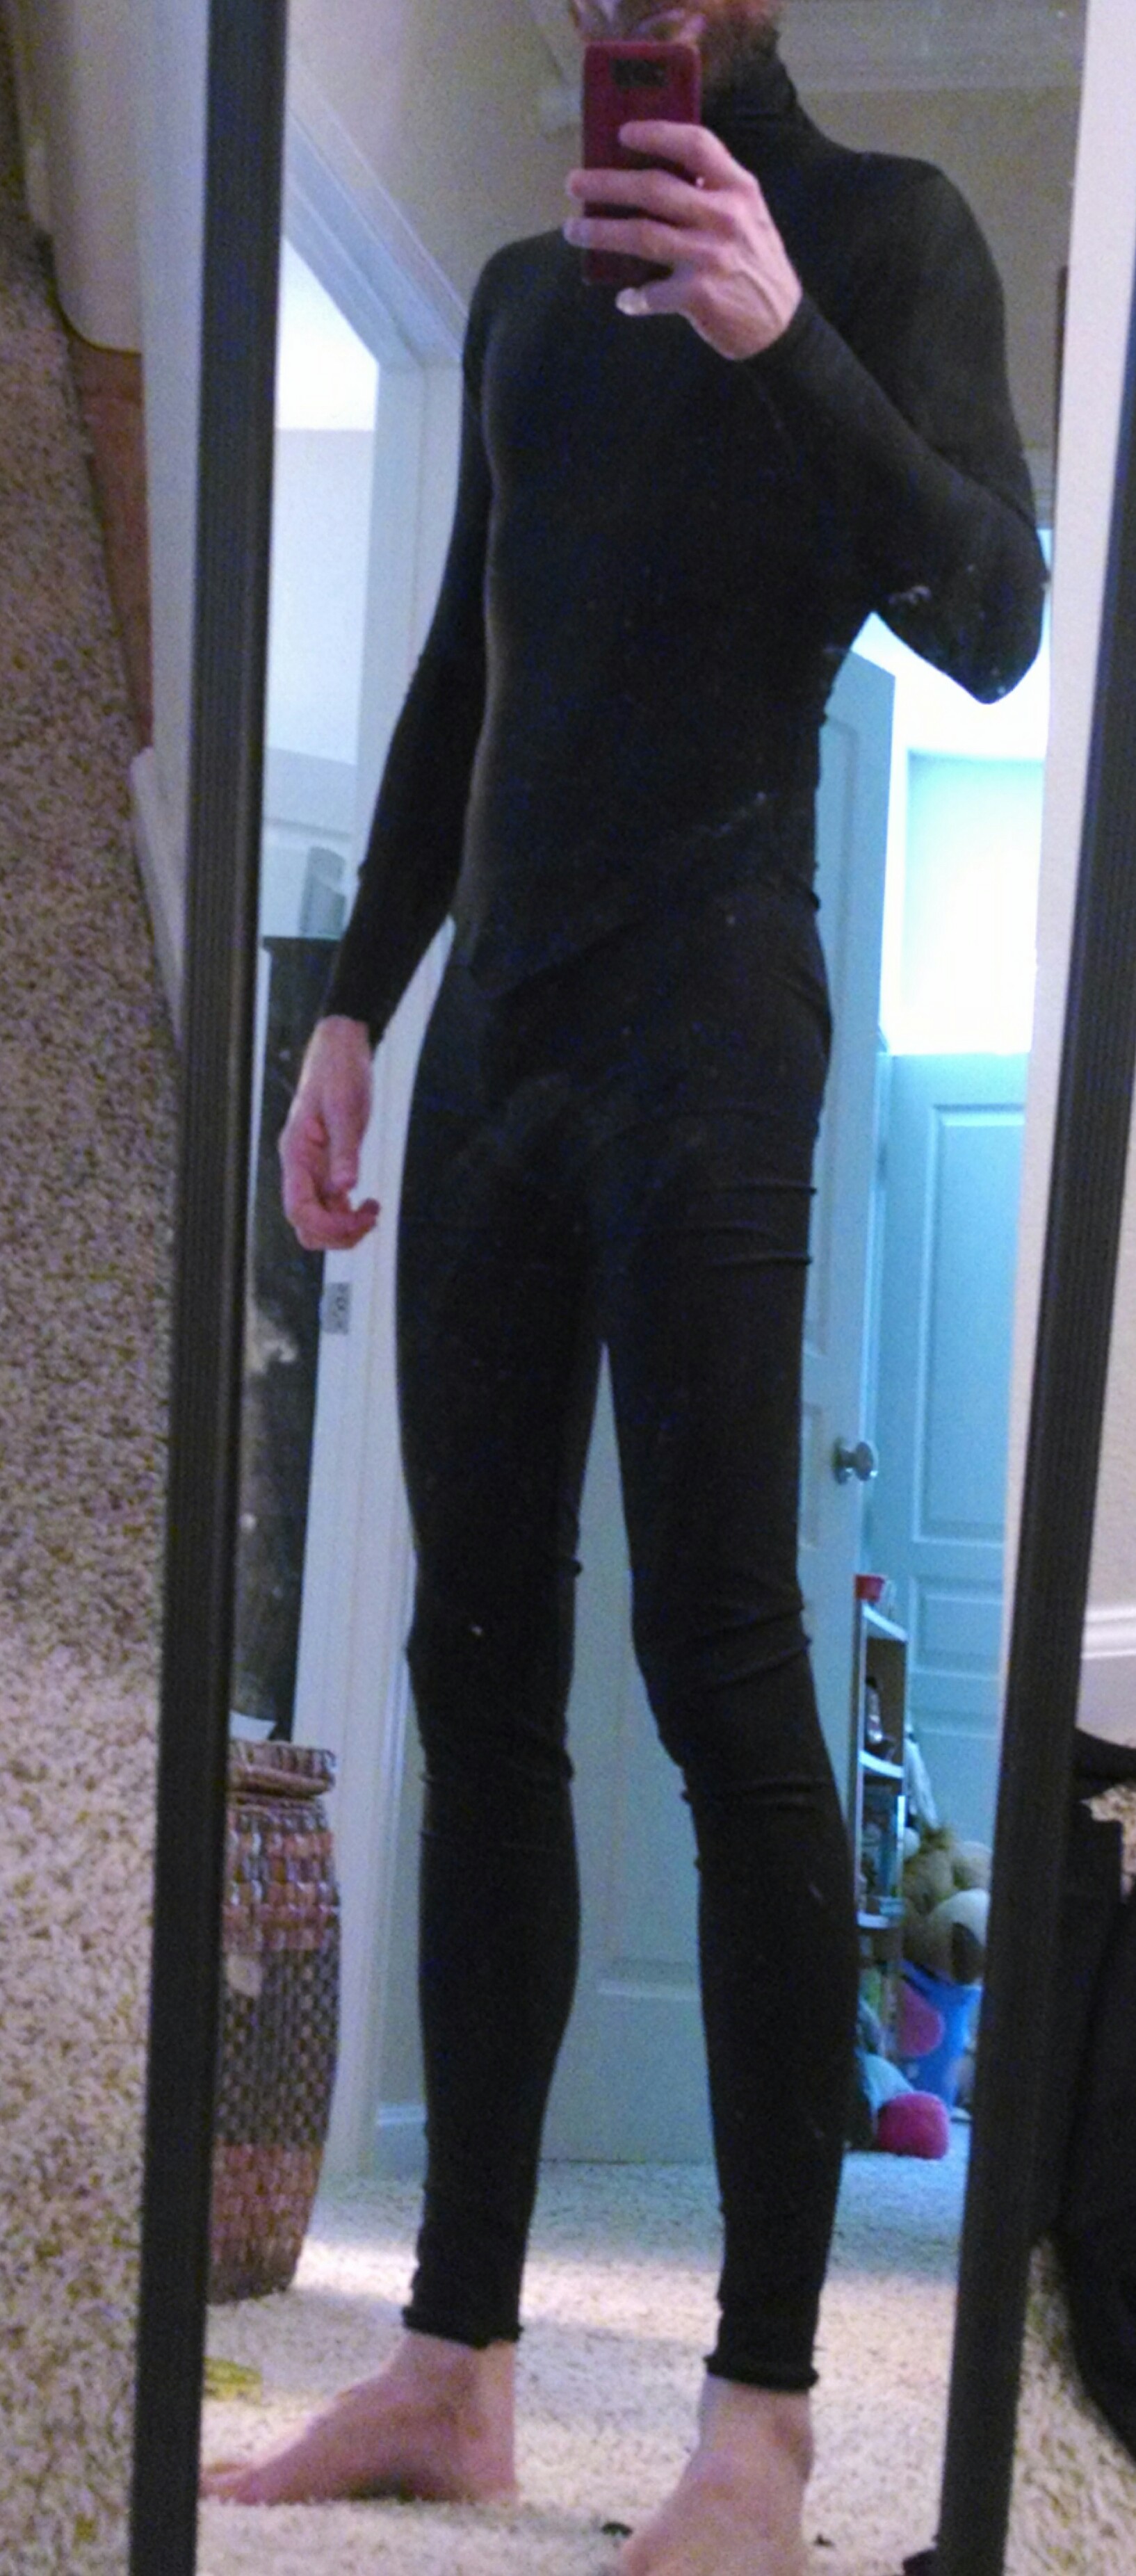
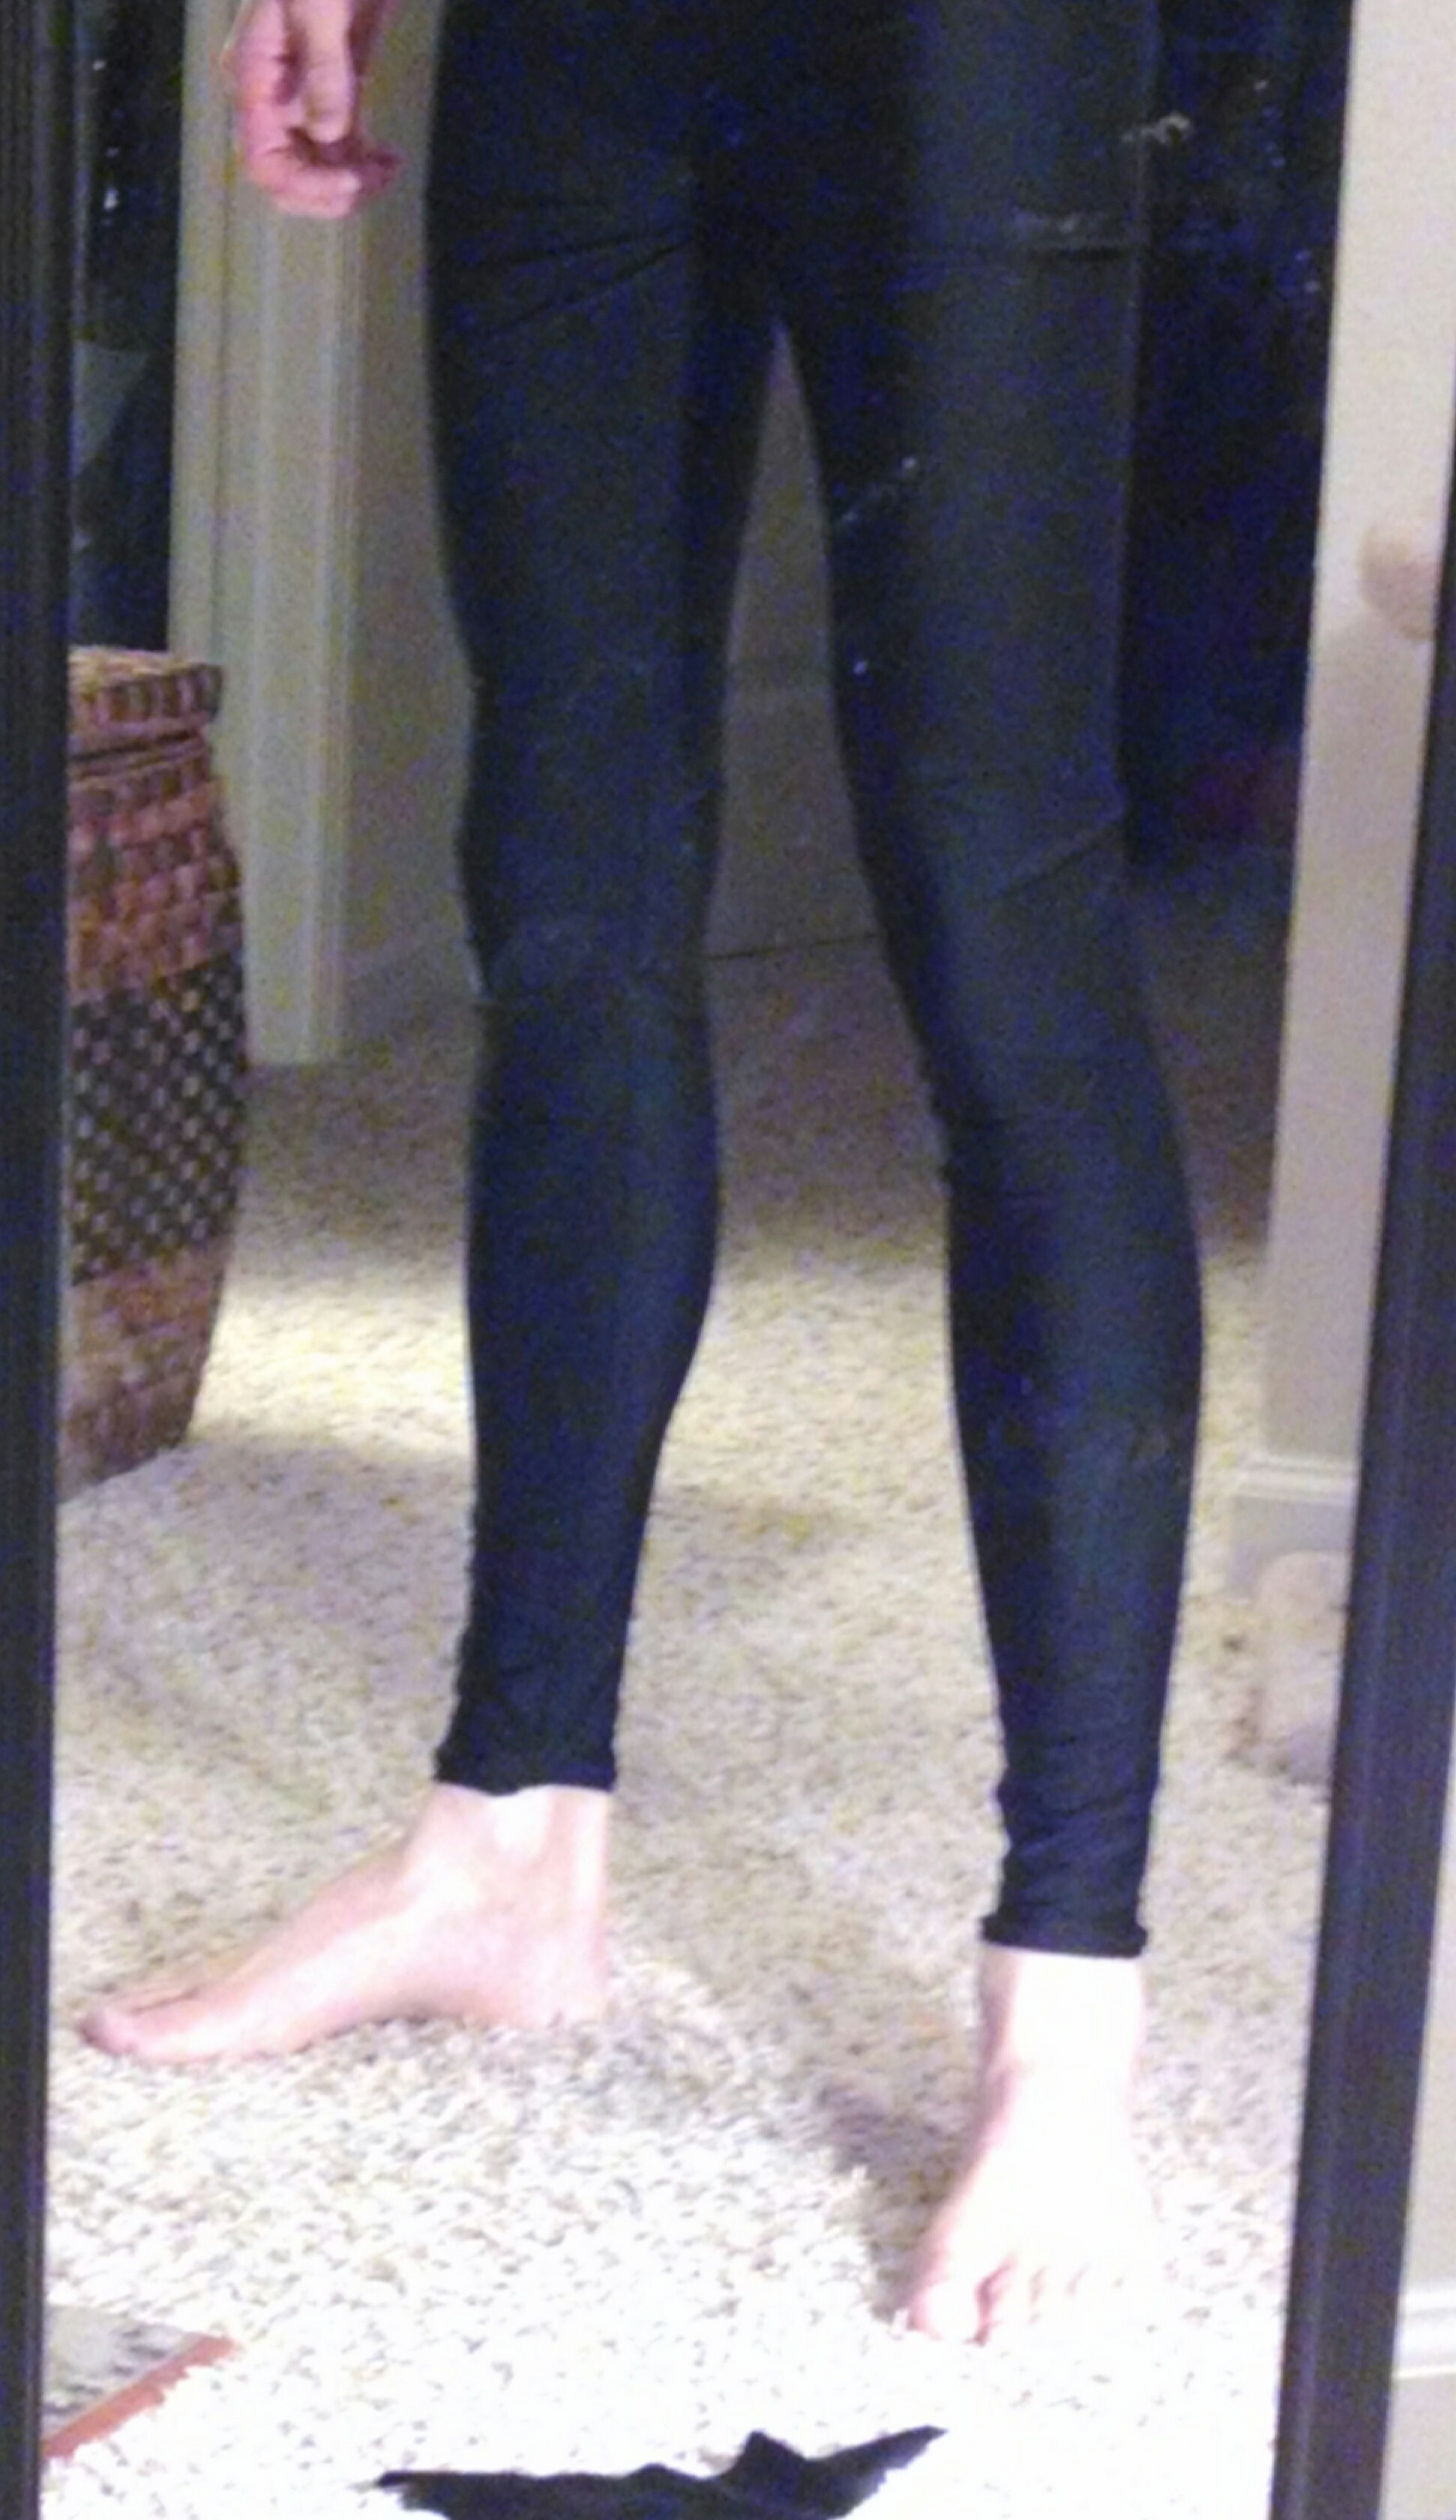
 And here is me wearing them, with convenient shadows (I didn’t even have to Photoshop them in):

Not too shabby.
The elastic at the waist (I did NOT like doing this part):

It came out kind of “meh.” Practice and maybe a better feed/foot setup will help?
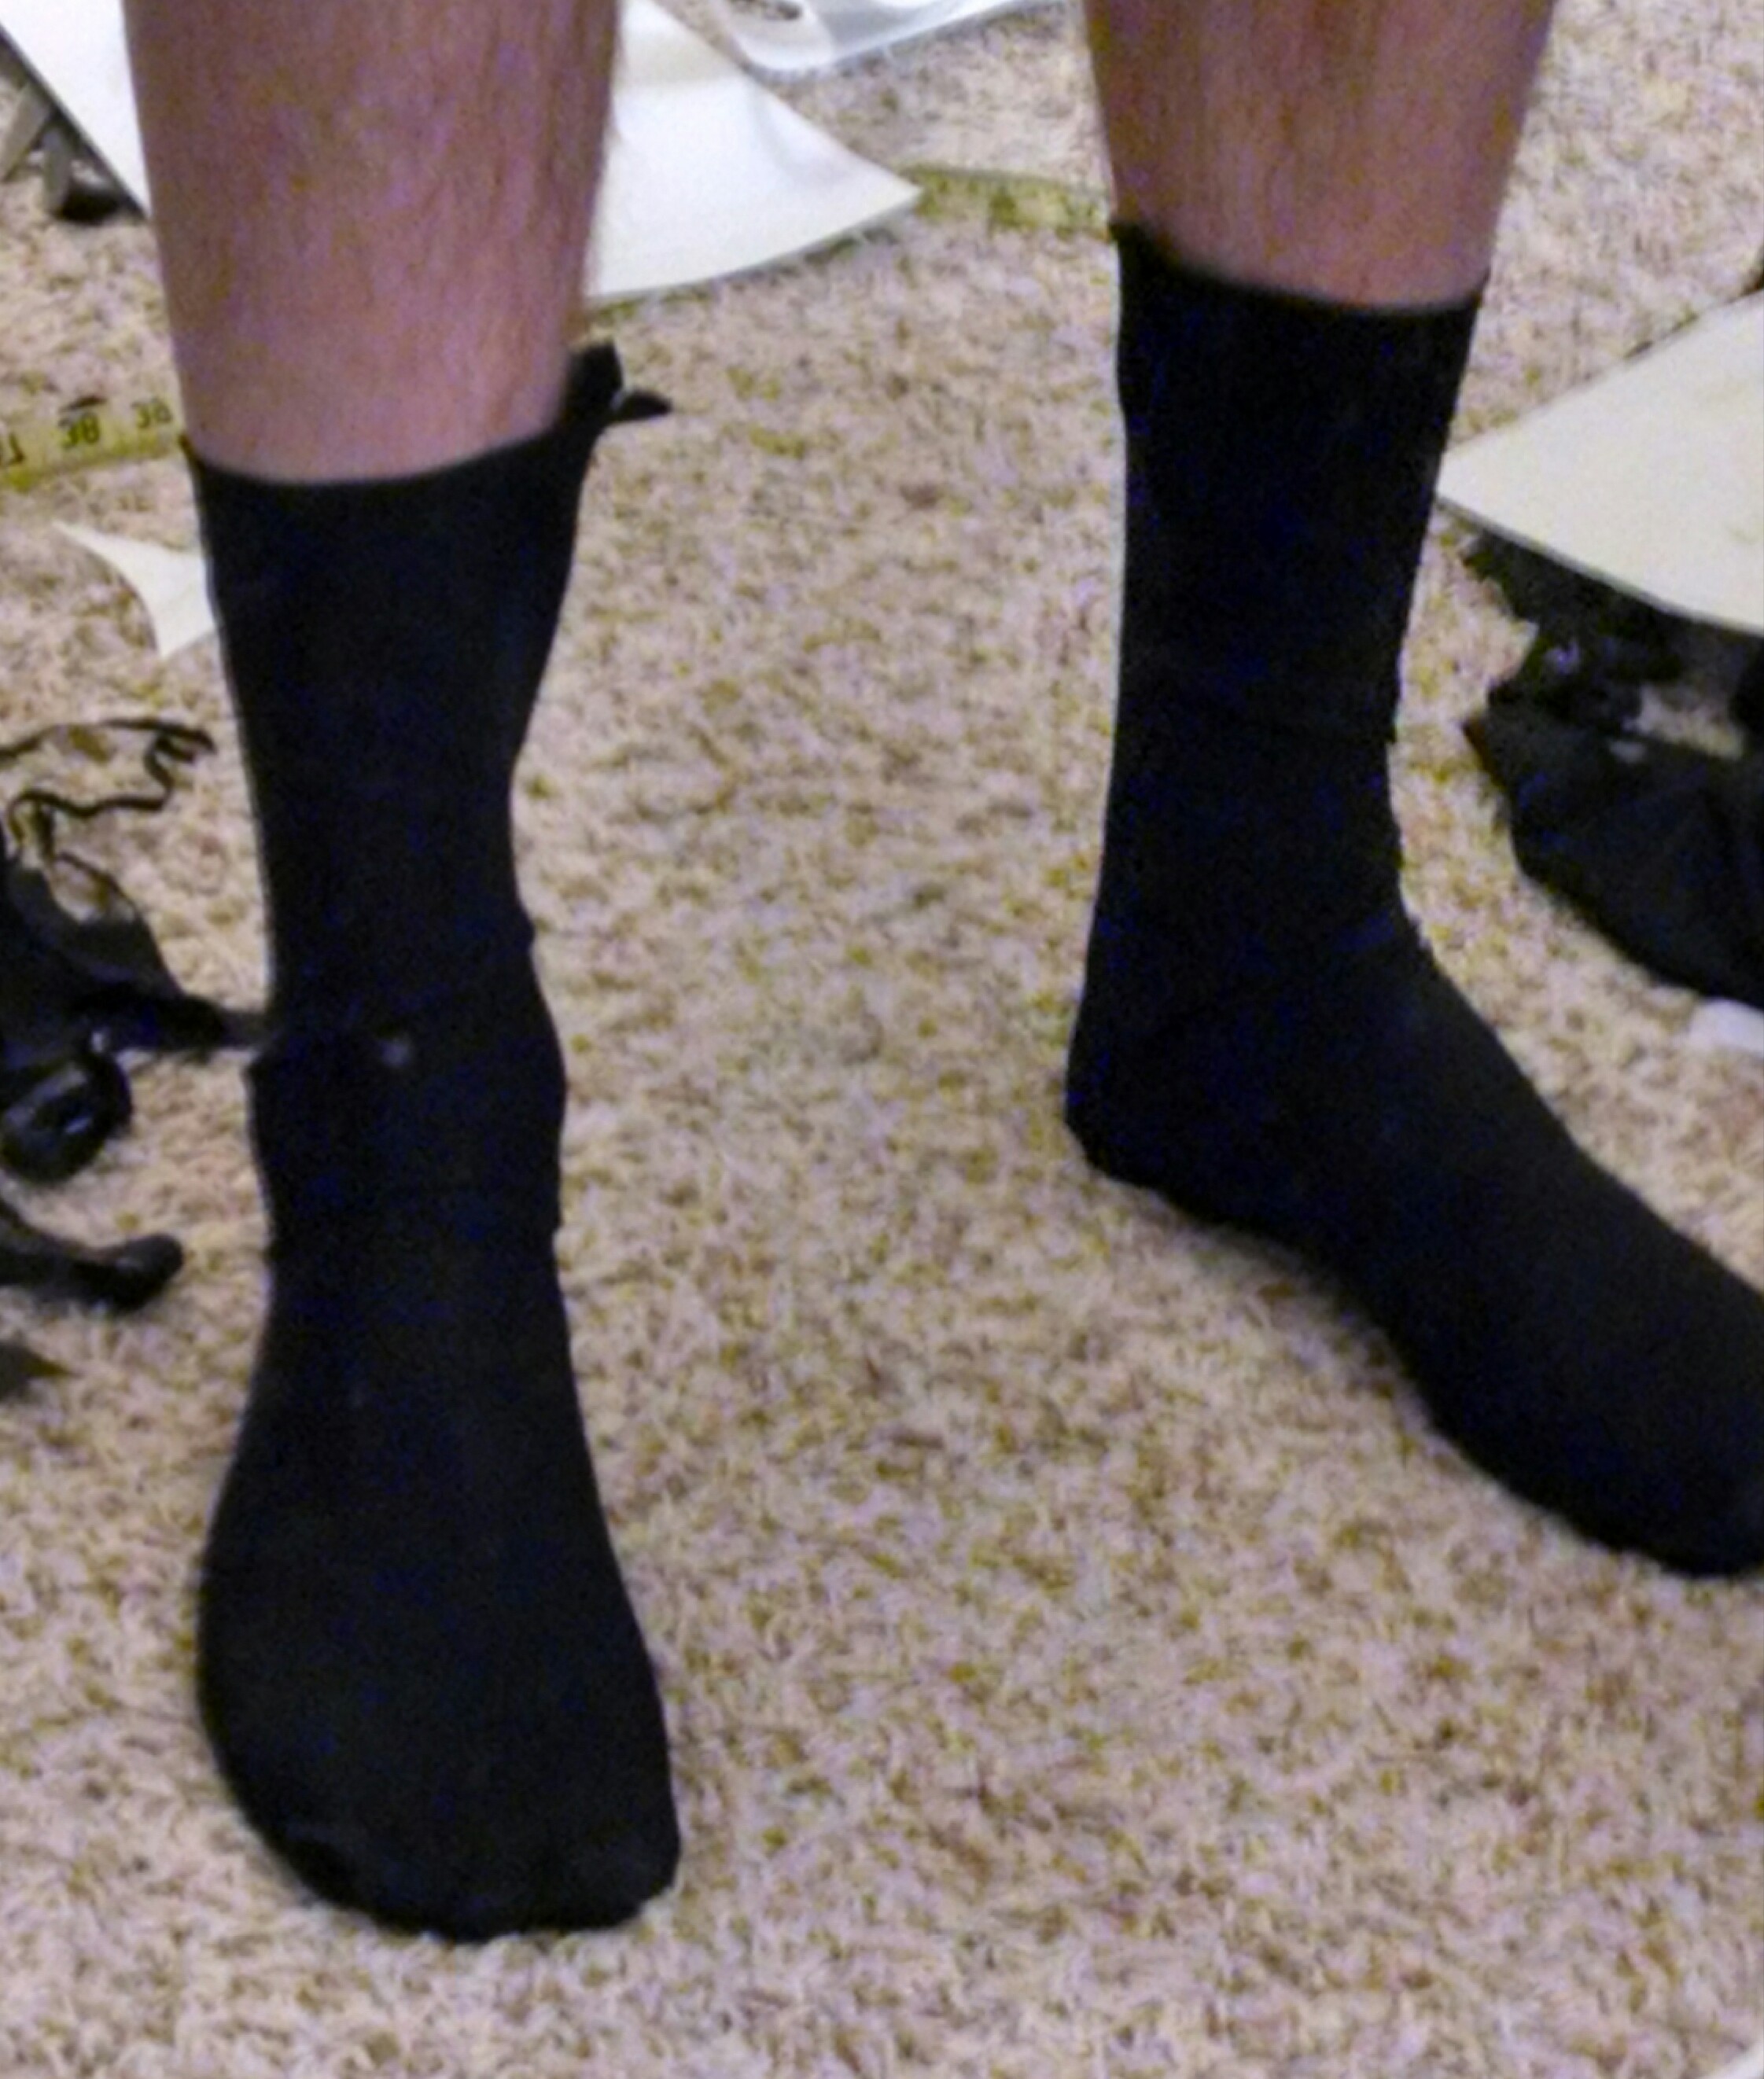
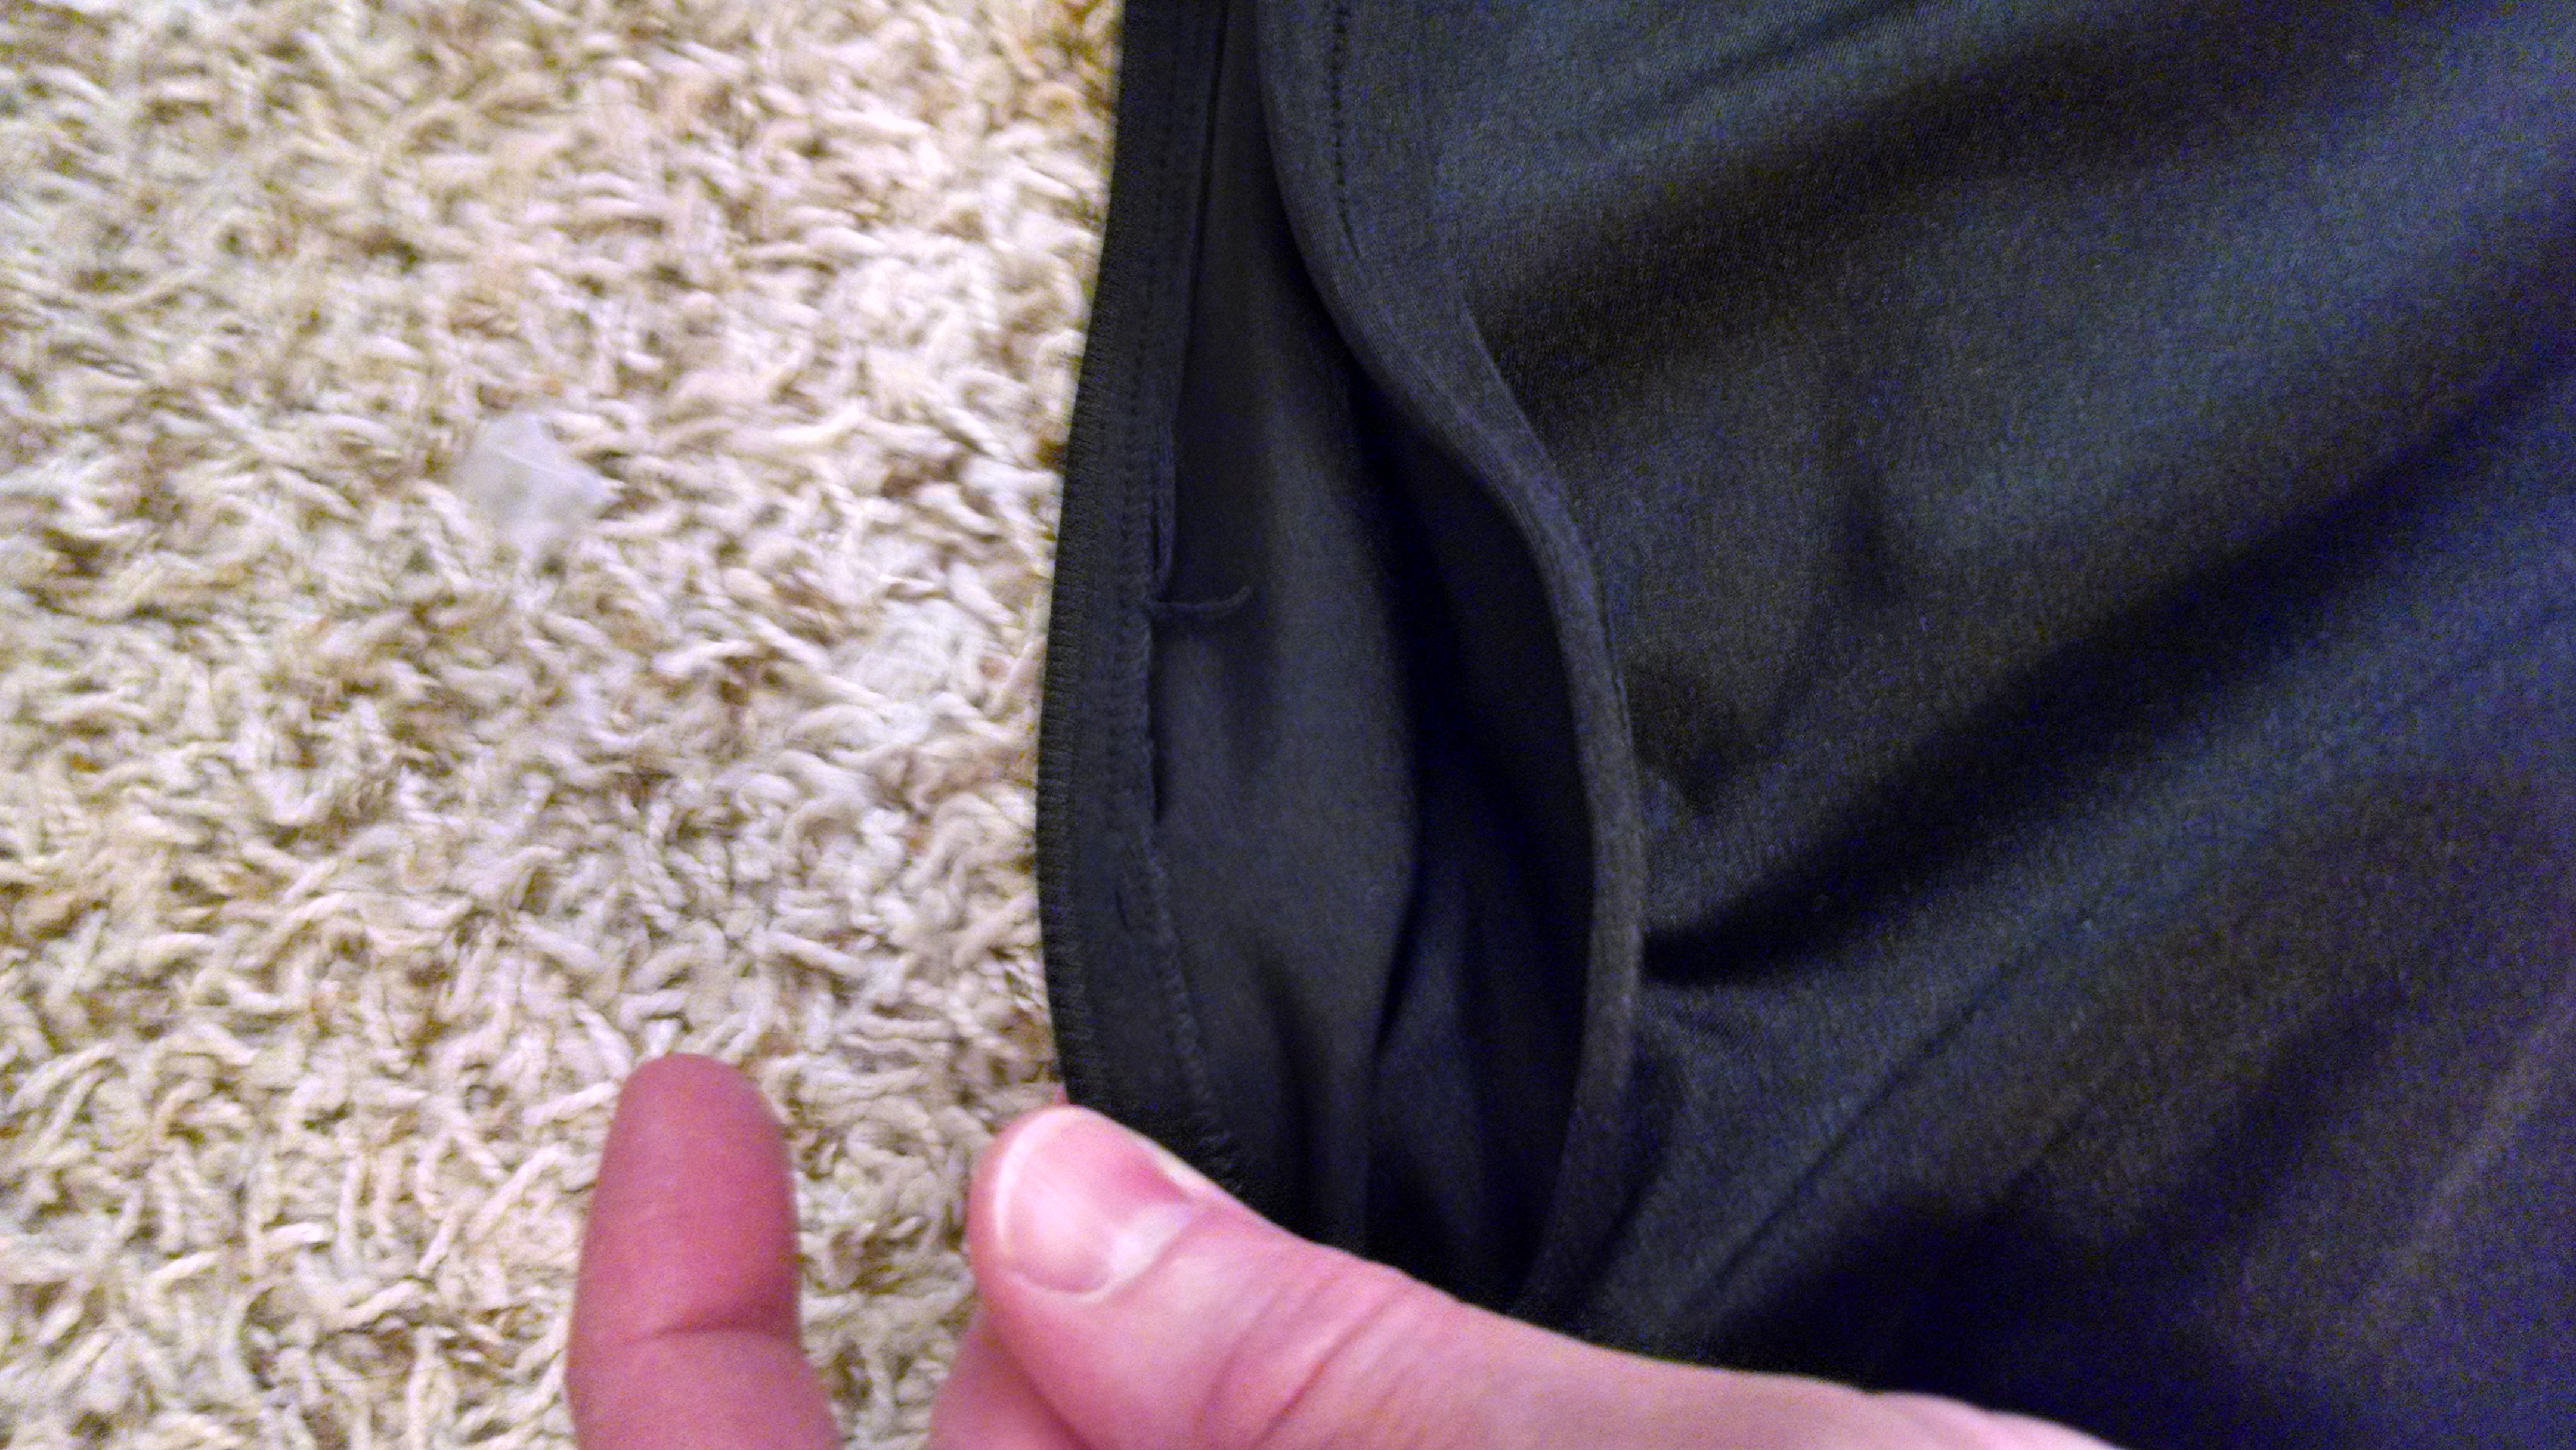
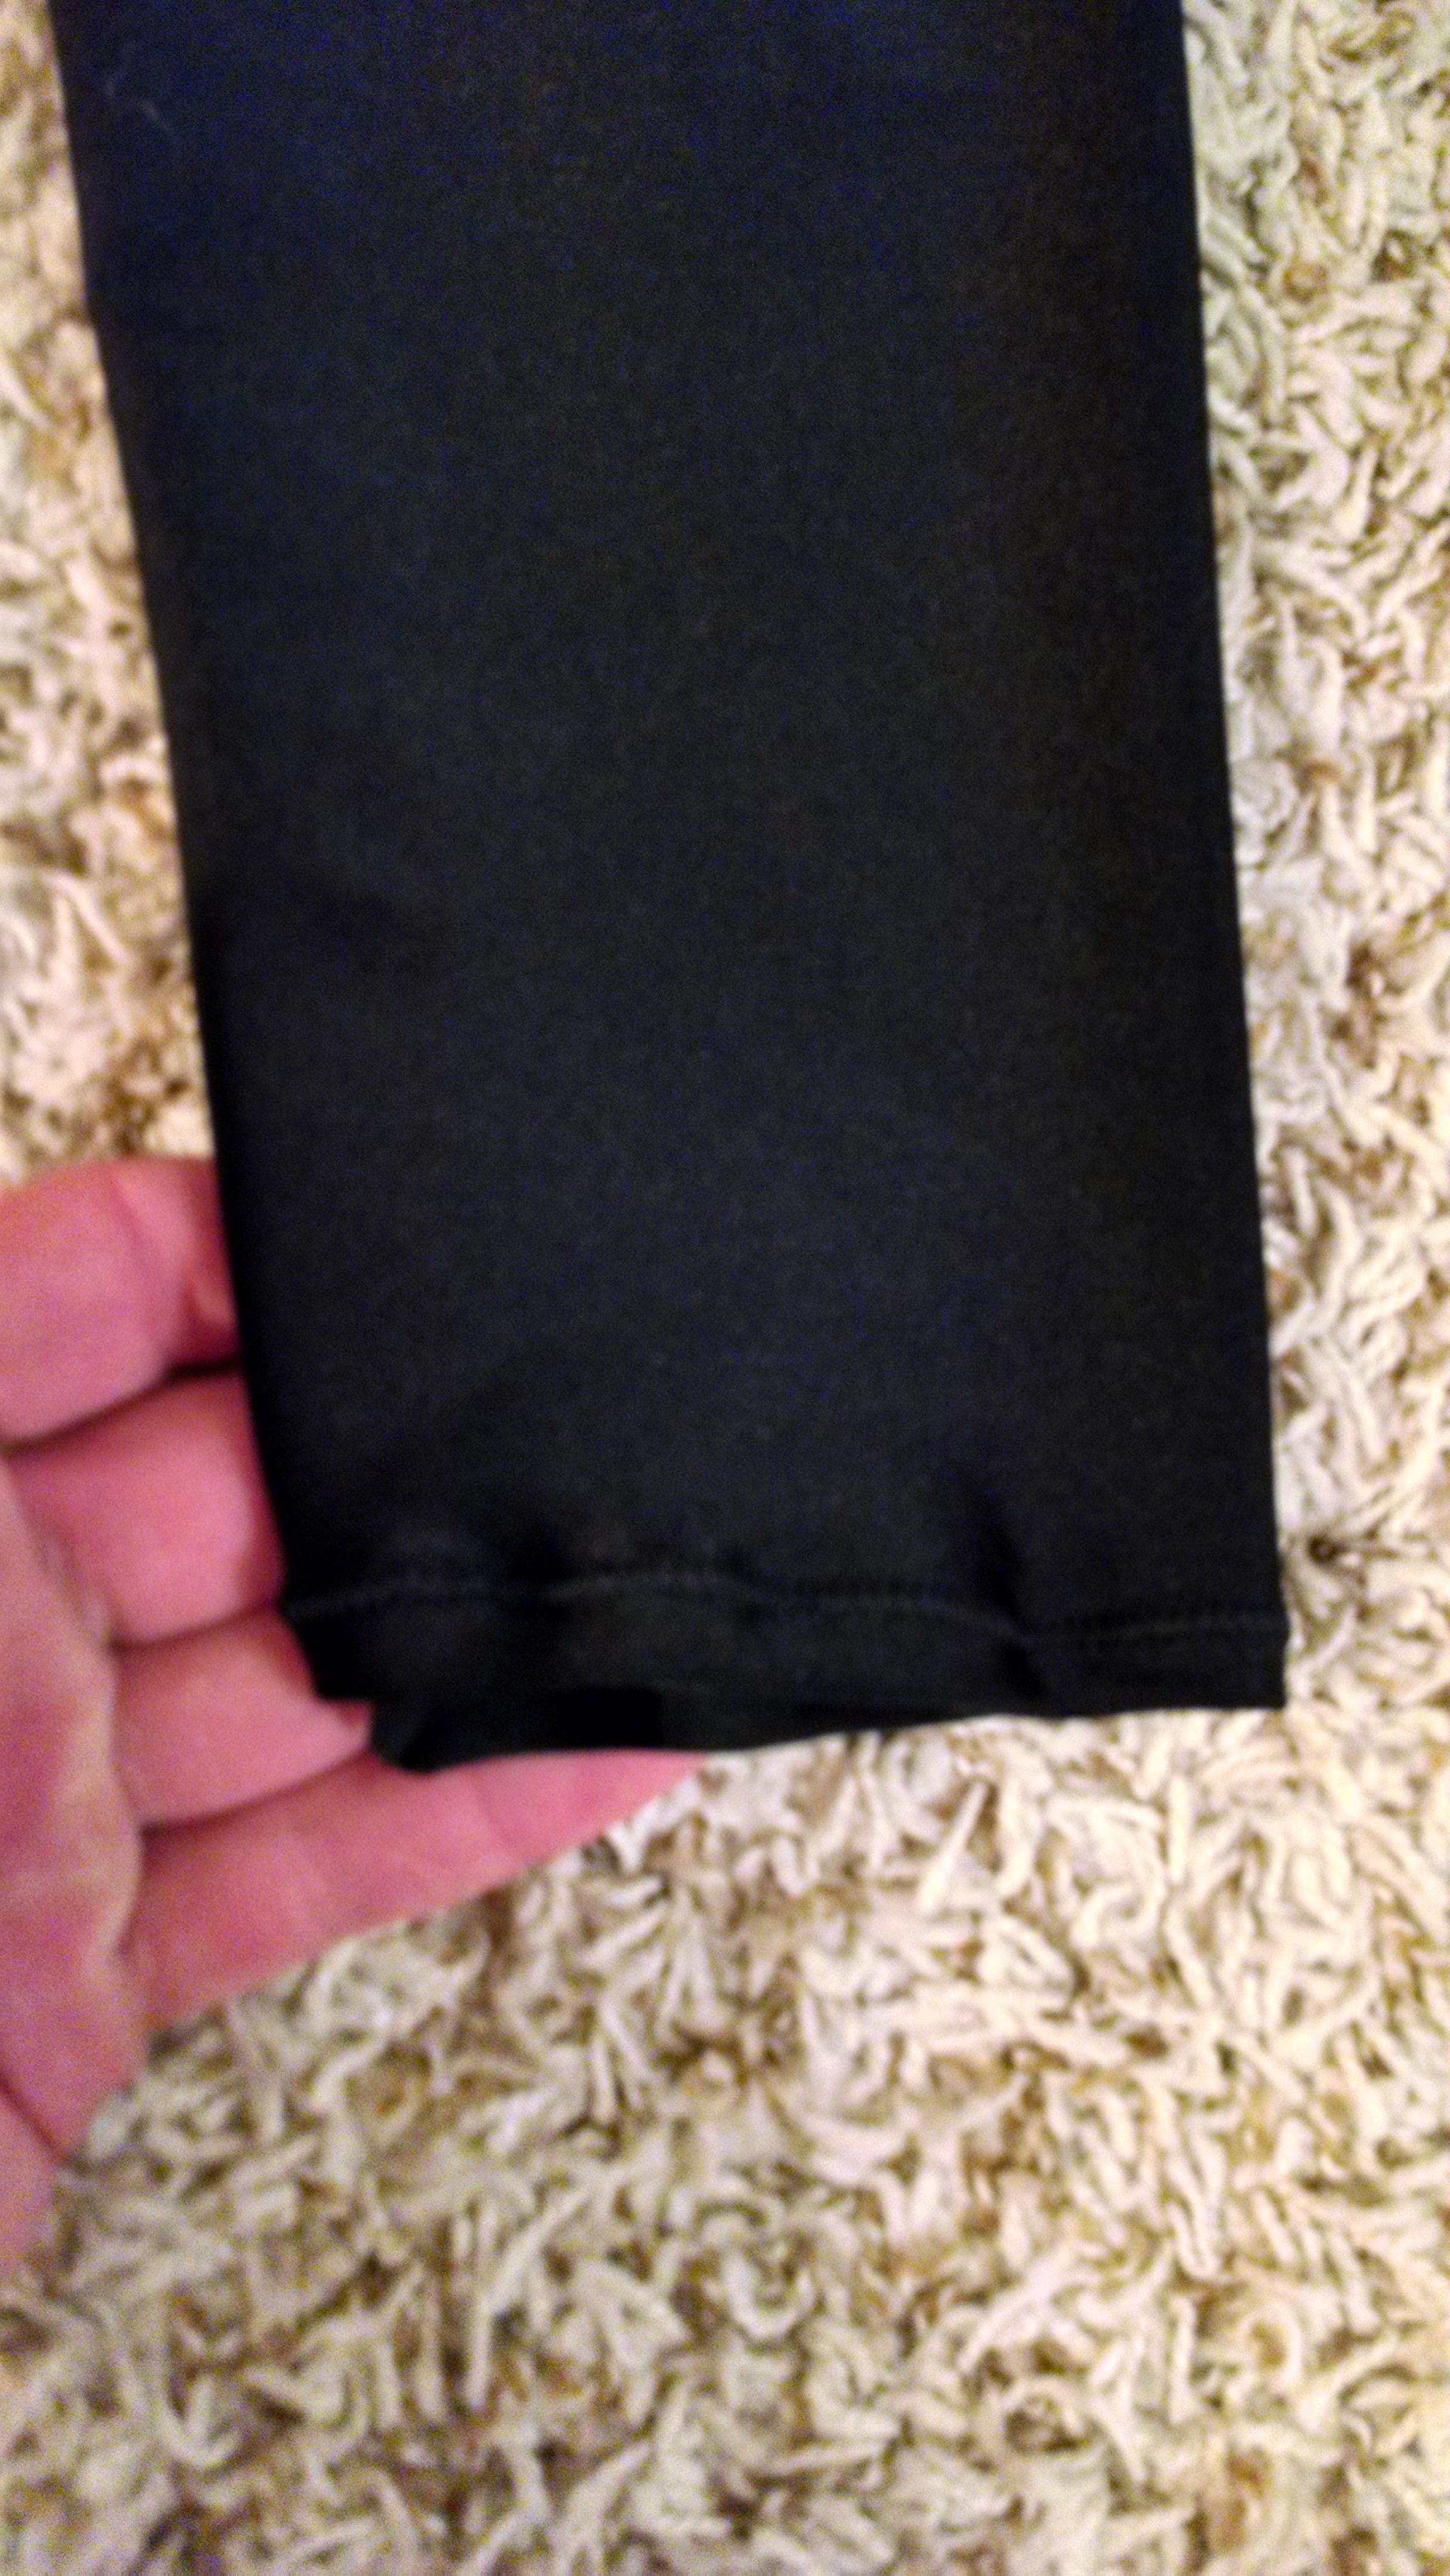
And the ankle seams:

Not perfect, but I think I know what I did wrong to correct next time. The hemming part (minus elastic) was not nearly so bad as I thought it would be, honestly.
So, while I hope to figure out a good solution for a less bunchy and more appropriate crotch, and I think I will want to do a higher waist (as it is now, Spider-Man crouches are more like Spider-Plumber crouches), I am overall pleased with this portion of my “homemade style” practice costume project.
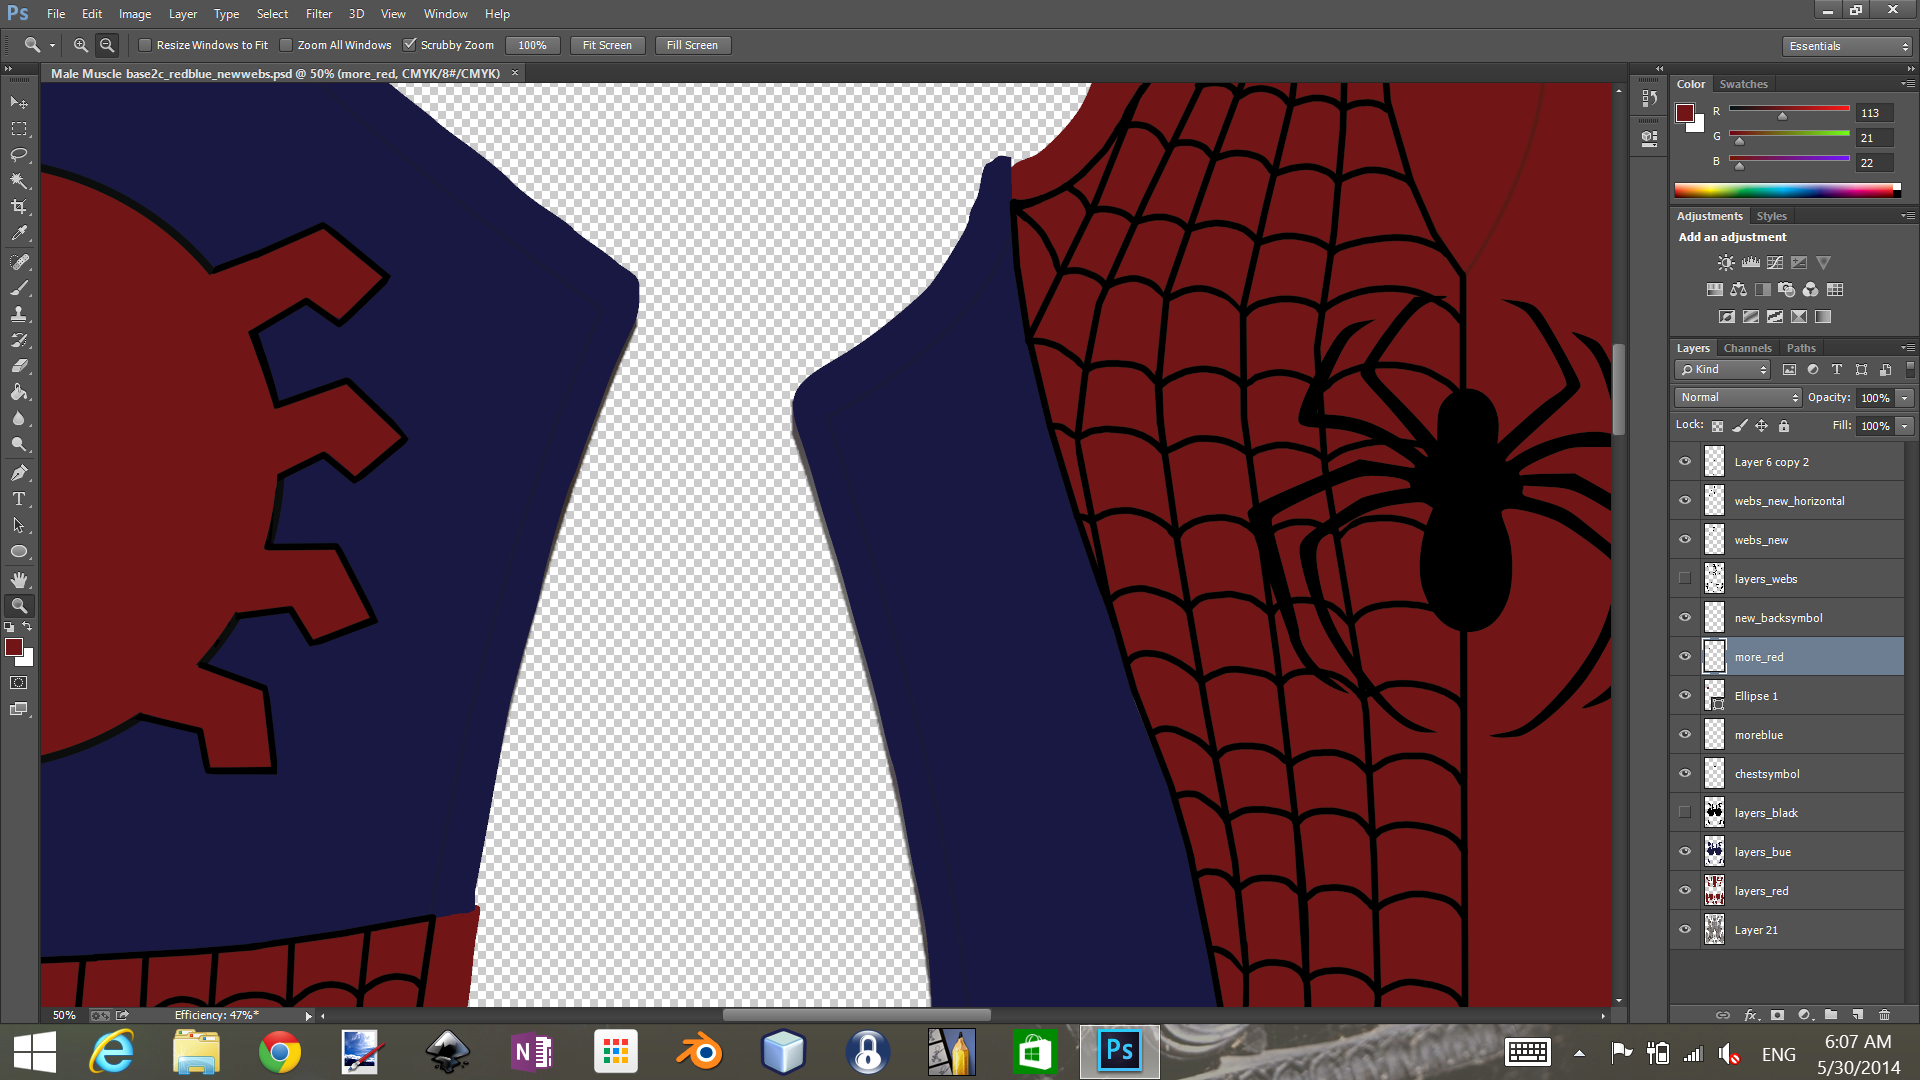
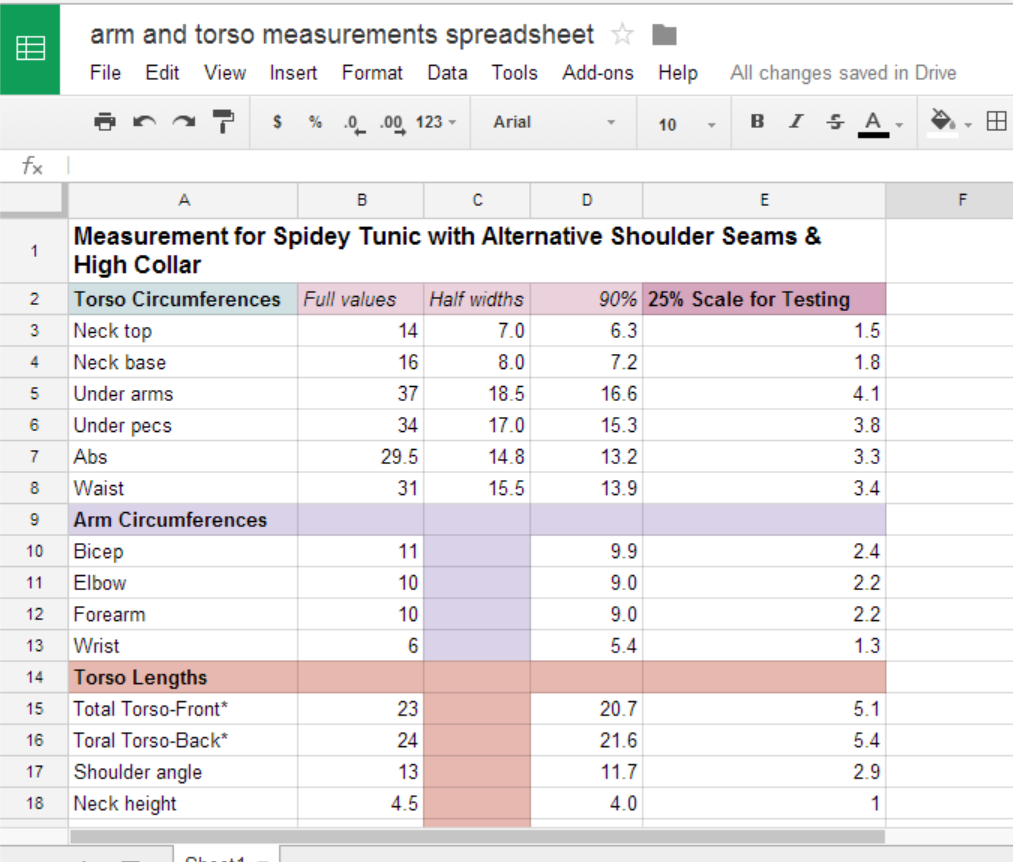
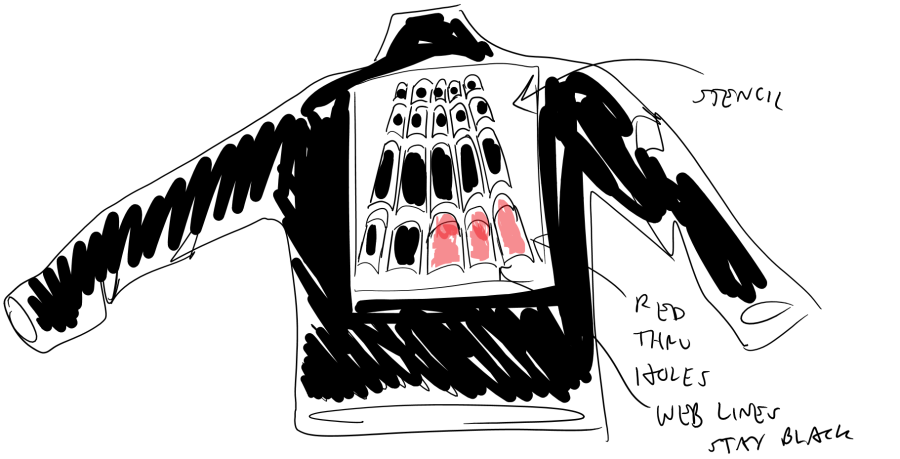
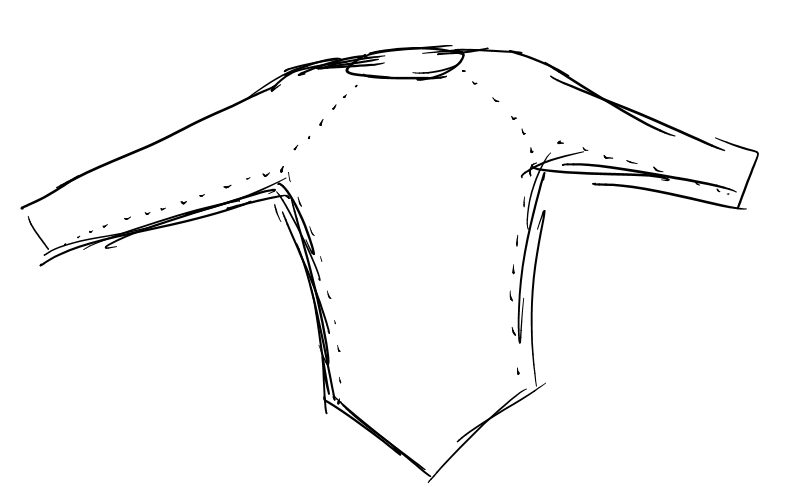
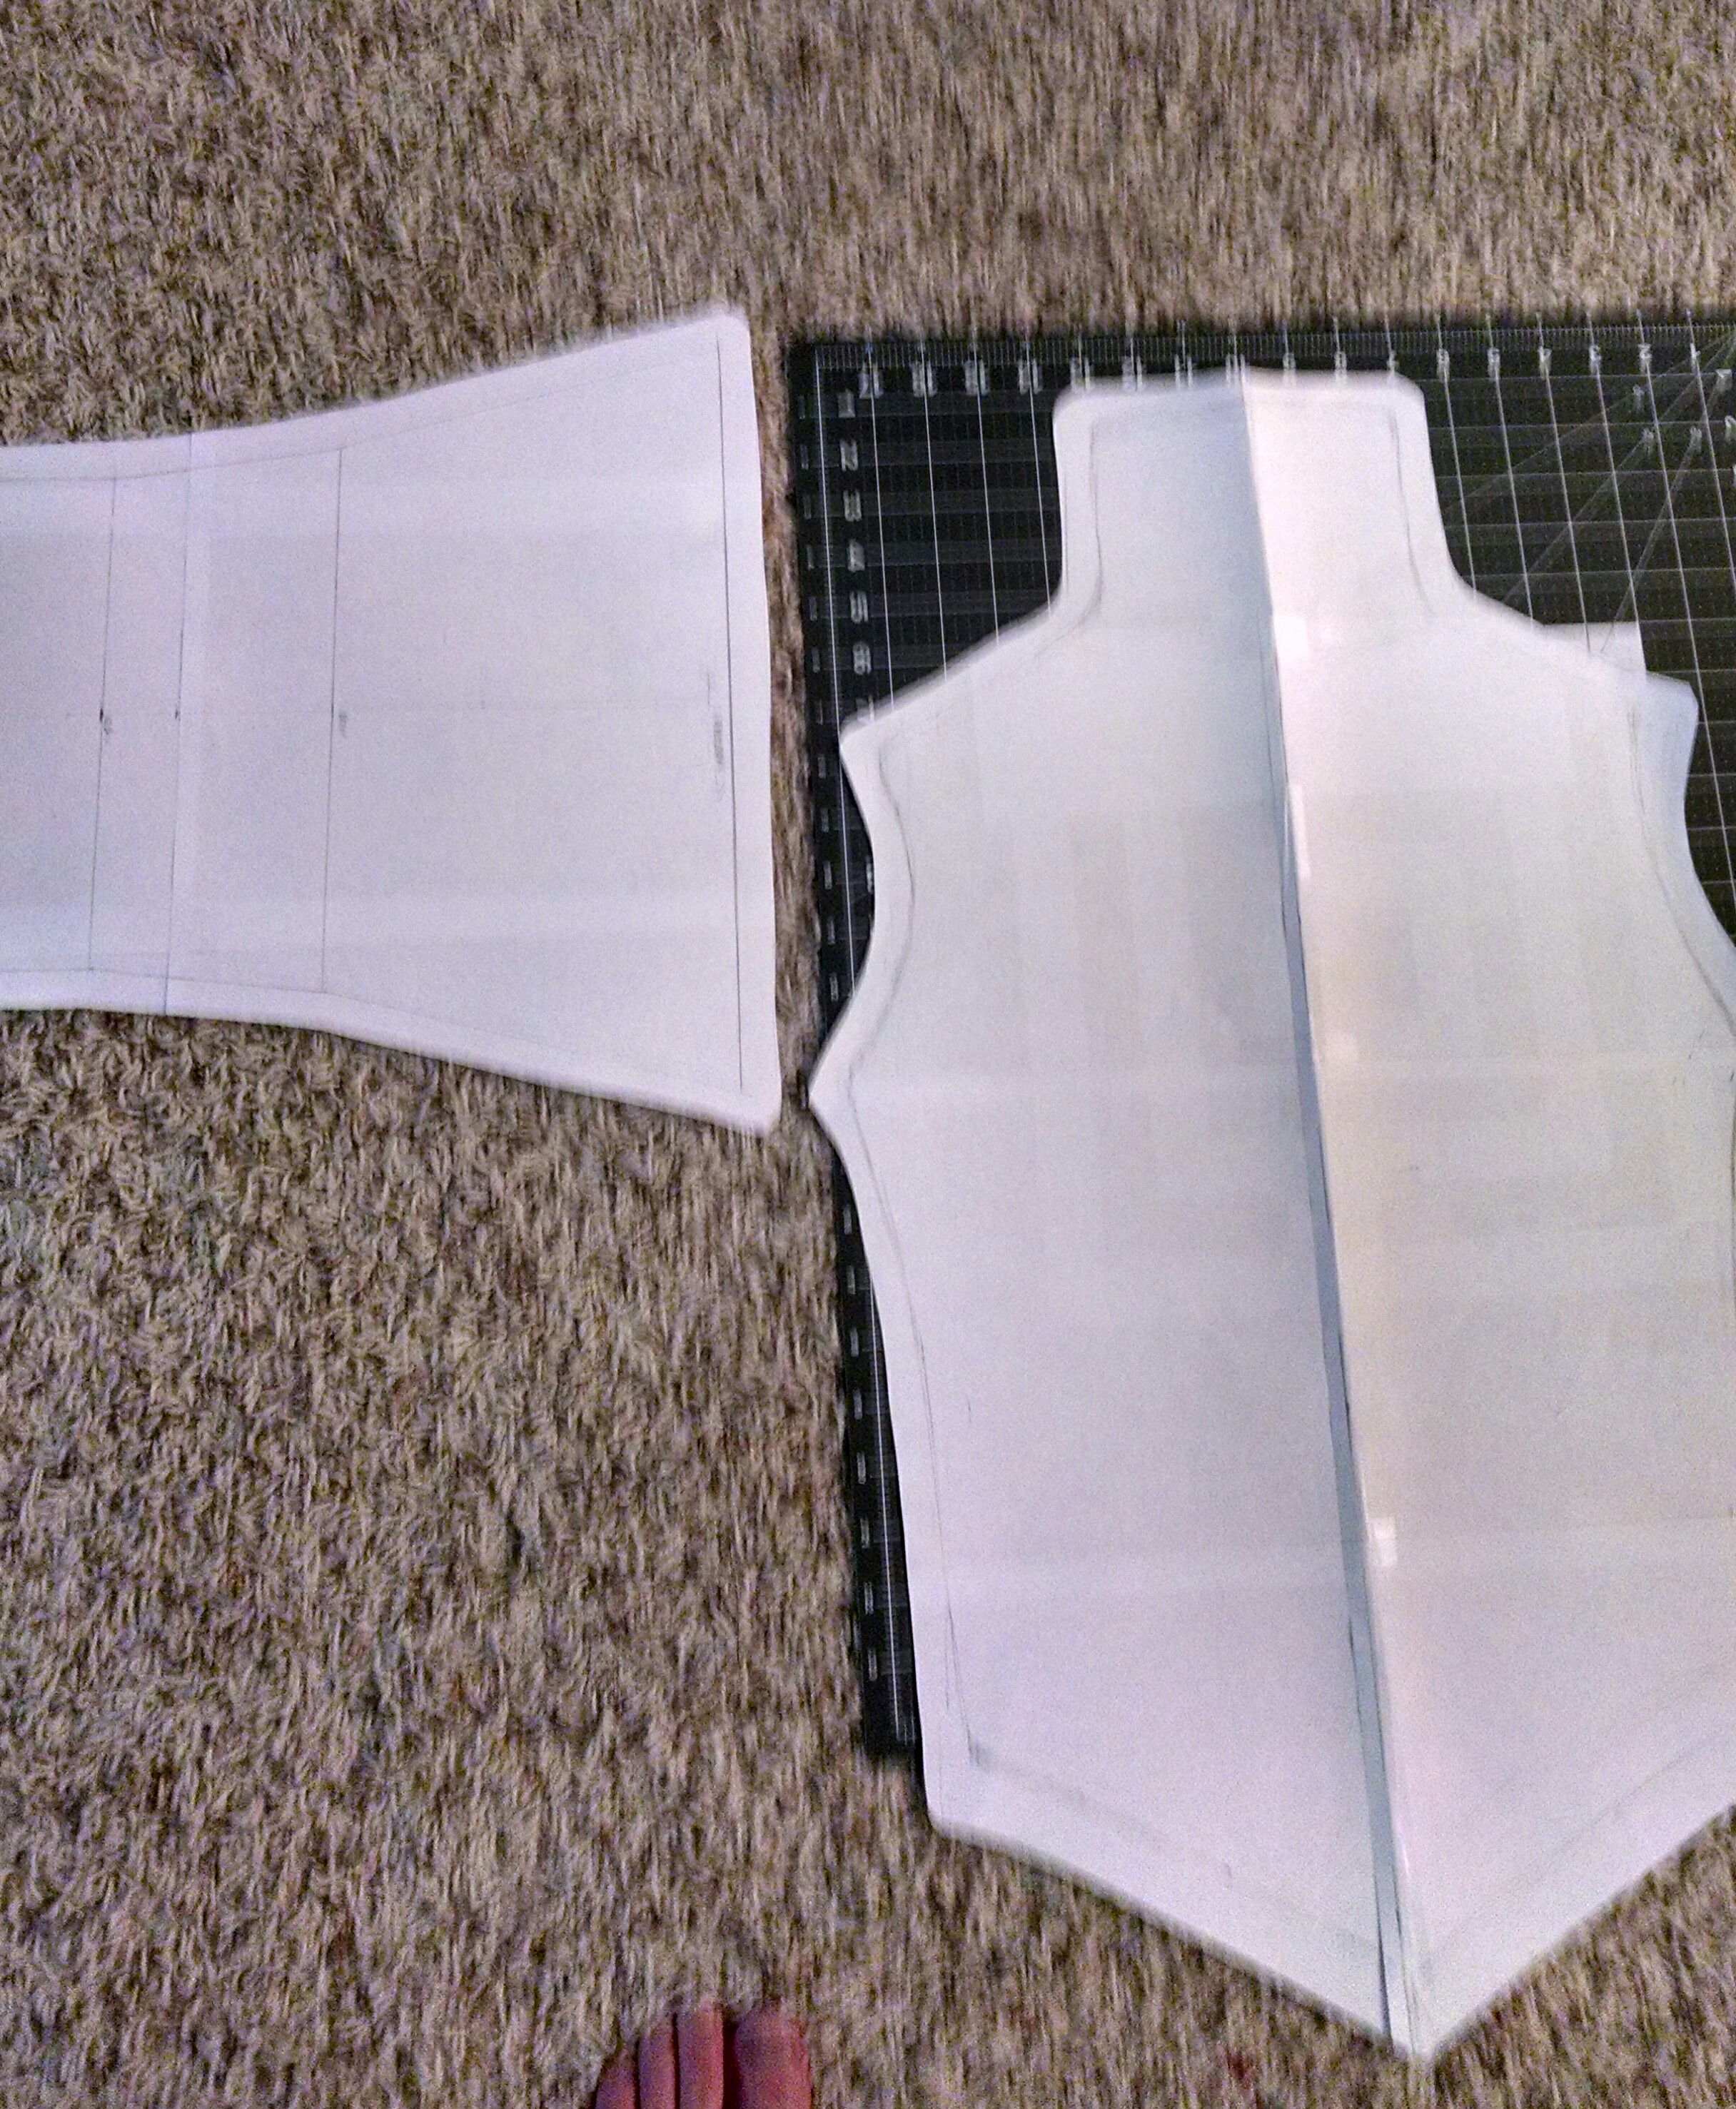
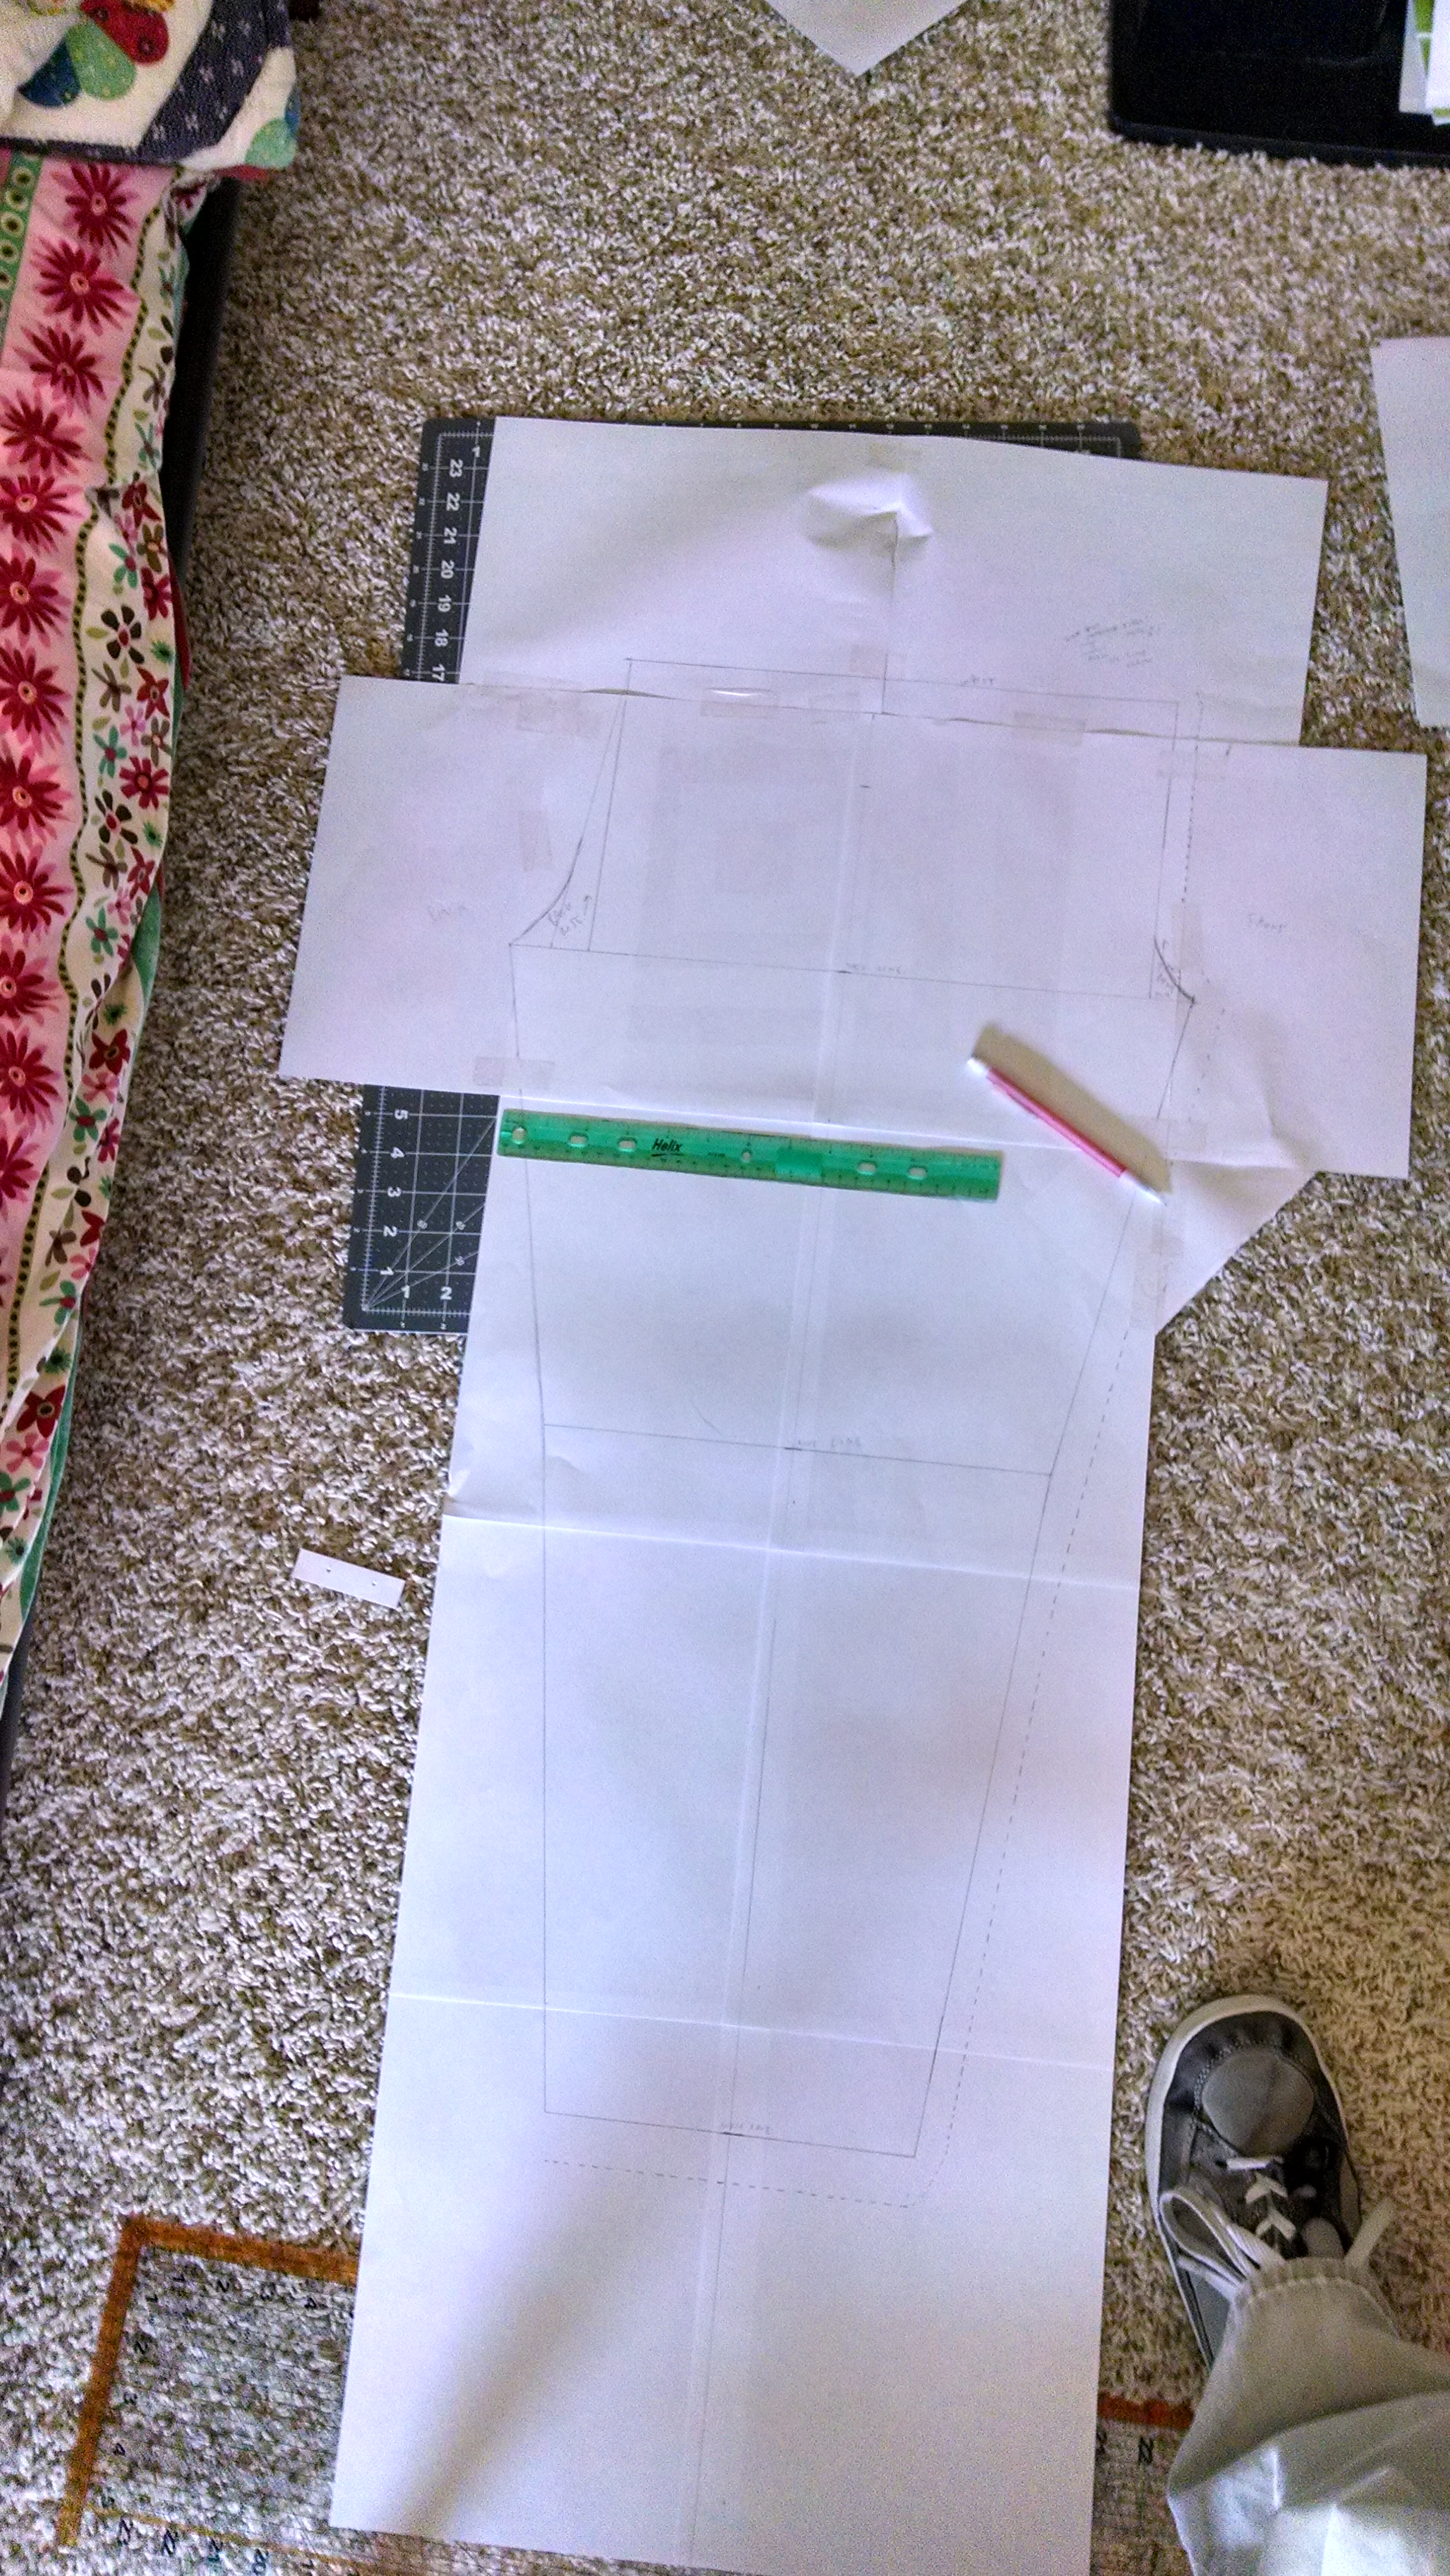
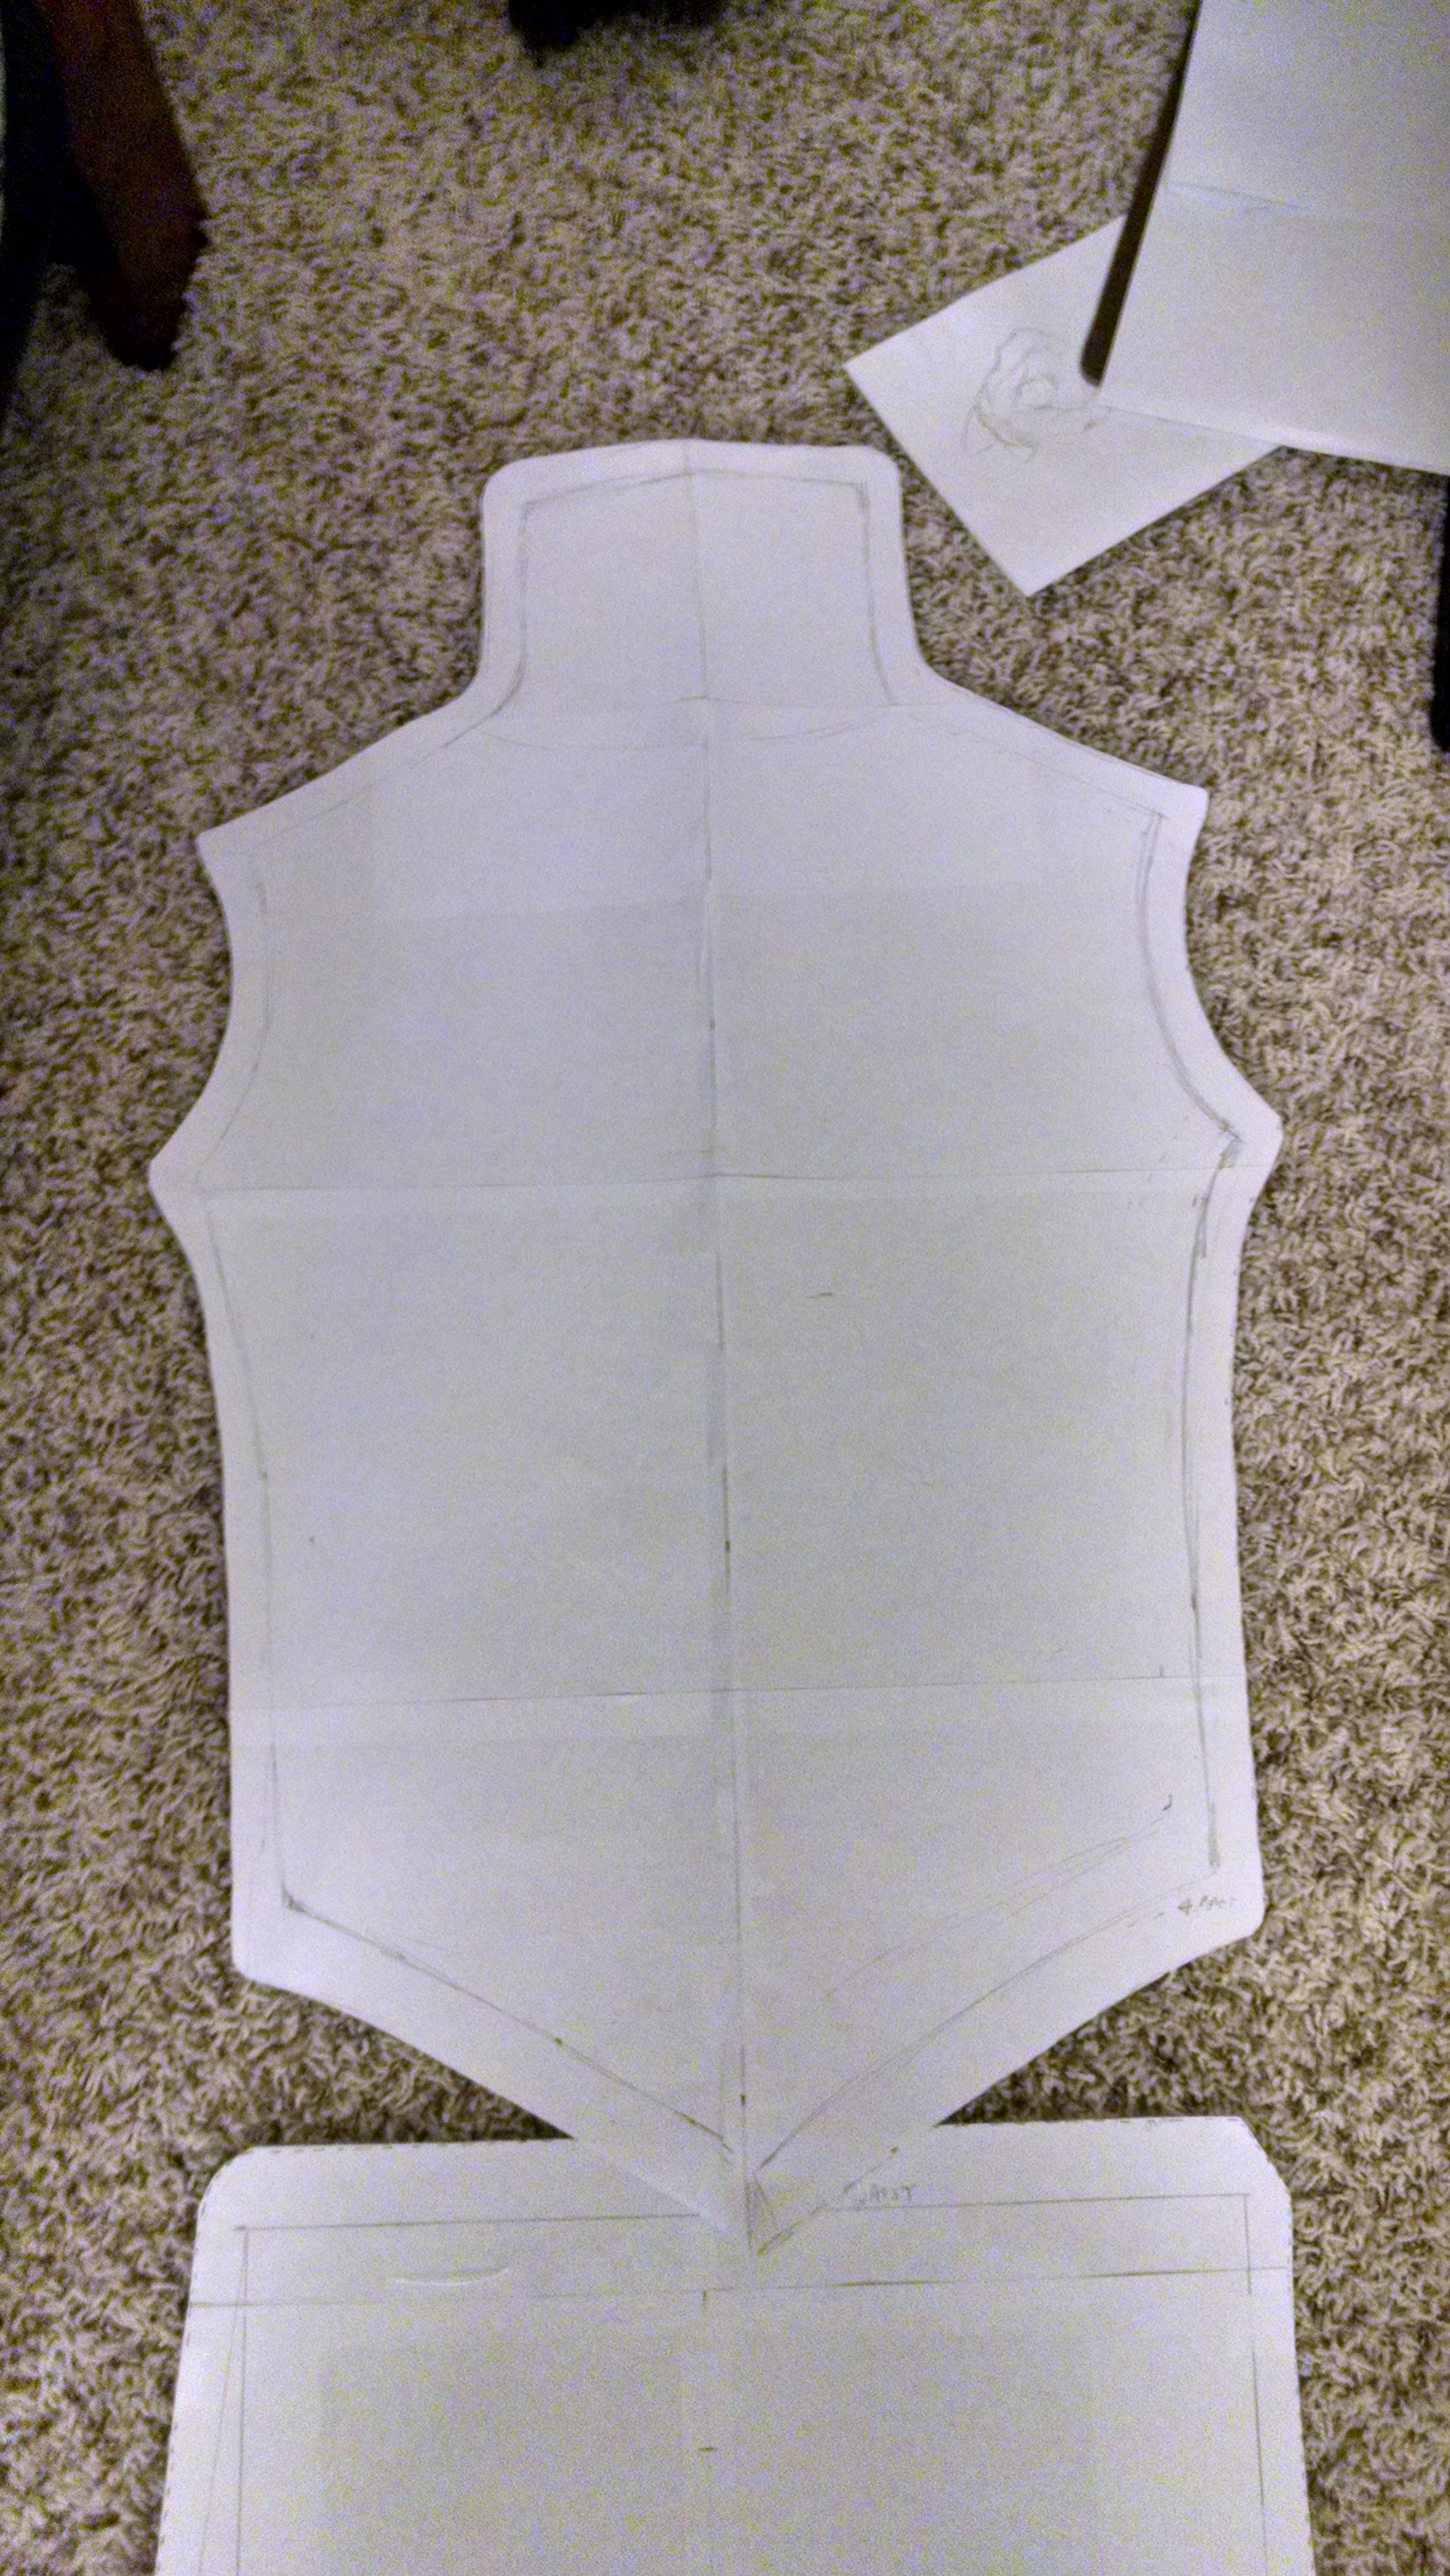
Next I want to finish my shirt (or super hero “tunic”) pattern and go for it. I’m still brainstorming some methods for linking the tunic and leggings in a “removable” way. We’ll see.
UP NEXT: “IT’S NOT A TUNIC!” (in the voice of Arnold Schwarzenegger)